
INTRODUCING THE SONIA SHORTS PATTERN
Introducing our latest warm weather staple – the Sonia Shorts. Casual yet stylish, comfortable yet chic, we’ve designed this pattern to tick all those wants/needs for a summer wardrobe essential.
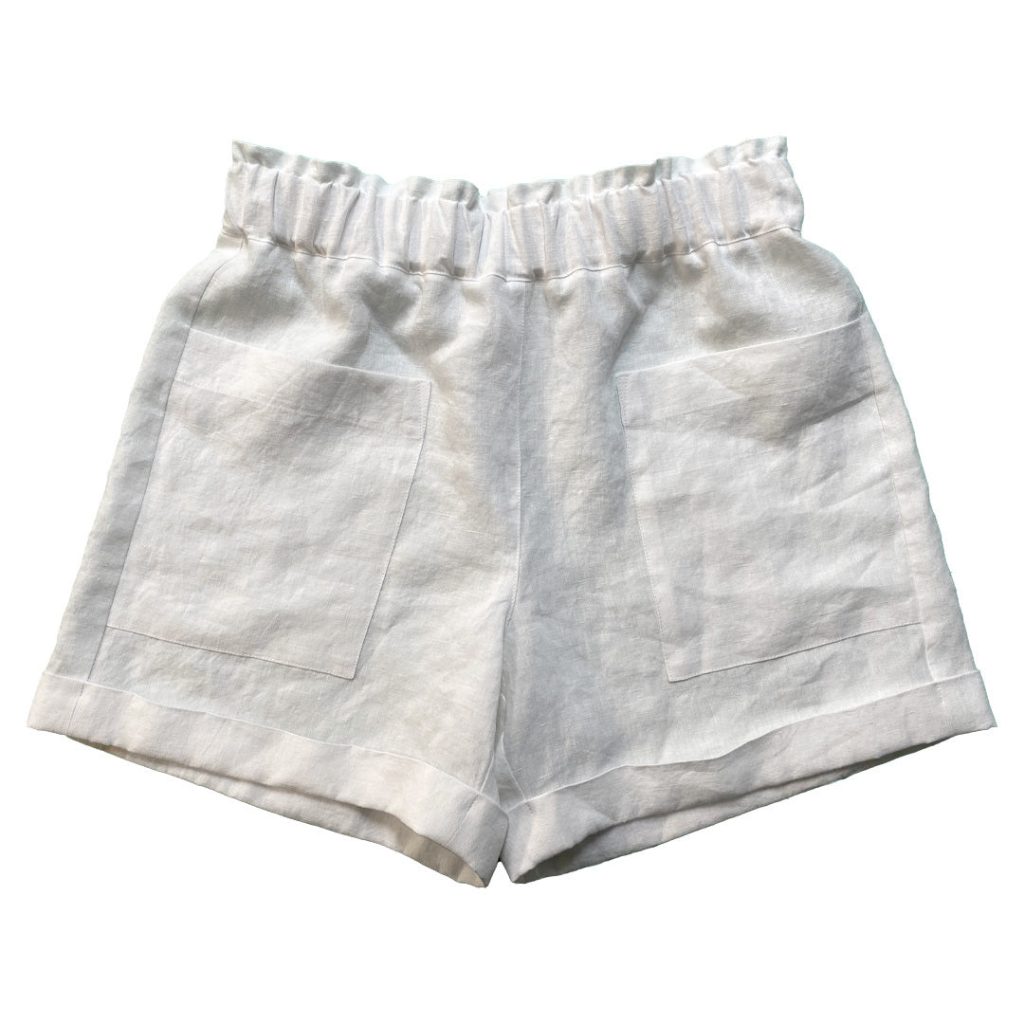
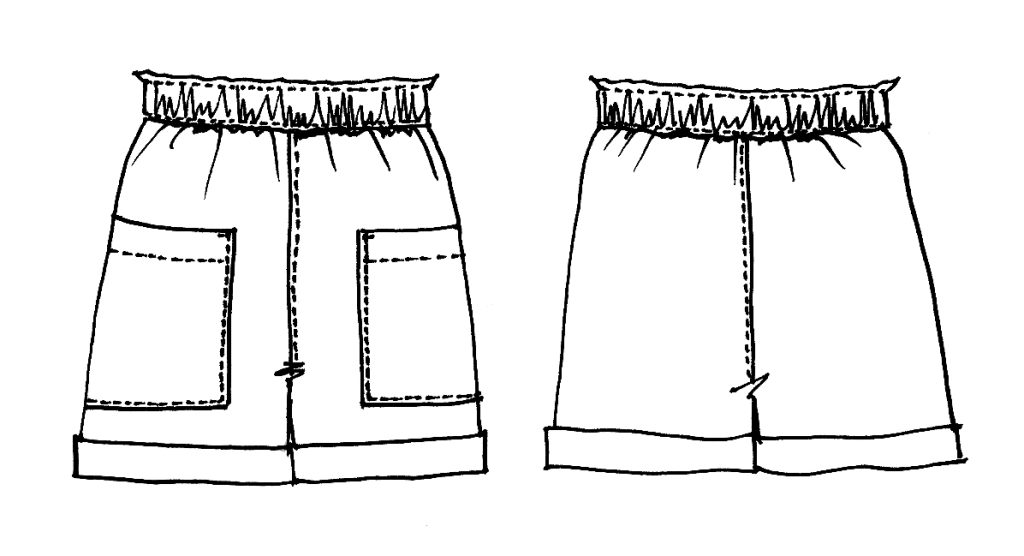
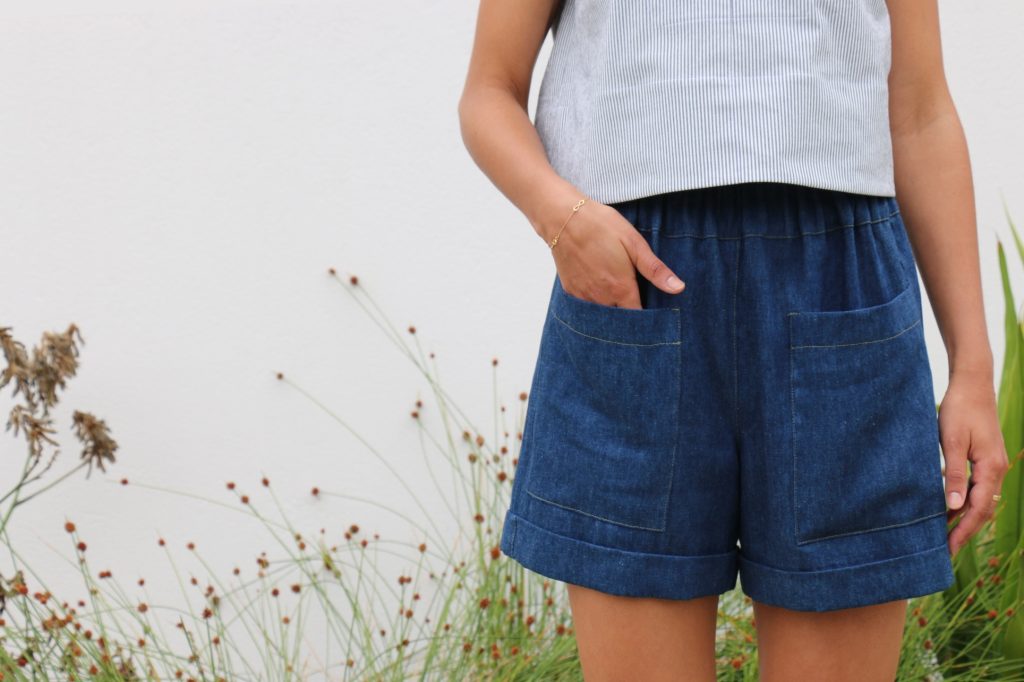
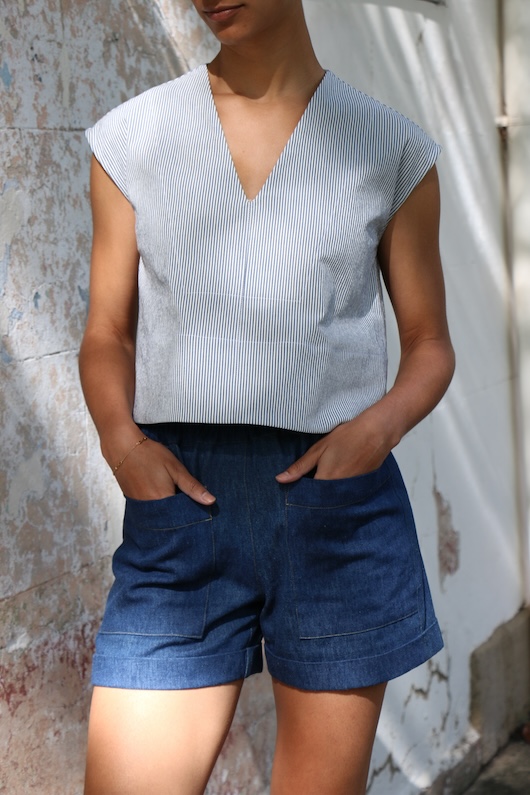
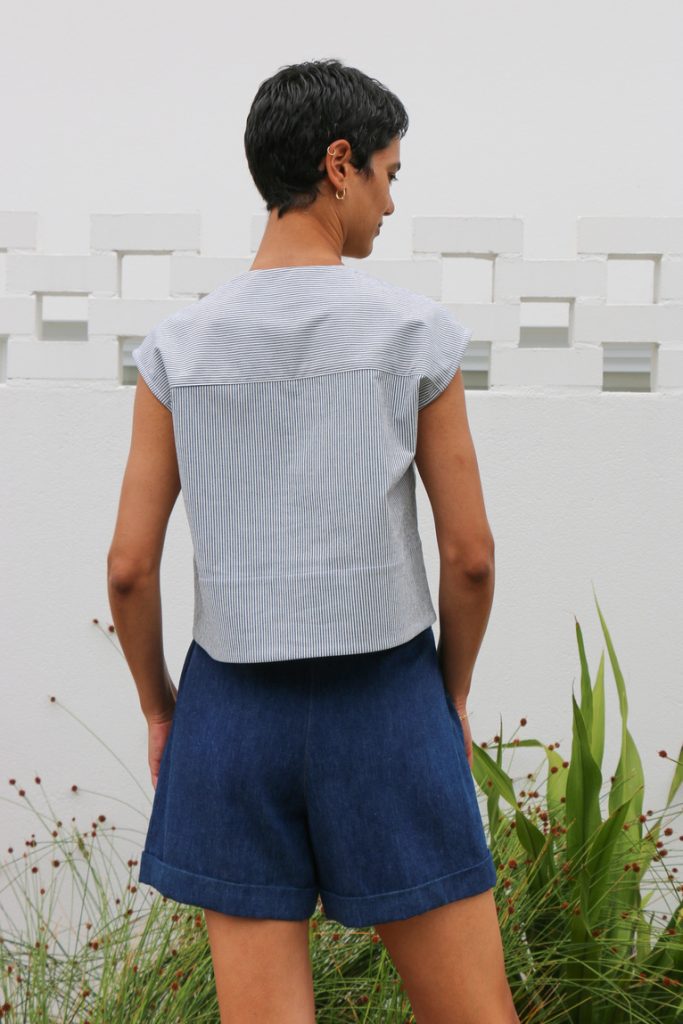
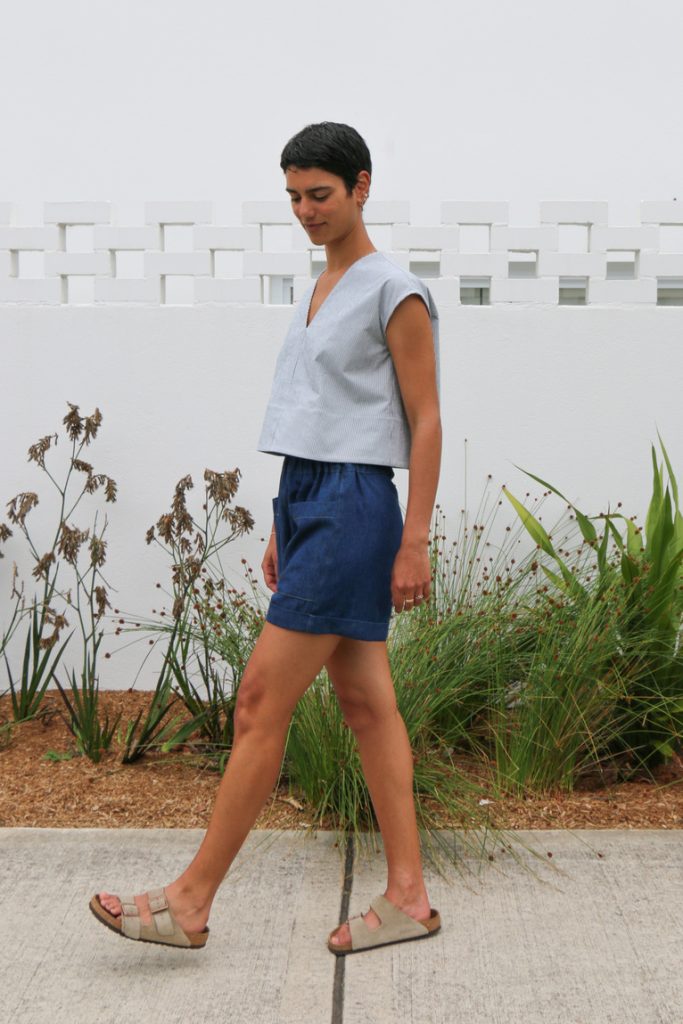
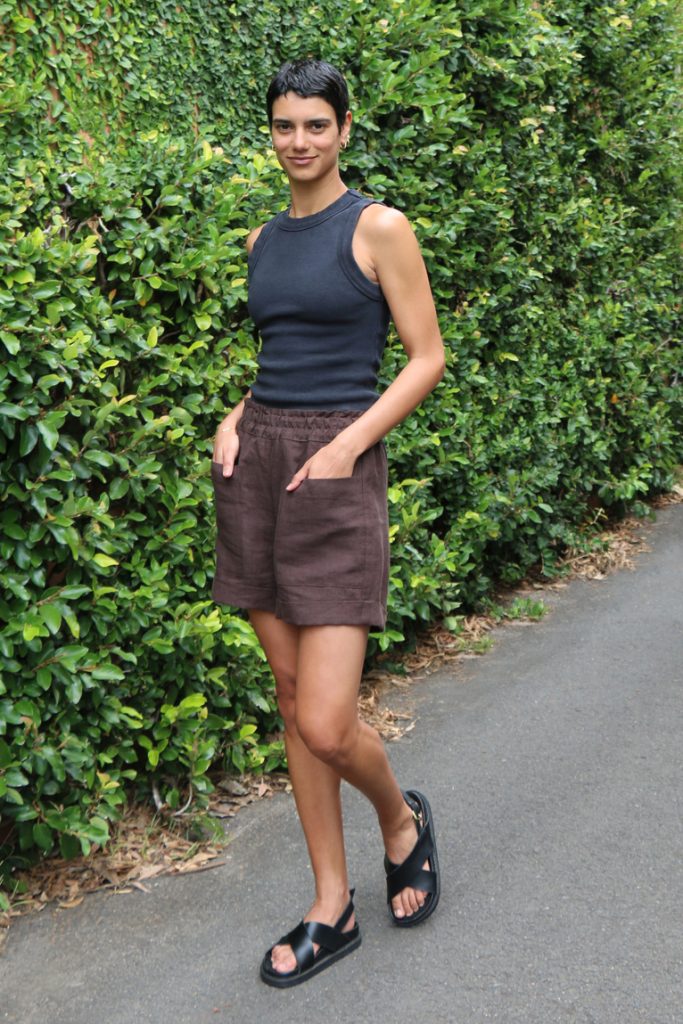
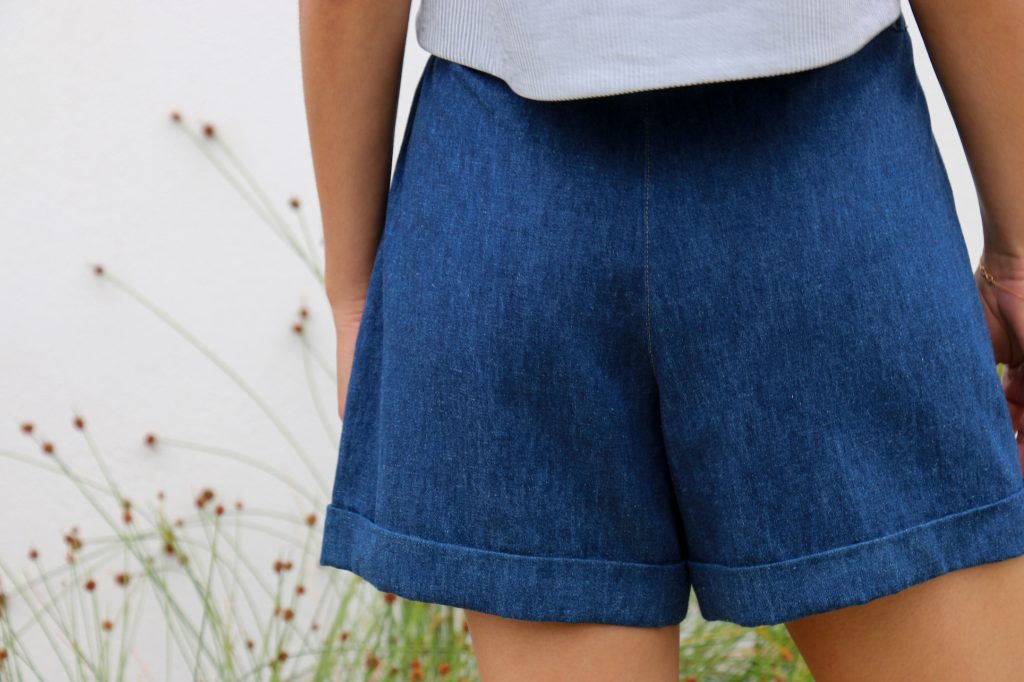
The Sonia Shorts are a wide-legged, high-waisted style and feature an elasticised, paper bag waist. Other stylish, easy-to-sew details include front patch pockets extending to the forward side seams and cuffed hems. Relaxed and comfortable, the Sonia Shorts are perfect for resort wear, sleepwear, and summer days at the beach.
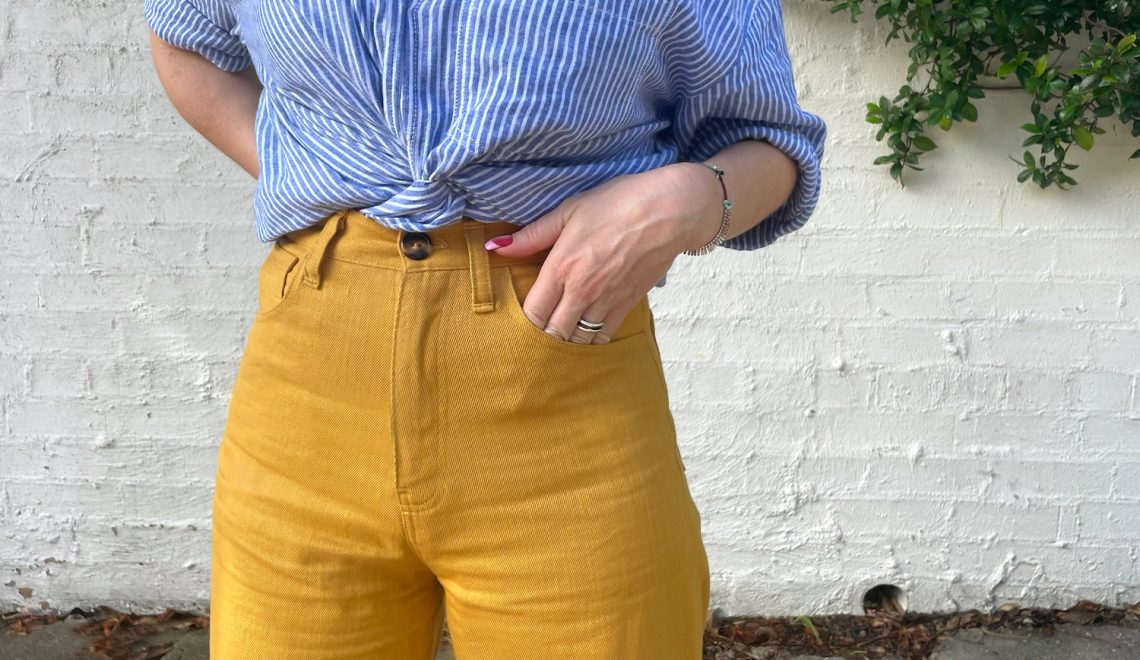
Cool, comfortable and stylish is key to summer dressing and the Sonia Shorts offer all that and more with a few thoughtful design details. Roomy, topstitched patch pockets extend from the side seams for a more streamlined finish.
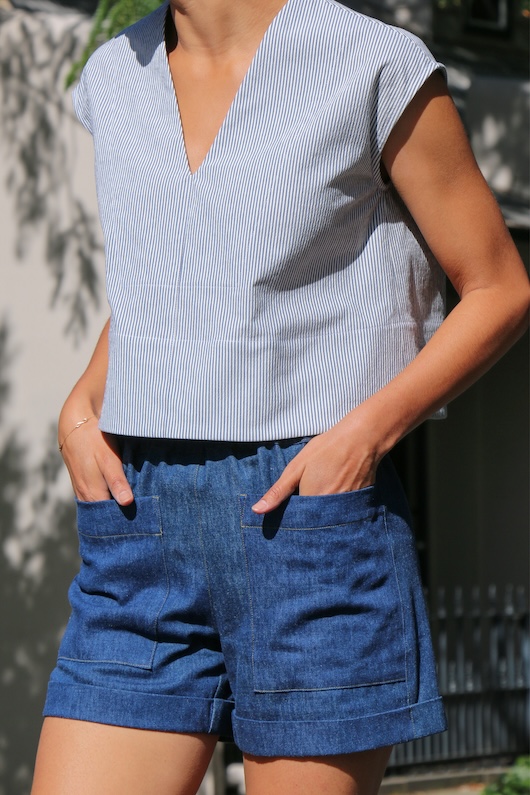
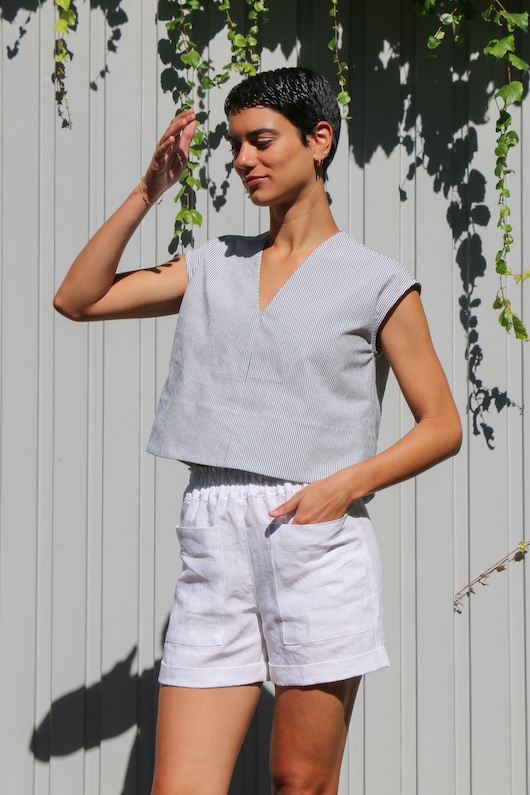
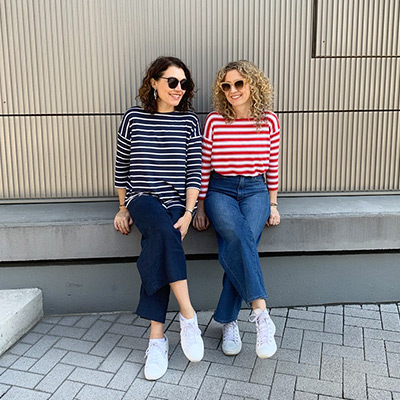
Another thing we love about Sonia – it pairs well with just about any top. We’re showing it here with the Leni Top (made in Navy Seersucker Stripe) but it looks equally good with a tank, shirt, vest or tee.
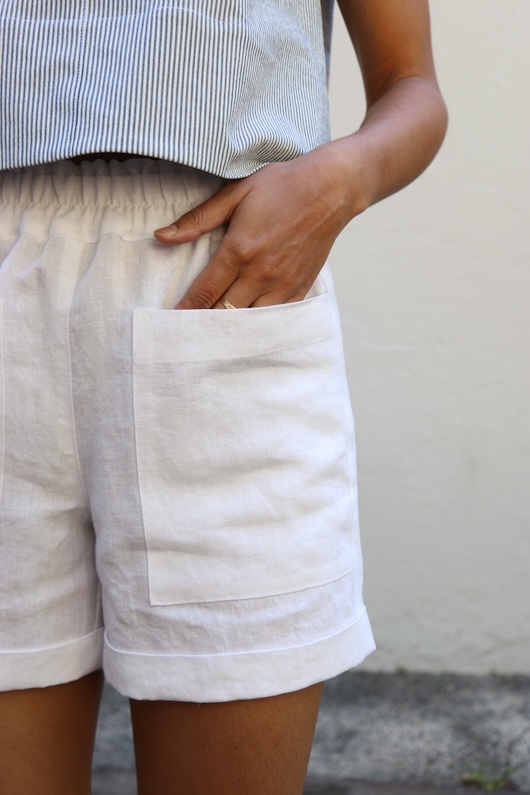
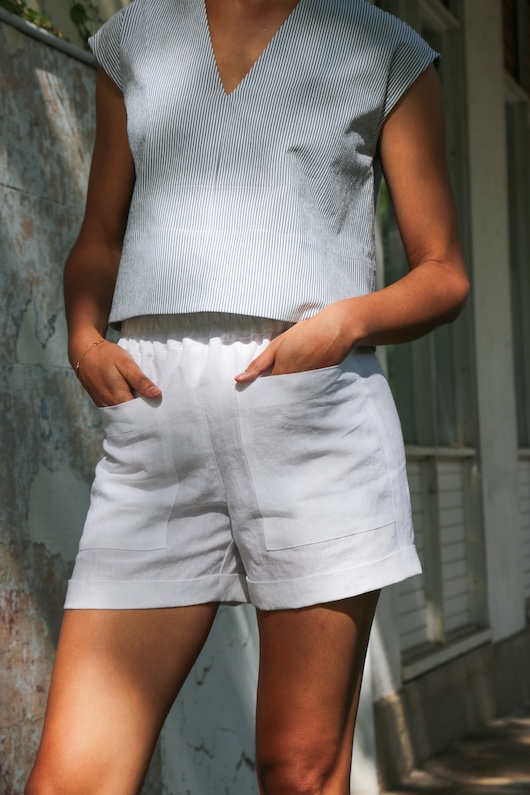
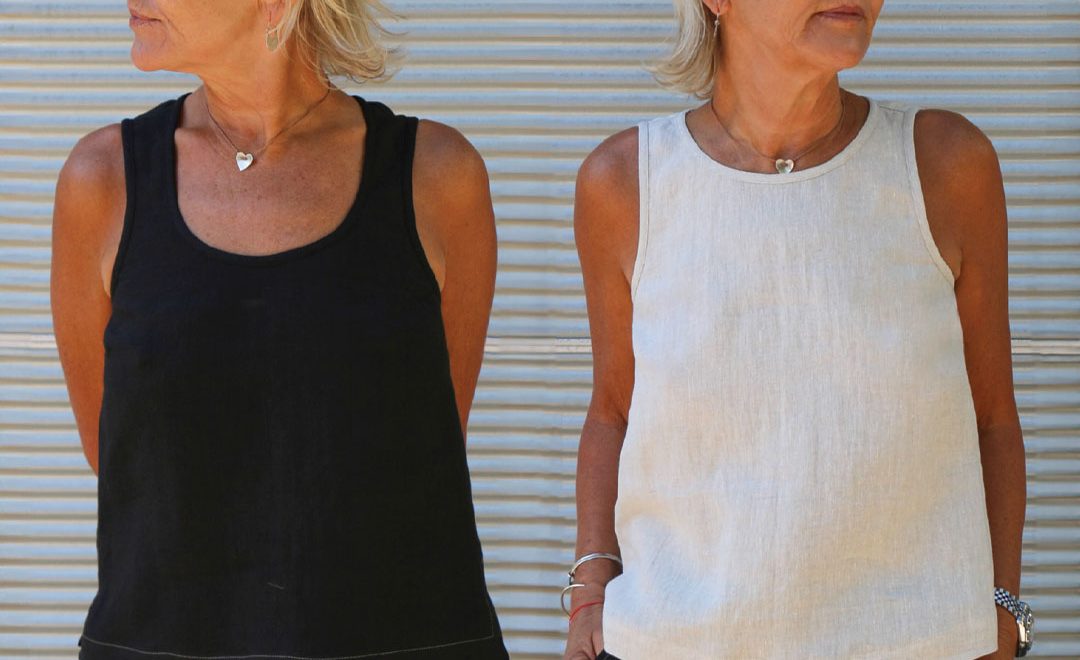
Colette did some thorough summer holiday testing of this pattern and loved wearing her Sonia Shorts (made in Bedford White Wash Linen) with her favourite Rae Top and Romy Top patterns.
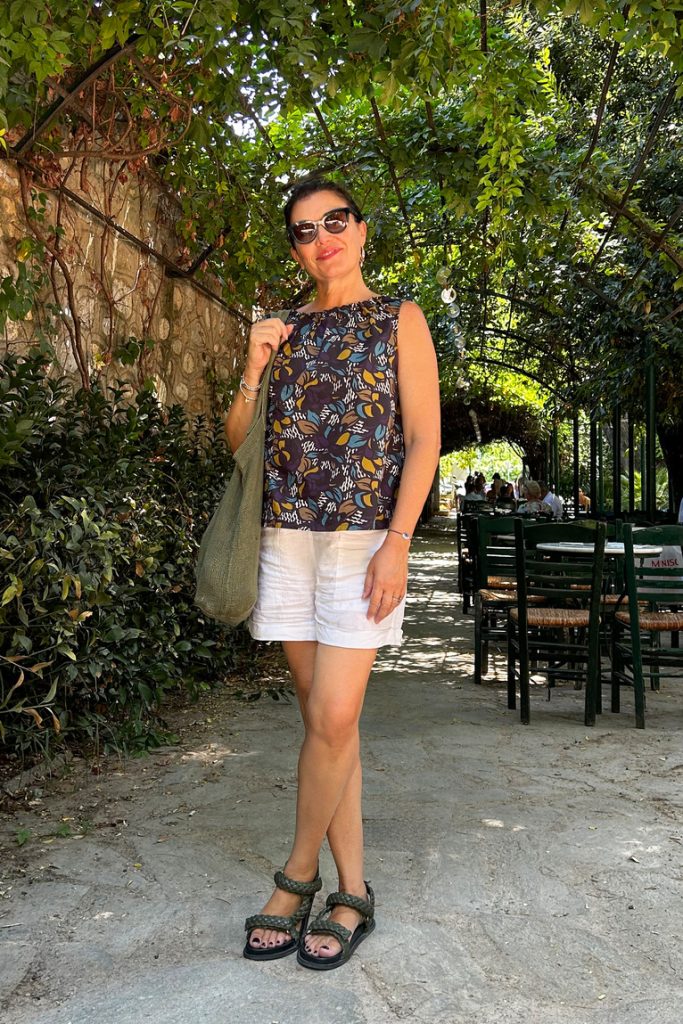
Sonia Shorts worn with the Rae Top.
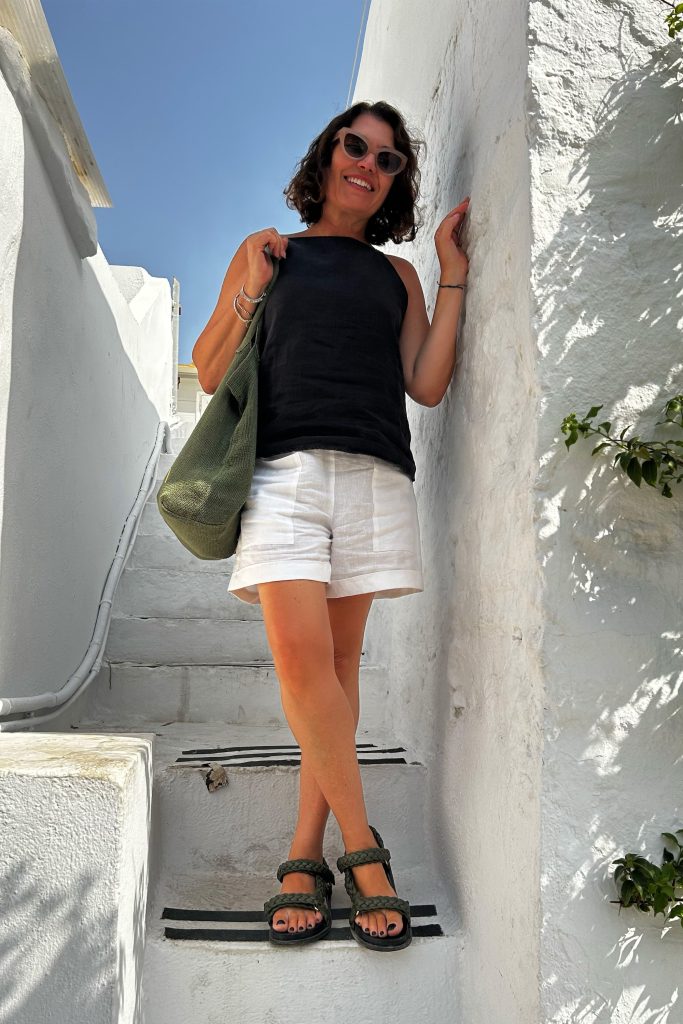
Sonia Shorts worn with the Romy Top.

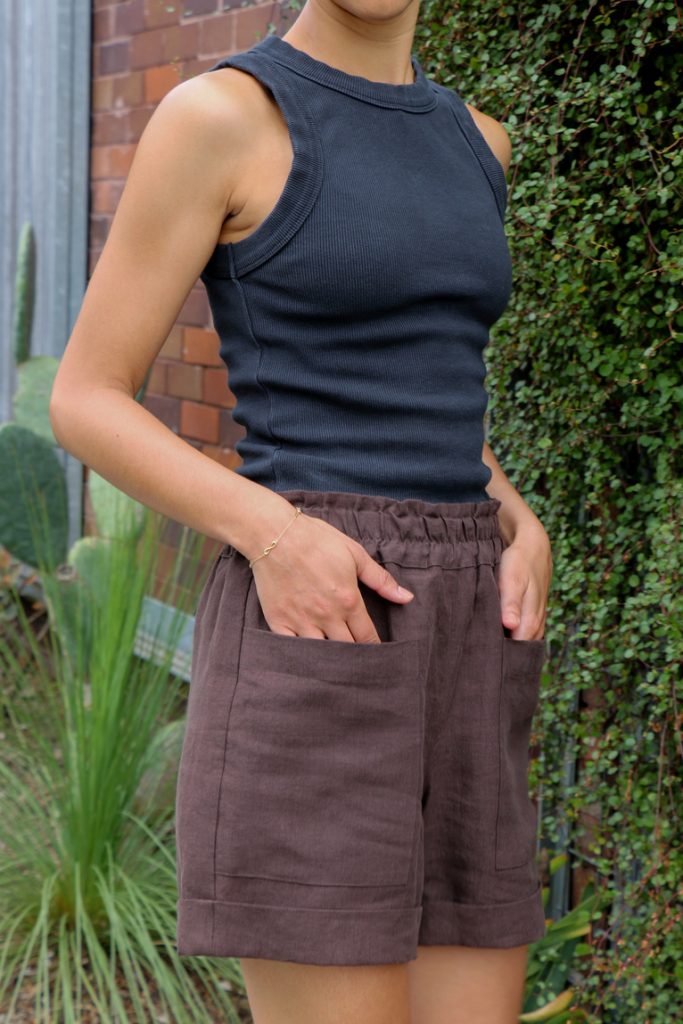
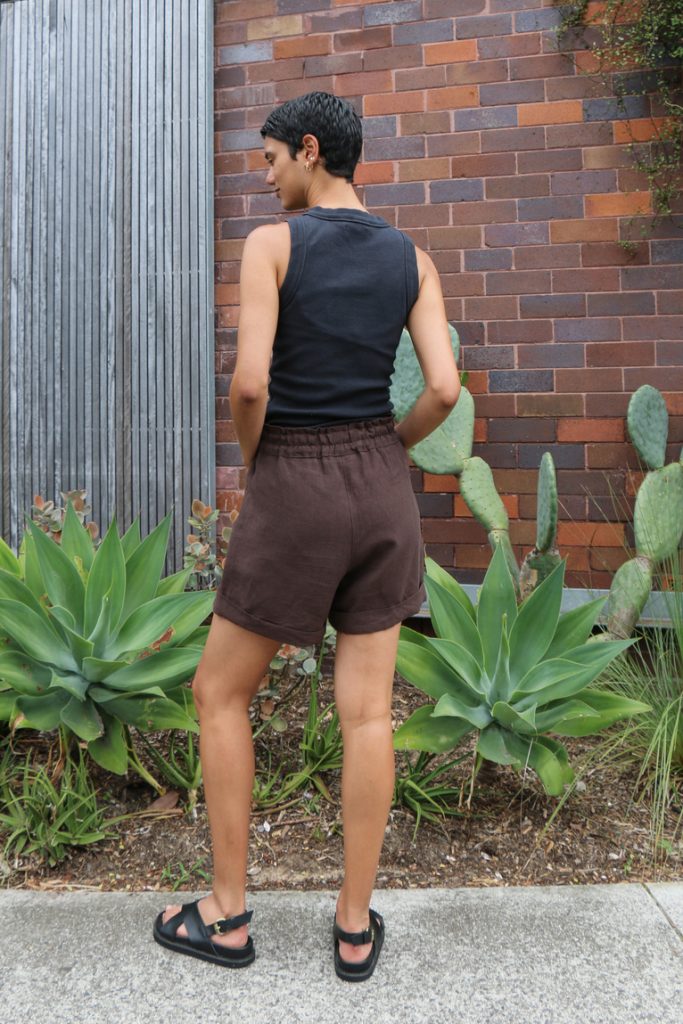
The relaxed style of these shorts is reflected in the looser fit and elasticated paper-bag waist. And that means they are the pattern definition of one of our favourite pattern adjectives – COMFORTABLE!
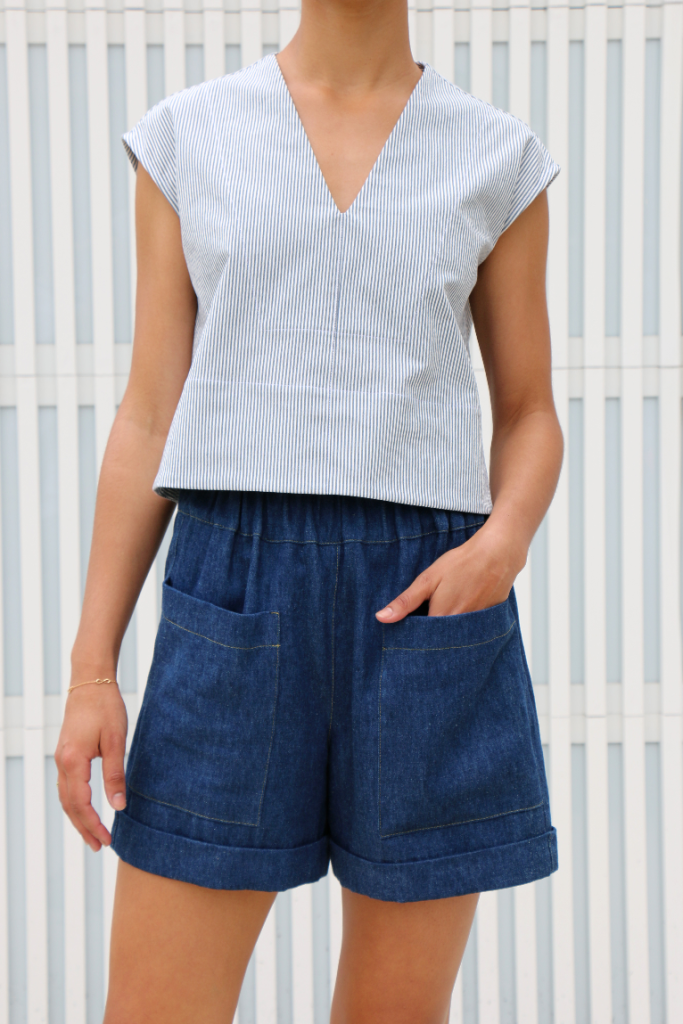
The denim sample pictured here (above and below) is made in our Indigo Washed Organic Denim, a 45% hemp 55% organic cotton blend (also available in this similar Antonia Washed Organic Denim).
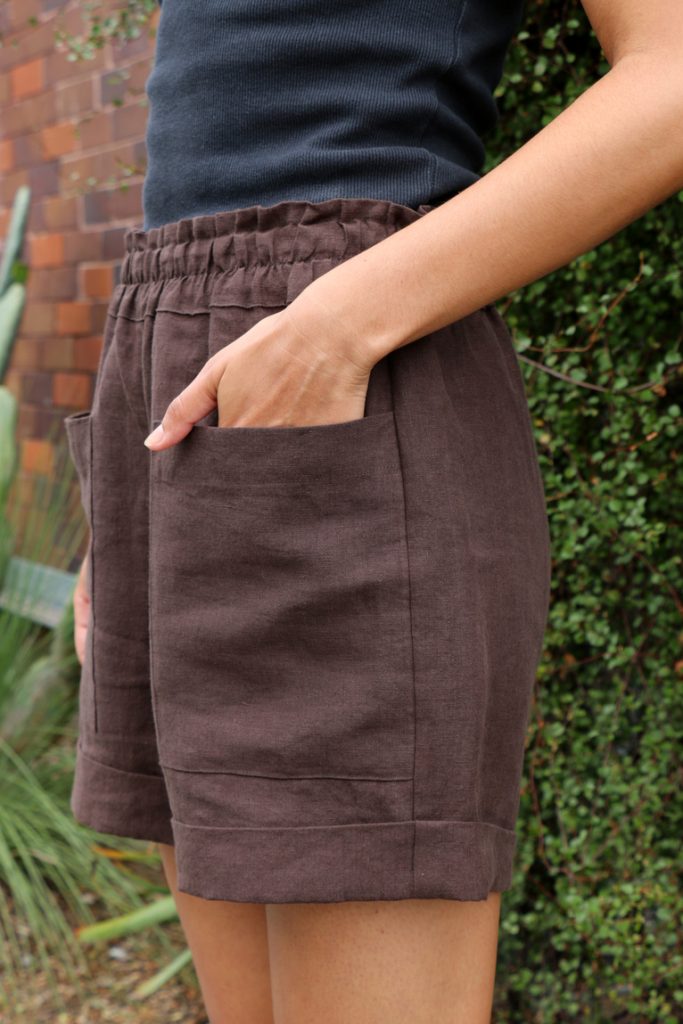
This chocolate pair is made up in our Bedford Carob Washed Linen. In addition to linen, other recommended fabrics for this pattern include linen blends (such as our Harley linen/cupro/tencel) and medium weight cotton chambray.
The pattern come in (Australian) size ranges 6-22 and is now available in both hardcopy and PDF copy shop/print-at-home versions. UK/EU customers can purchase patterns or pack from our Tessuti Pattern UK website.
We can’t wait to see your versions and if you’re sharing them with us on Instagram, don’t forget to use the #SoniaShorts #SewTessuti #TessutiPatterns hashtags.
 Colette and Lisa collaborate to bring you this here Tessuti blog. Follow us to keep your finger on the pulse of new pattern releases, reviews, tips, techniques and a healthy dose of love and appreciation for all things fabric and sewing!


How nice it would be to see these on other sized models!
Exactly what I was thinking!