
Tutorial: Attaching Elastic To Waist Casing (Stretch Knits) – Anita Ponti Pants
March 28, 2013
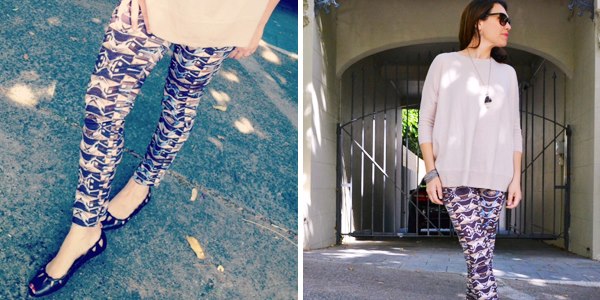
This tutorial is to show how the elastic band is attached to the waist tunnel on our latest Anita Ponti Pant pattern. This method is great for knits and ensures that the elastic band doesn’t twist in the casing. Note: this method should only be used on stretch knit garments.
Here below is our tutorial:
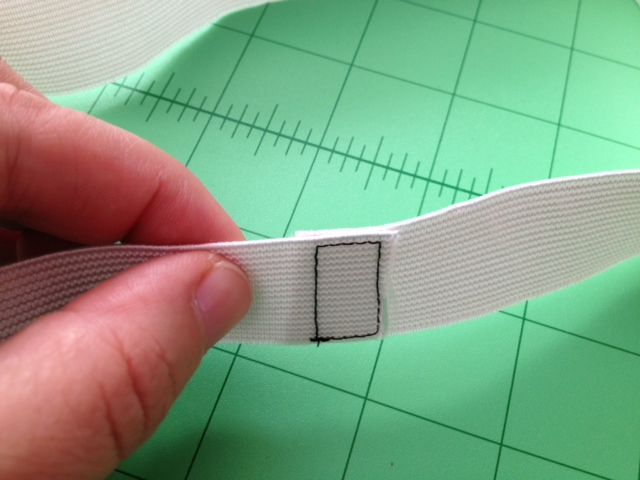
Using the elastic measurement guide included in the pattern or measure and cut 2.5cm (1″ wide) elastic to fit firmly around waist. Overlap at ends (approx 1/2″) and sew to secure.
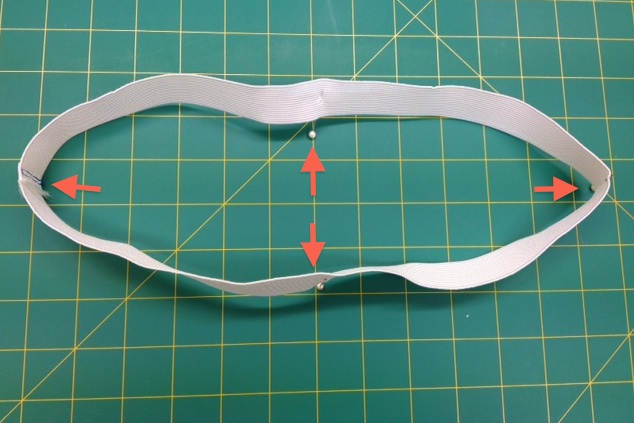
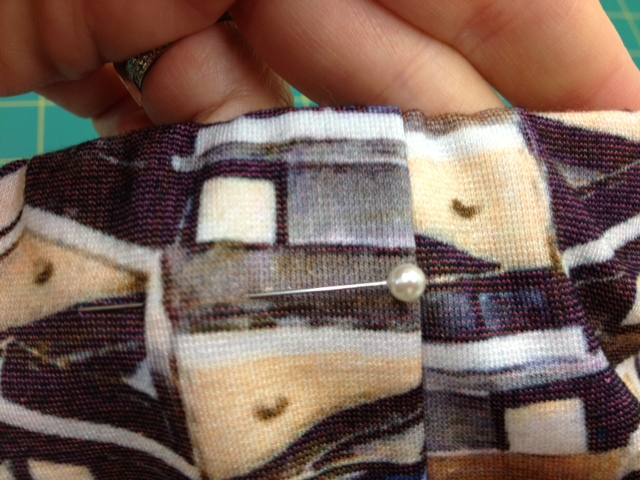
Quarter the joined elastic by placing a pin at each quarter.
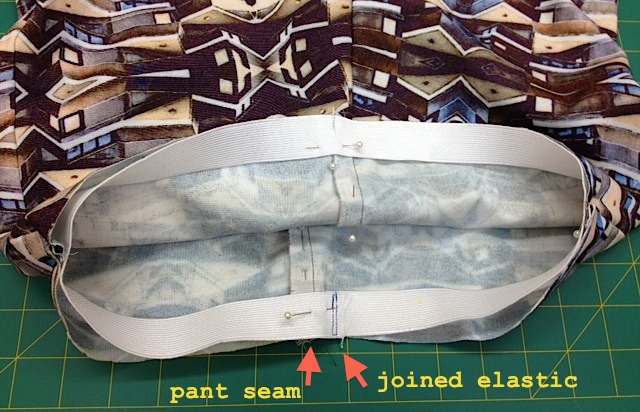
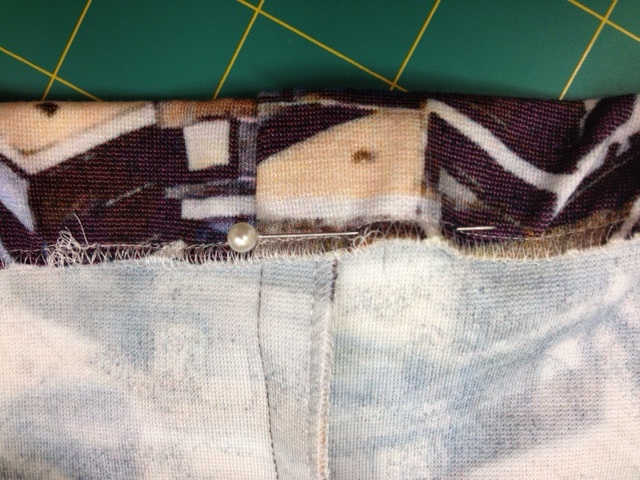
Pin the joined elastic around wrong side of waist, lining up edge of elastic with raw edge of waistband and matching up quartered elastic points with quartered points on waistline e.g. front and back side seams and crotch seams. We recommend the elastic join sits at the middle back seam. So as to avoid too much bulk at the seam where this join is, when lining up joined seam of elastic with a seam on pant, you can move the elastic join to just left or right of the seam and adjust your other quarter points accordingly.
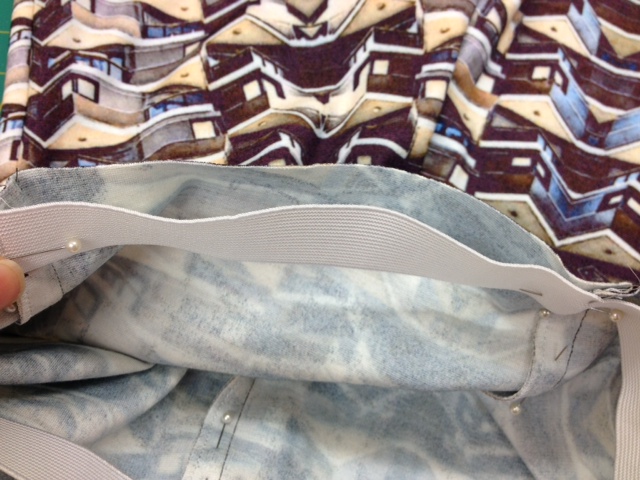
Your elastic band will be smaller than the waist in between quartered points.
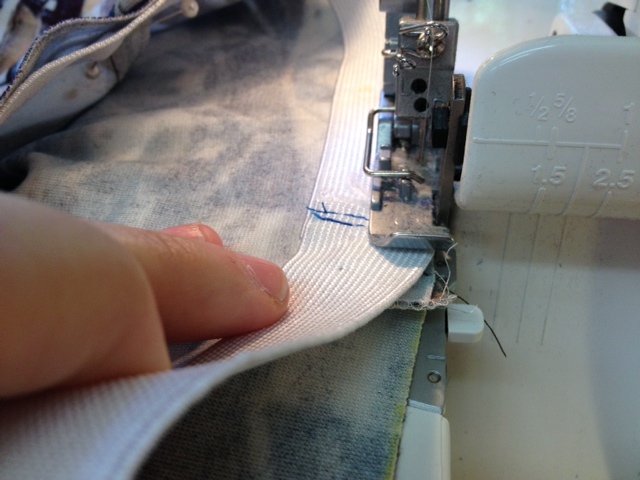
Next, *overlock the top elastic edge to the raw waist edge on pant, stretching the elastic between the 4 quarters to fit onto the waist edge, this will ensure that the elastic is sewn and distributed evenly. Note: Making sure not to cut off the edge of the elastic, you can lift the blade up out of the way at this point if you wish.
* If you don’t own an overlocker, you can use your zig zag stitch on your sewing machine, making sure to lengthen width and stitch length ( approx width 4-5 and stitch length 3.5 – it varies on different sewing machine makes and models so test to see what works for you) and be sure to line up edge of elastic and waist top with inside toe edge of foot

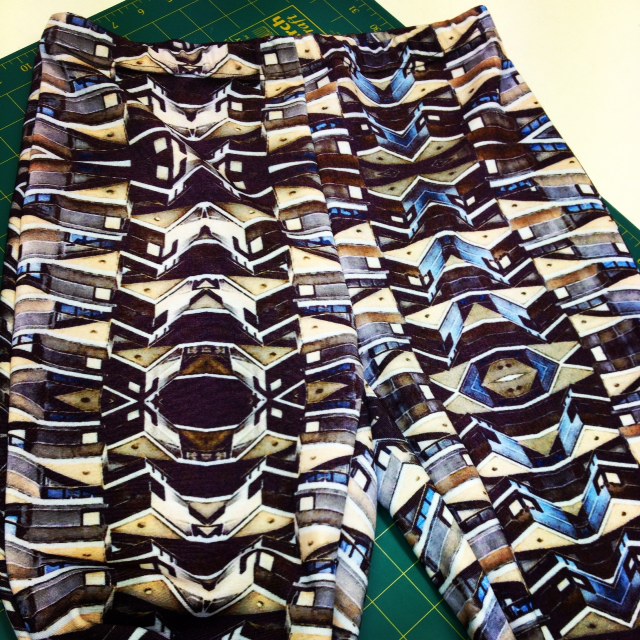
This is what it will look like from the right side.
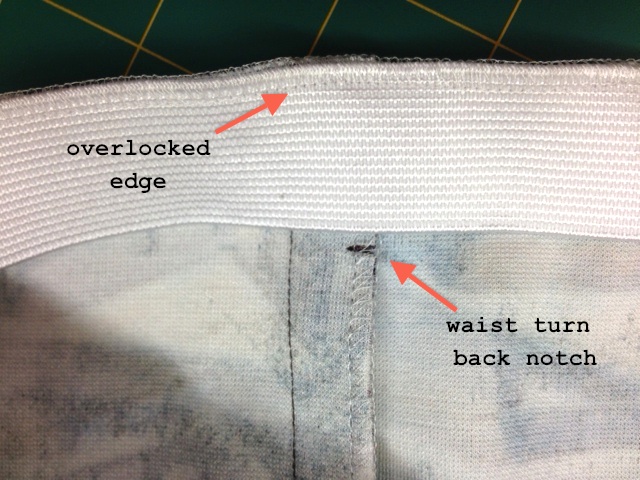
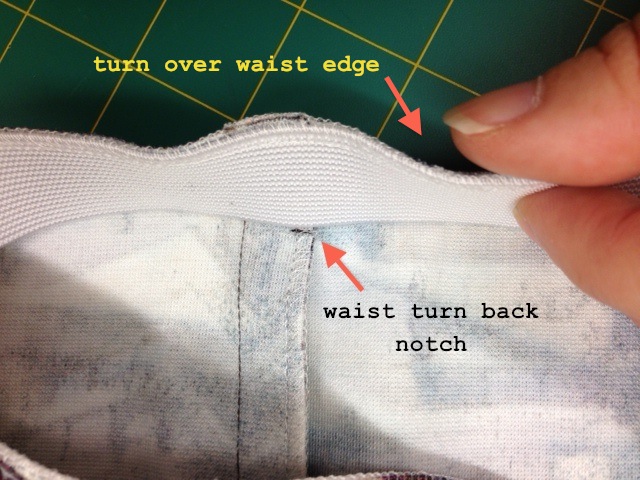
With the elastic now securely in place, turn over top overlocked edge towards inside (or wrong side) of pant. Note: your waist turn back notch should be just below the bottom edge of elastic).
Making sure that the elastic and fabric sit flat and even, pin in place at overlocked edge and then transfer pins onto right side at the same point.
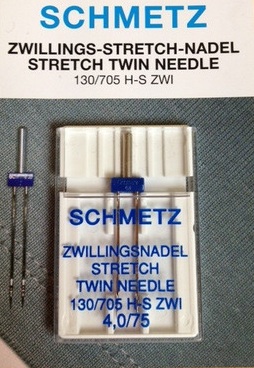
Note: Set your sewing machine up with the recommended 4.0 stretch twin needle.

With the pins in place (or use guide line on your machine) as your guide, twin needle at this point on right side of pant around edge of waist.
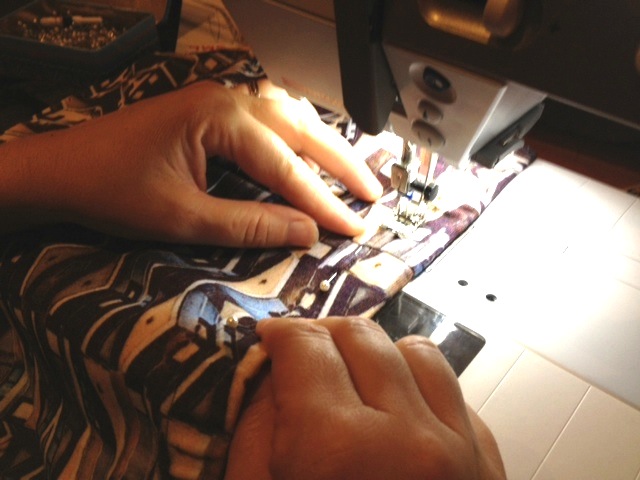
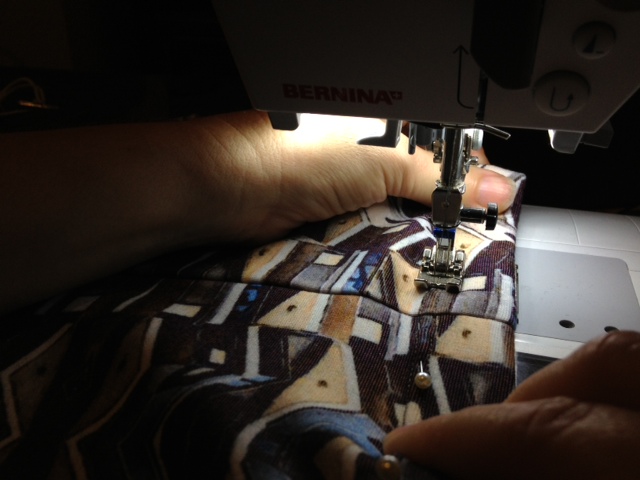
As you sew, you will need to gently pull/stretch the fabric through from behind your sewing foot with your left hand and guiding in the fabric with your right, ensure that you you keep your fabric casing flat and that you sew evenly as you do this. Back stitch at end.
Note: The twin needle stitch at this point gives a professional finish to the pant. When sewing through all the thickness (elastic, pant and casing) as well as stretching your casing as you sew, it’s very important to sew slowly and carefully when using the twin needle.
Handy Tips For Twin Needle Sewing:
– You can use your hand wheel, in particular when sewing over bulk eg. joined elastic thickness.
– Increase the length of your stitch, this will help keep the stretch in your elastic.
– Using stretch woolly nylon thread in your bobbin gives extra stretch to this area. Normal thread in bobbin works fine too.
– For those not keen to try twin needle stitching you could sew with a normal needle (stretch 90 or jeans 80 / jeans 90 – yes really, a jeans needle! They are a sharp and tough needle that will go through elastic and fabric thickness) and sew a double row finish instead.
******
Hope you’ve found this tutorial helpful. If you’ve got any suggestions or tips to add we’d love to hear them.

 Colette and Lisa collaborate to bring you this here Tessuti blog. Follow us to keep your finger on the pulse of new pattern releases, reviews, tips, techniques and a healthy dose of love and appreciation for all things fabric and sewing!


Thankyou for the tutorial, it's very informative and having recently discovered the joys of using a twin needle it's also very timely.
I am curious however in reference to your mention of the use of a Jeans 80 Needle on knit fabric, I always thought you had to use a ball point or stretch needle in this case?!
Hi Jody, Thank you for the comment and alerting me that I needed to explain that part better. Of course a heavy stretch needle is obvious as they are teflon coated and penetrate better through elastic and fabric thicknesses. Ball point would not be suitable for this, only for jerseys without lycra/elastane in them.
A jeans needle is actually a very sharp and strong needle, that would work well to penetrate through all of the thickness at the casing edge. I actually use a jeans 70 for my every day woven sewing rather than a universal 70 needle, as they are much sharper. Give it a try.
Thank you
Colette
I also forgot to mention that different machine makes and models cope differently with stretch and thick seams, so test out what works better for your machine and gives a nicer finish.
Quality finish is everything!
Colette, totally with you on the wooly nylon in the bobbin. Wooly nylon is totally underutilized in the world of sewing (it's often used just in serging). That said, don't try wooly nylon in the sewing machine needle. Won't work.
Also another twin needle option – try using your Coverstitch machine with two needles, these aren't quite as fragile as twin needles. One reason I love CS so much I'm not breaking those darn $$$ twin needles all the time!
No you're right the woolly nylon thread should ONLY go in the bobbin.
Thanks for your tip re the Coverstitch machine. I don't have one, but it's on my wishlist 🙂
amazing tutorial! i'l be trying this out…glad to hear i can stitch a double row at the end, i thought i was out of twin needle finishing, having only my straight stitch machine & overlocker.
these comments are fascinating too– the needle info is great, i was always baffled by the difference between stretch & ball point. your tips on needle usage would make a great post… 🙂
Thanks Oonaballoona 🙂 will definitely work on a needle usage post soon.
Thanks for posting the tutorial on line … And for including it in the Anita pant pattern instructions. This sewing exercise was a first foray for me into this type of elastic tunnel, twin needles AND the edge stitching followed by another row further in … The pants look SO great that I am wondering just how many pairs would be too many?
Collete do you think I could make them up in a double knit?( what's the difference between that and wool Ponti ?)
Many thanks
australian Woman ( though confusingly in Abu Dhabi at the moment )
So when stitching with the twin needle, are you sewing into the elastic?
yes, you are sewing straight on the elastic
I was wondering that too – does the double needle go throught the elastic, both rows of stitiching? Or one on the elastic and the other just below? I've never used a double needle before (or sewn with stretch fabrics either) so this was really useful!
Yes Pearl Cardigan, both rows of stitching go through the elastic.
If you straight stitch on elastic, doesn't that make it lose some of its elasticity? I thought zig zag was recommended on elastics.