Want to learn a new cutting method? Here’s a technique commonly used within the fashion industry for cutting out delicate fabrics like silk satin, crepe de chine, georgette, chiffon, organza and drapey silk/rayon velvets etc. This method is particularly useful when cutting such delicate fabrics on the bias grain.

I’ve put together this tutorial as an add-on to our latest pattern release, the Sadie Slip Dress. But really, it can be applied to any pattern that uses a slippery or delicate fabric. Firstly, we recommend that you lay out and cut out your fabric on the single (meaning fabric is open and not on the fold) and in between paper. Cutting it in between paper prevents the fabric from slipping and moving and ensures that your fabric is cut on the correct bias grain. The paper we use is our spot and cross pattern drafting paper, sold in all Tessuti stores (10m for $15). It’s 120cm wide and has your vertical, horizintal and bias lines all marked out in spot and cross on the paper which makes it perfect for marking/laying out your pattern pieces correctly.
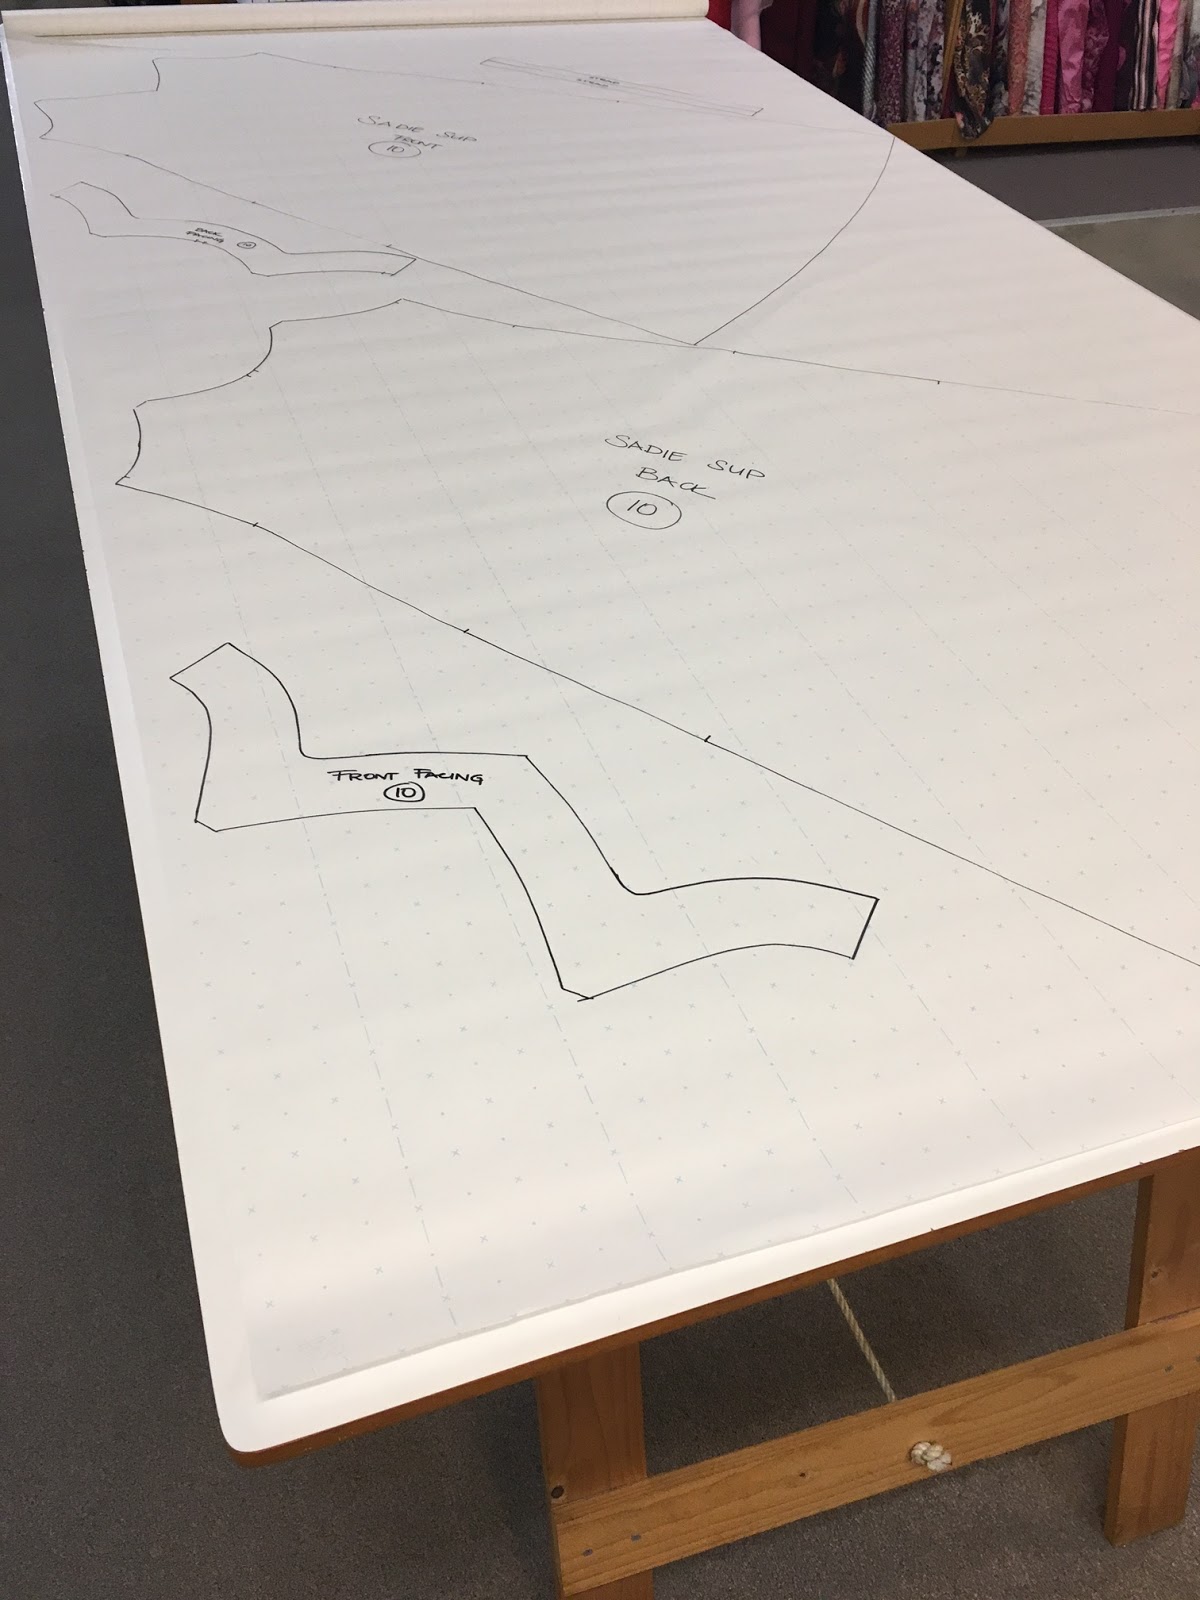
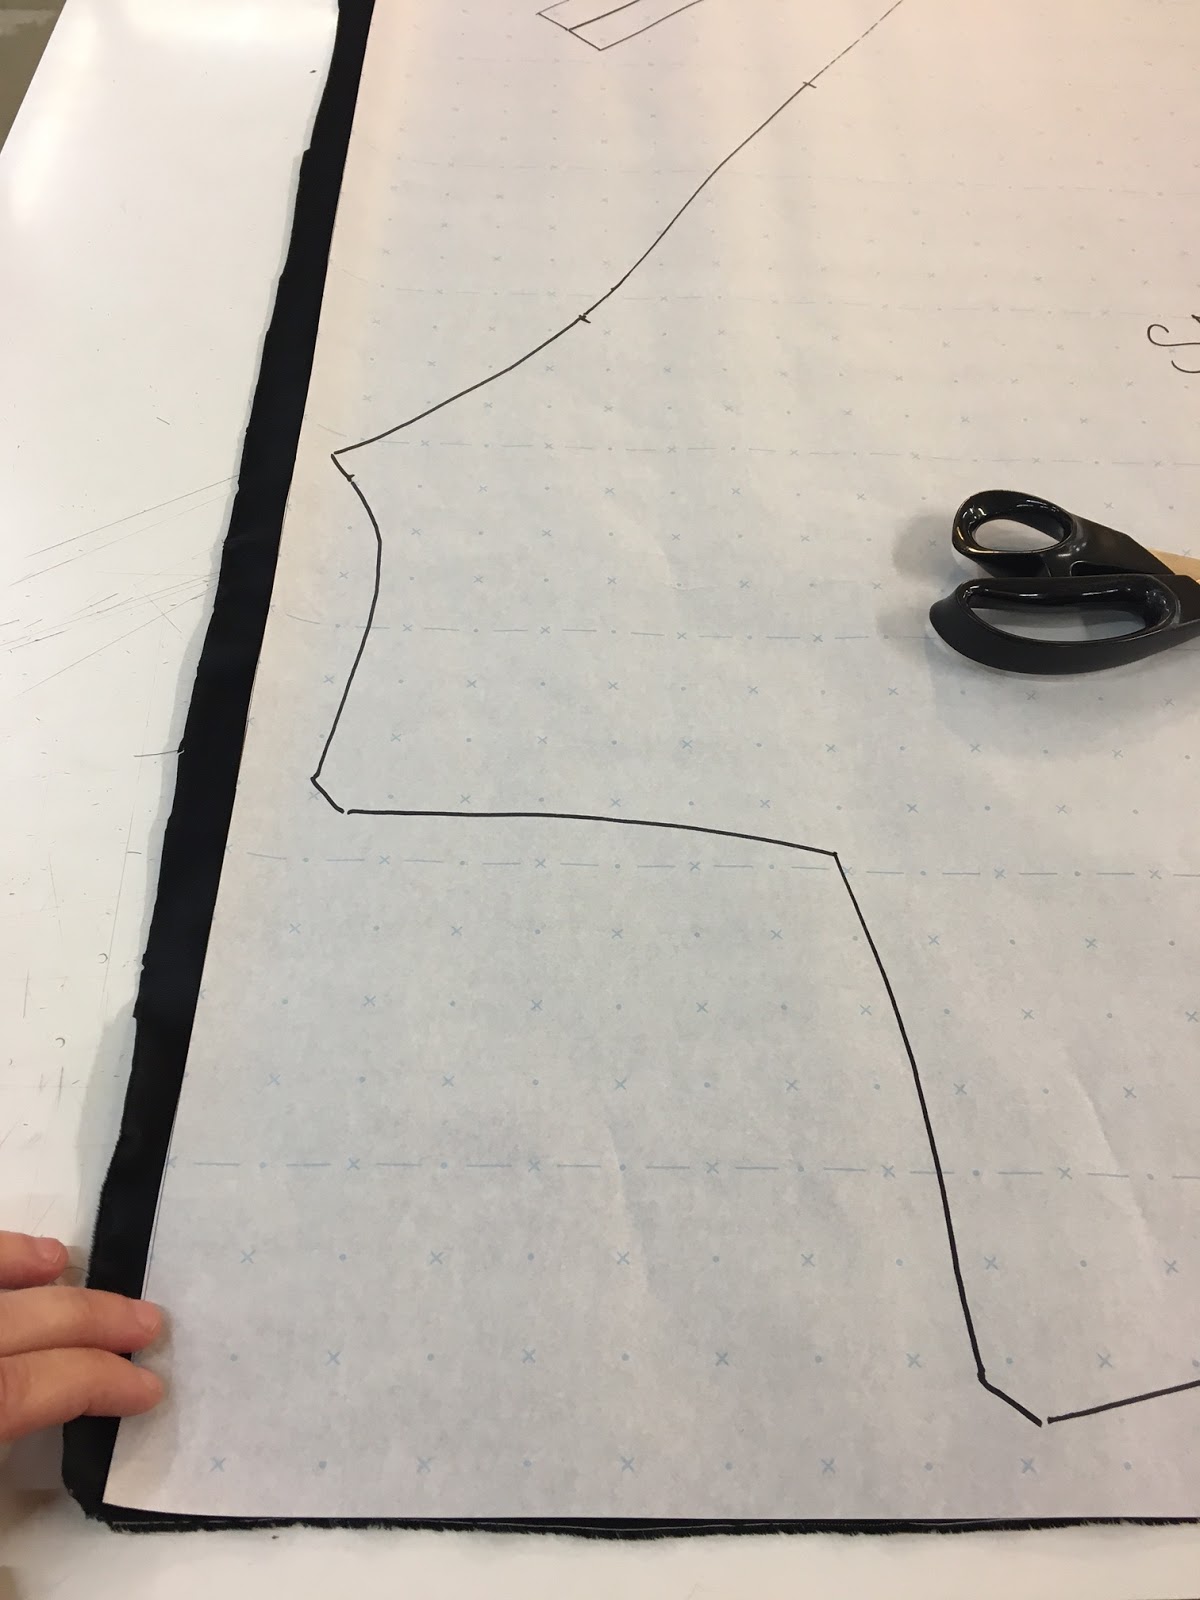
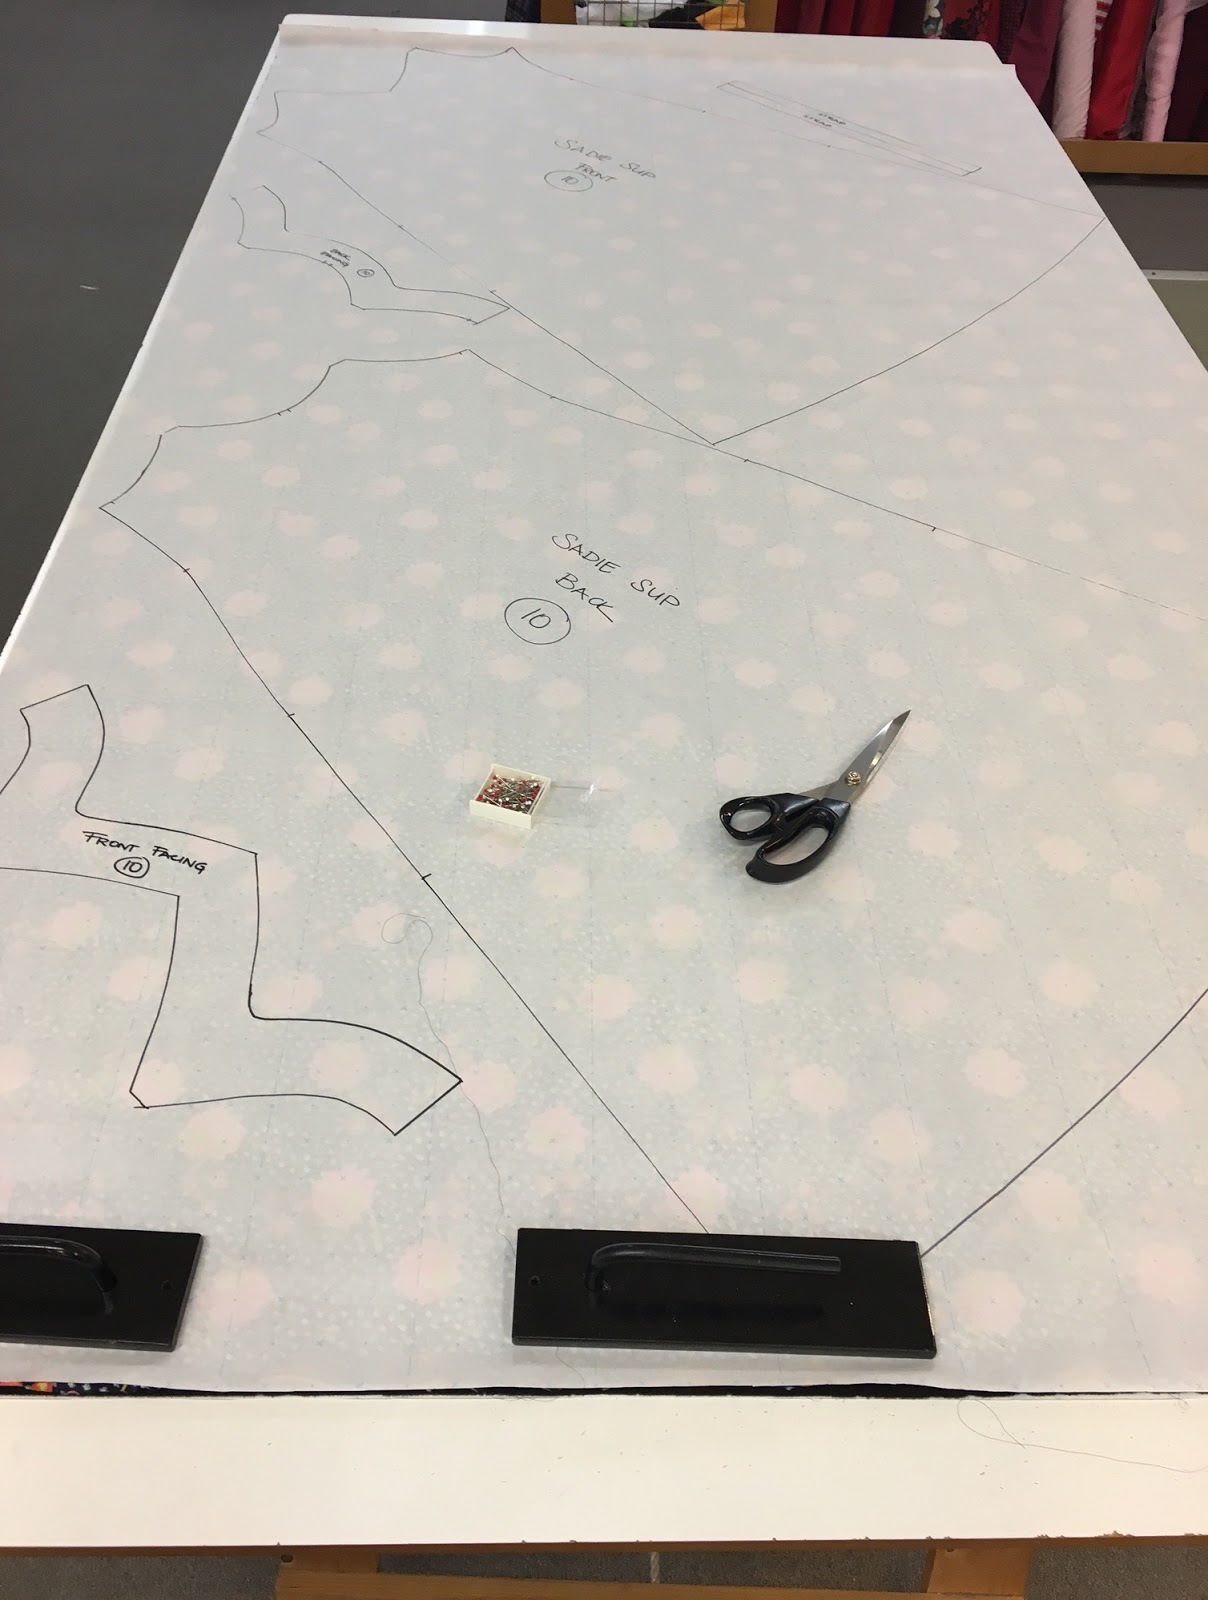
Above shows the layout of the Sadie Slip pattern pieces traced out onto 2.20mtrs (for size 10/SMALL) of spot and cross paper (120cm wide).
Due to having to layout the front and back pieces going in the same direction, this is the same layout for fabrics 120cm-150cm wide . The
silk satin used to make up the Sadie Slip Dress has a nap, so to avoid colour difference at the side seams the pattern pieces need to be cut going in the same direction (also advisable for one way print designs, velvets etc). Note that there will be some wastage, but this is often the case with bias cut garments.
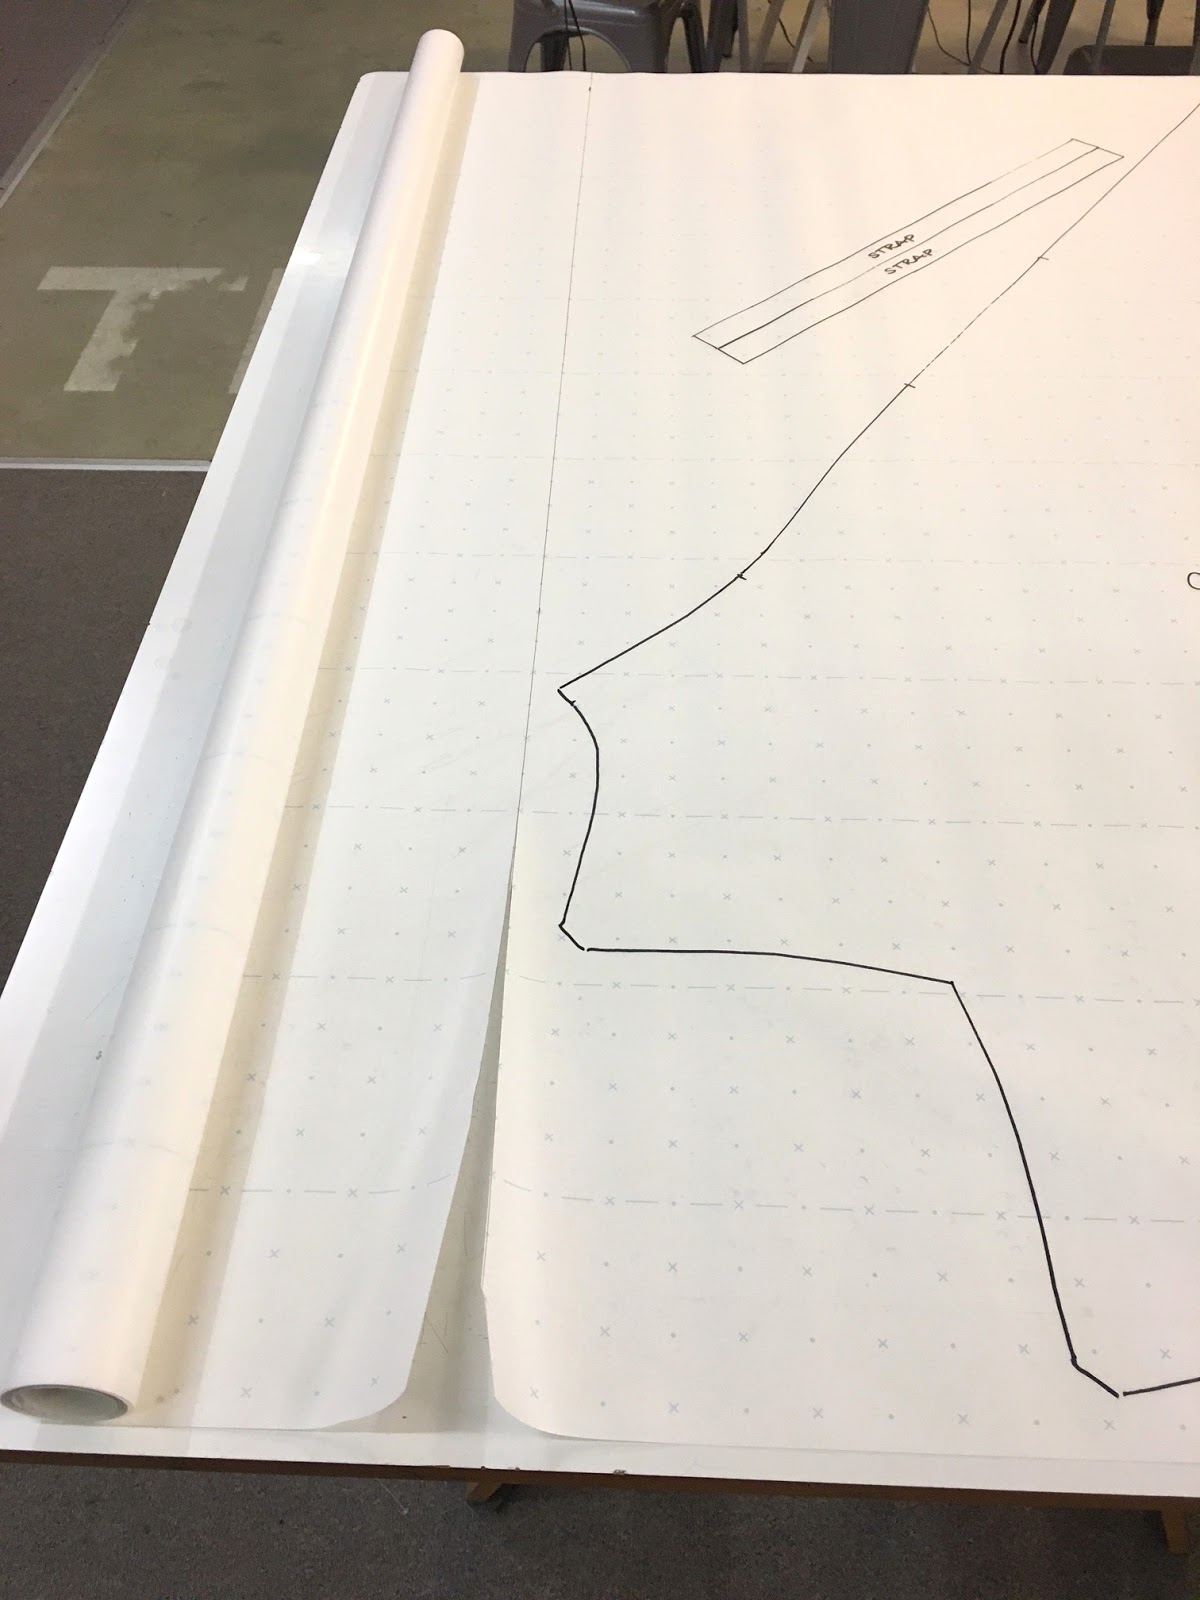
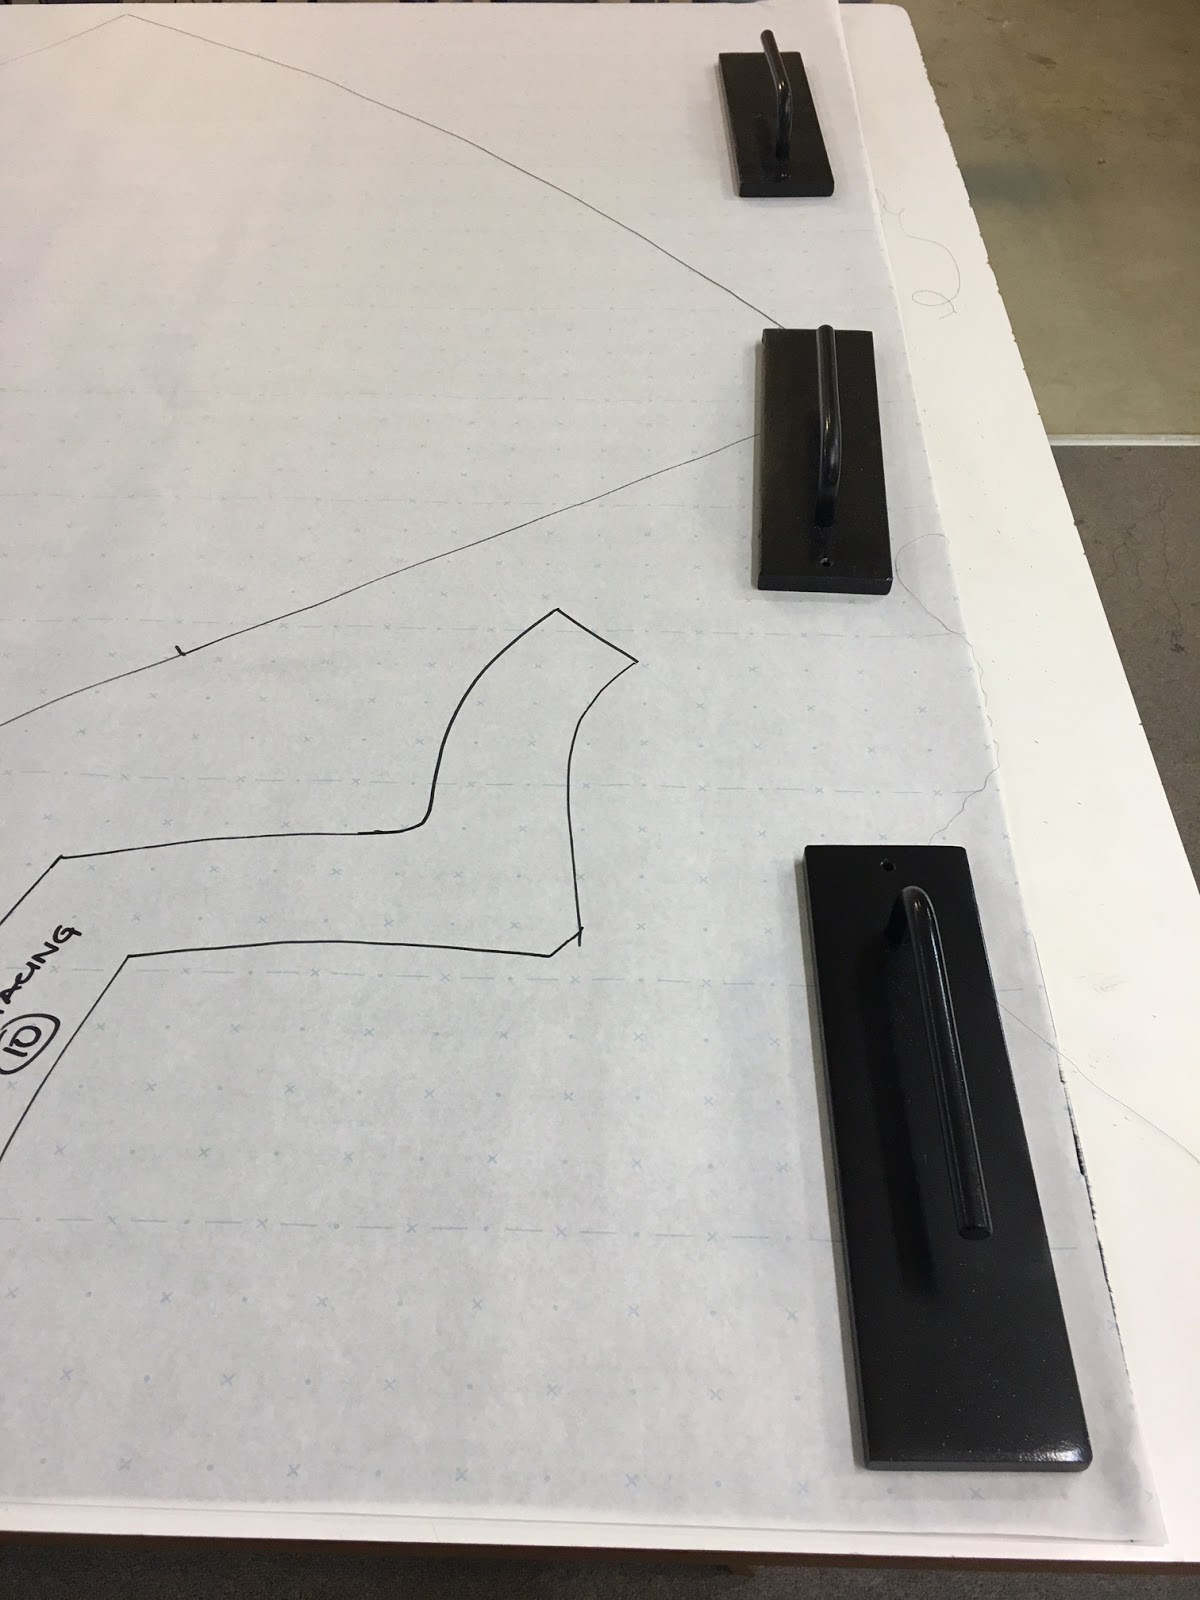
After marking out all of the pattern pieces on the spot and cross paper, mark a vertical line at the end of your pattern layout marker and cut off the paper on this line.
Measure off another length of spot and cross paper the same length as your pattern layout marker sheet.
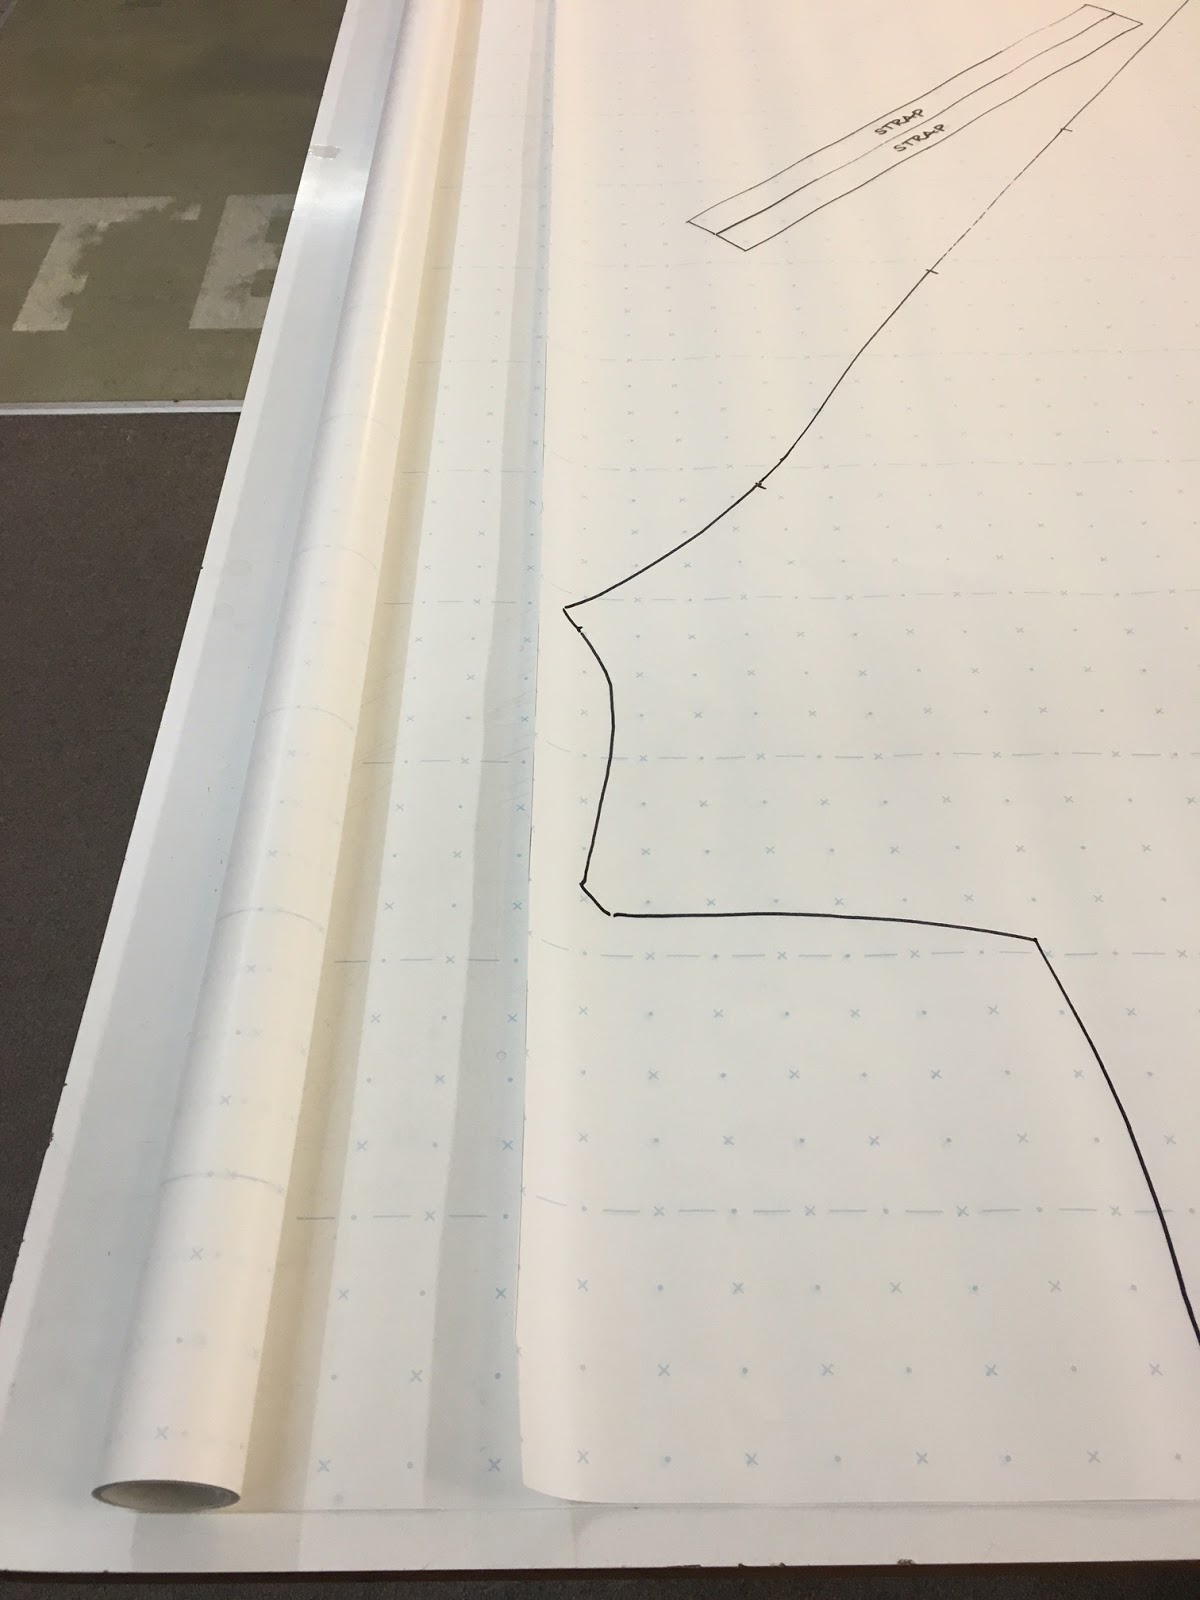
Double check by laying out your pattern layout marker sheet on top of the blank sheet …
…and cut off end of blank paper as done previously on pattern layout marker sheet.
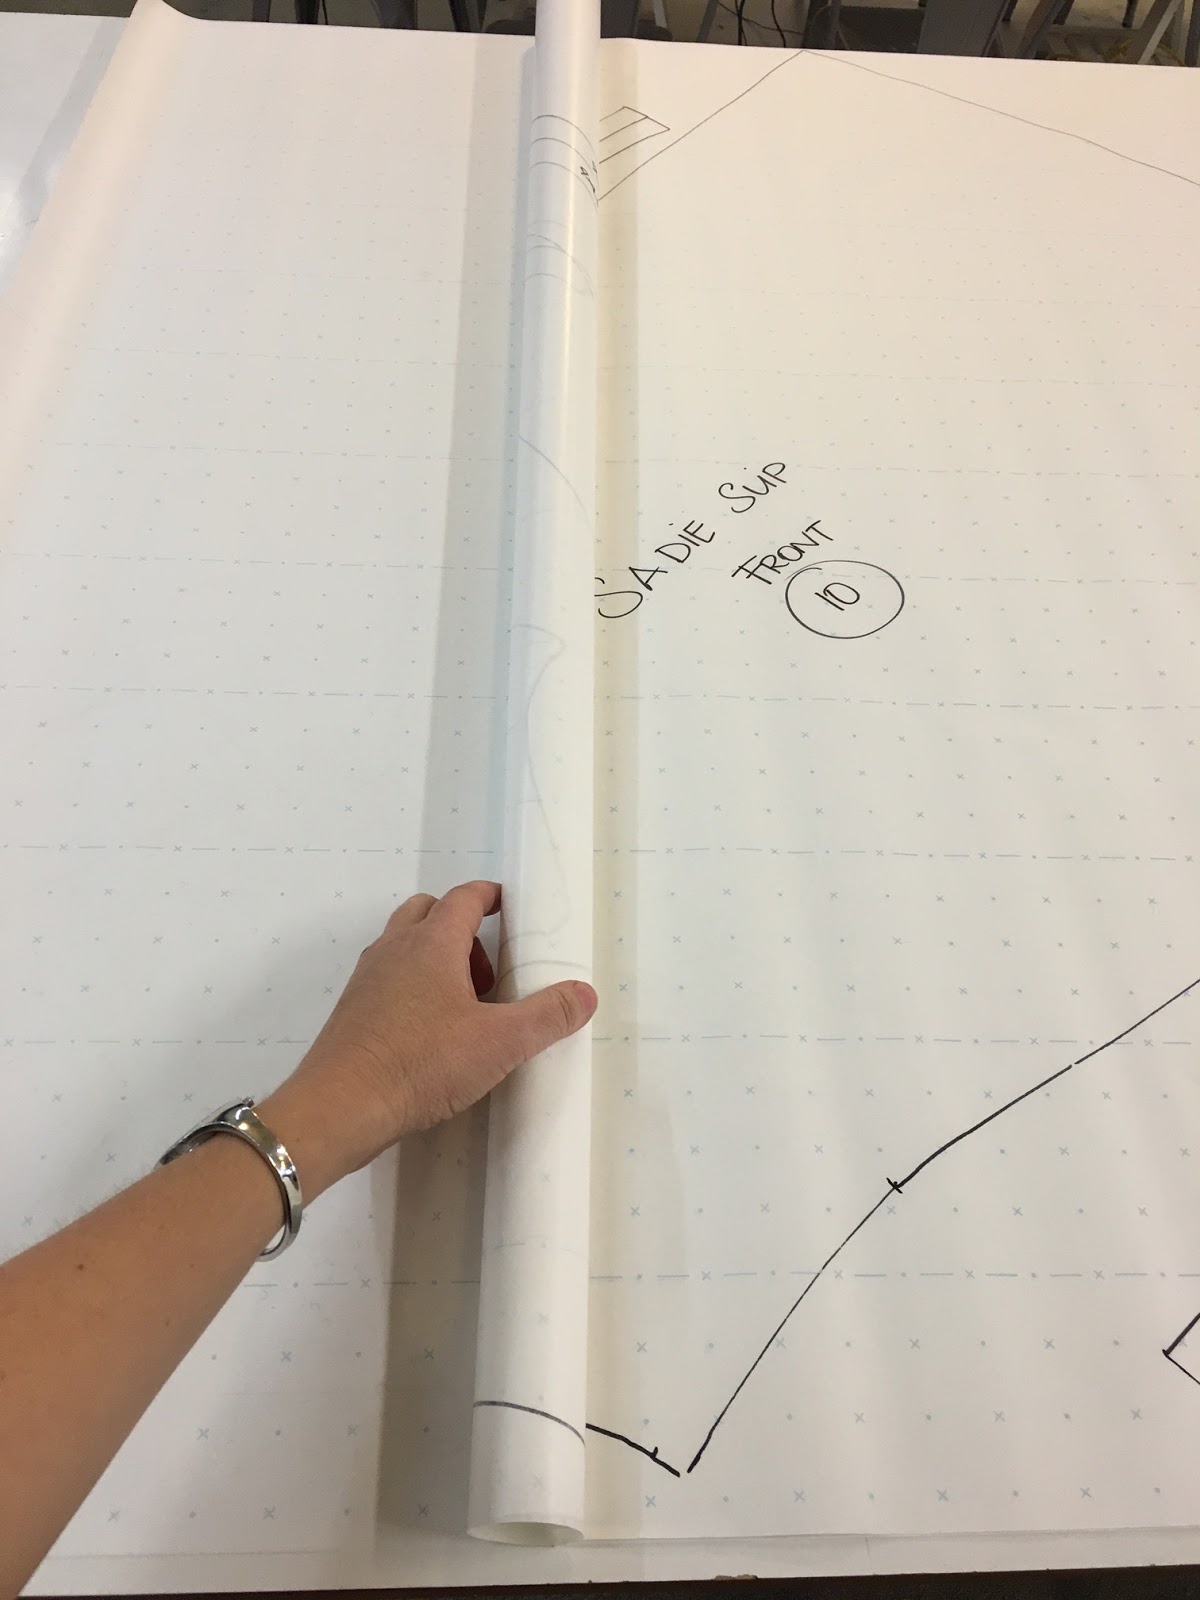
Roll off the pattern layout marker sheet, to prepare laying out your fabric.
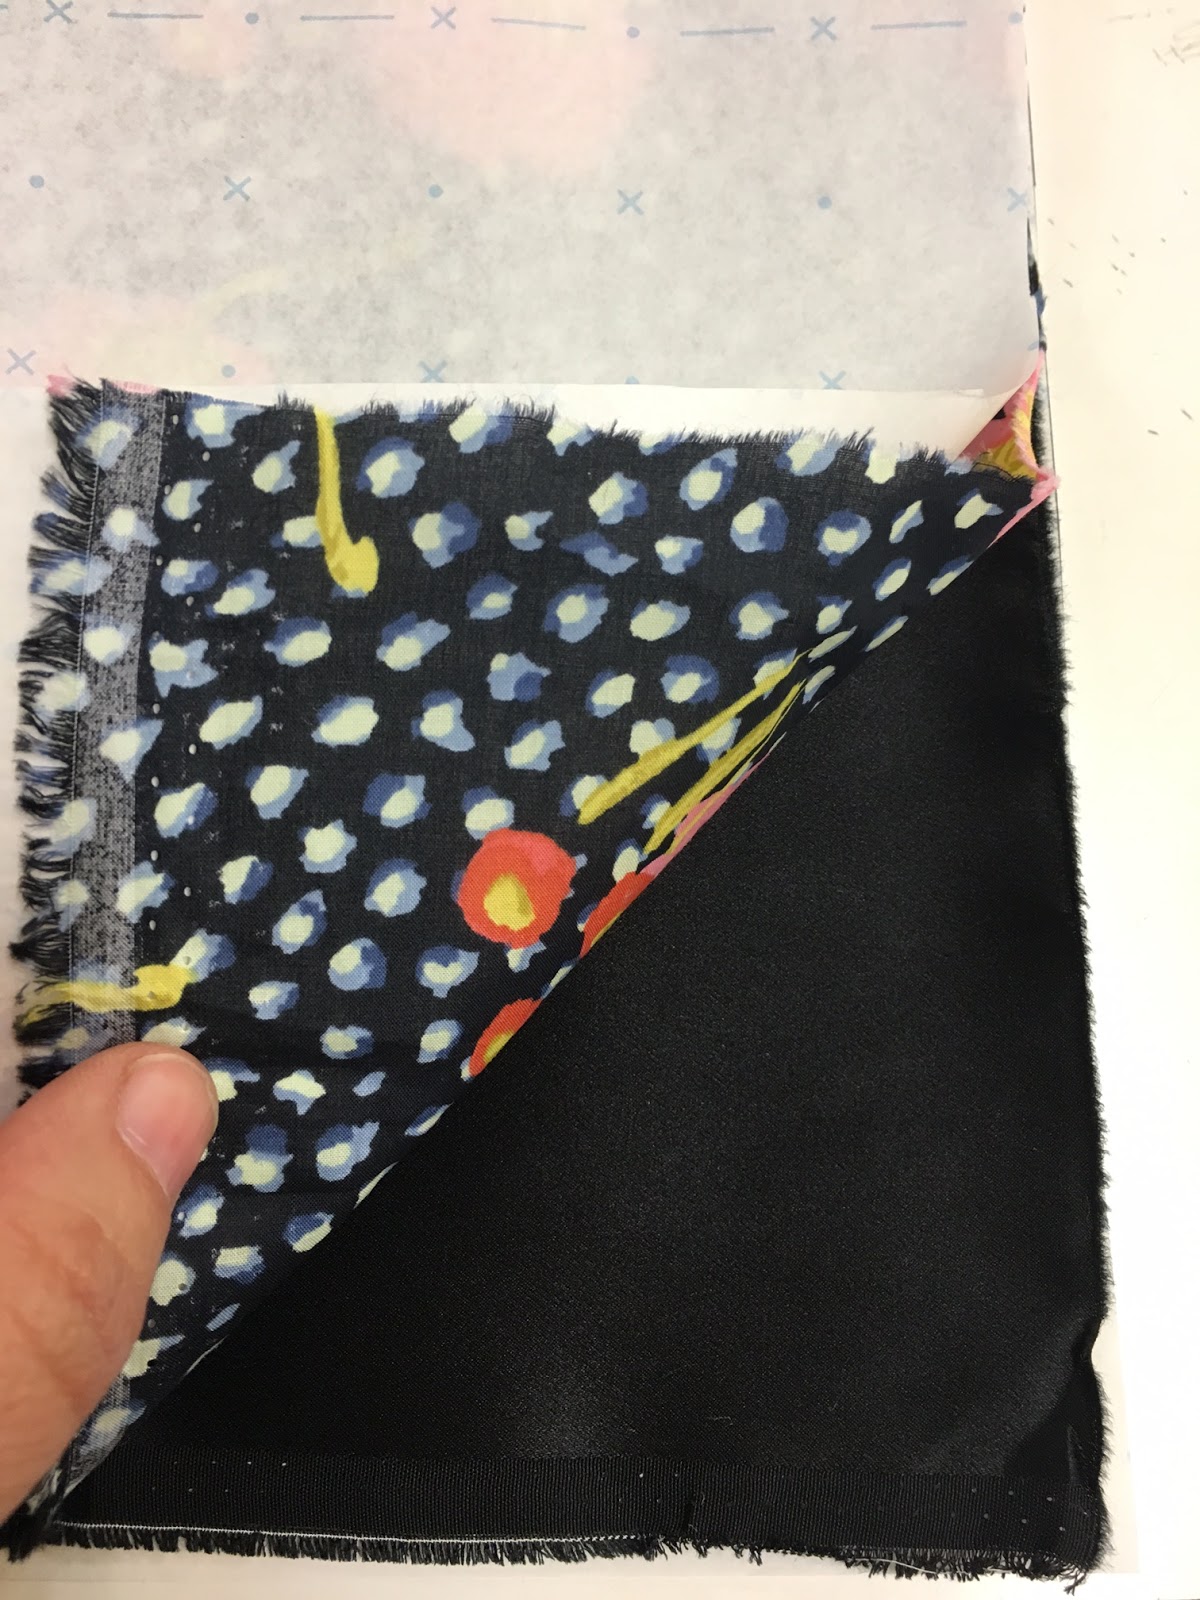
Lay out your fabric on top of the blank sheet of paper. It’s important to make sure to line up the cut edge (making sure it’s cut straight) of the fabric with the vertical edge of the paper and the selvedge edge of the fabric with the horizontal edge of the paper closest to you. Note: if your fabric is wider than 120cm wide, your fabric will end past the opposite horizontal edge of the paper. This is part of the wastage. Keeping weights on top of the vertical edge of your fabric helps to keep it in place as you layout your fabric along the selvedge edge. If your vertical/cut edge and horizontal/selvedge edge is laid out correctly and squared off in this way, your fabric will automatically be laid out on the true grain. This will ensure that for the next step, you’ll be able to cut your pattern pieces out on the true bias grain.
Now that your fabric is laid out correctly, the end of your fabric length should sit somewhere very close to the cut edge of your paper sheet (see below)
It’s time to carefully lay out the paper layout marker sheet on top of your laid out fabric. Make sure again to line up the vertical and horizontal edges of the pattern layout marker, with the same edges of the fabric.
Again use weights to keep your paper in place.
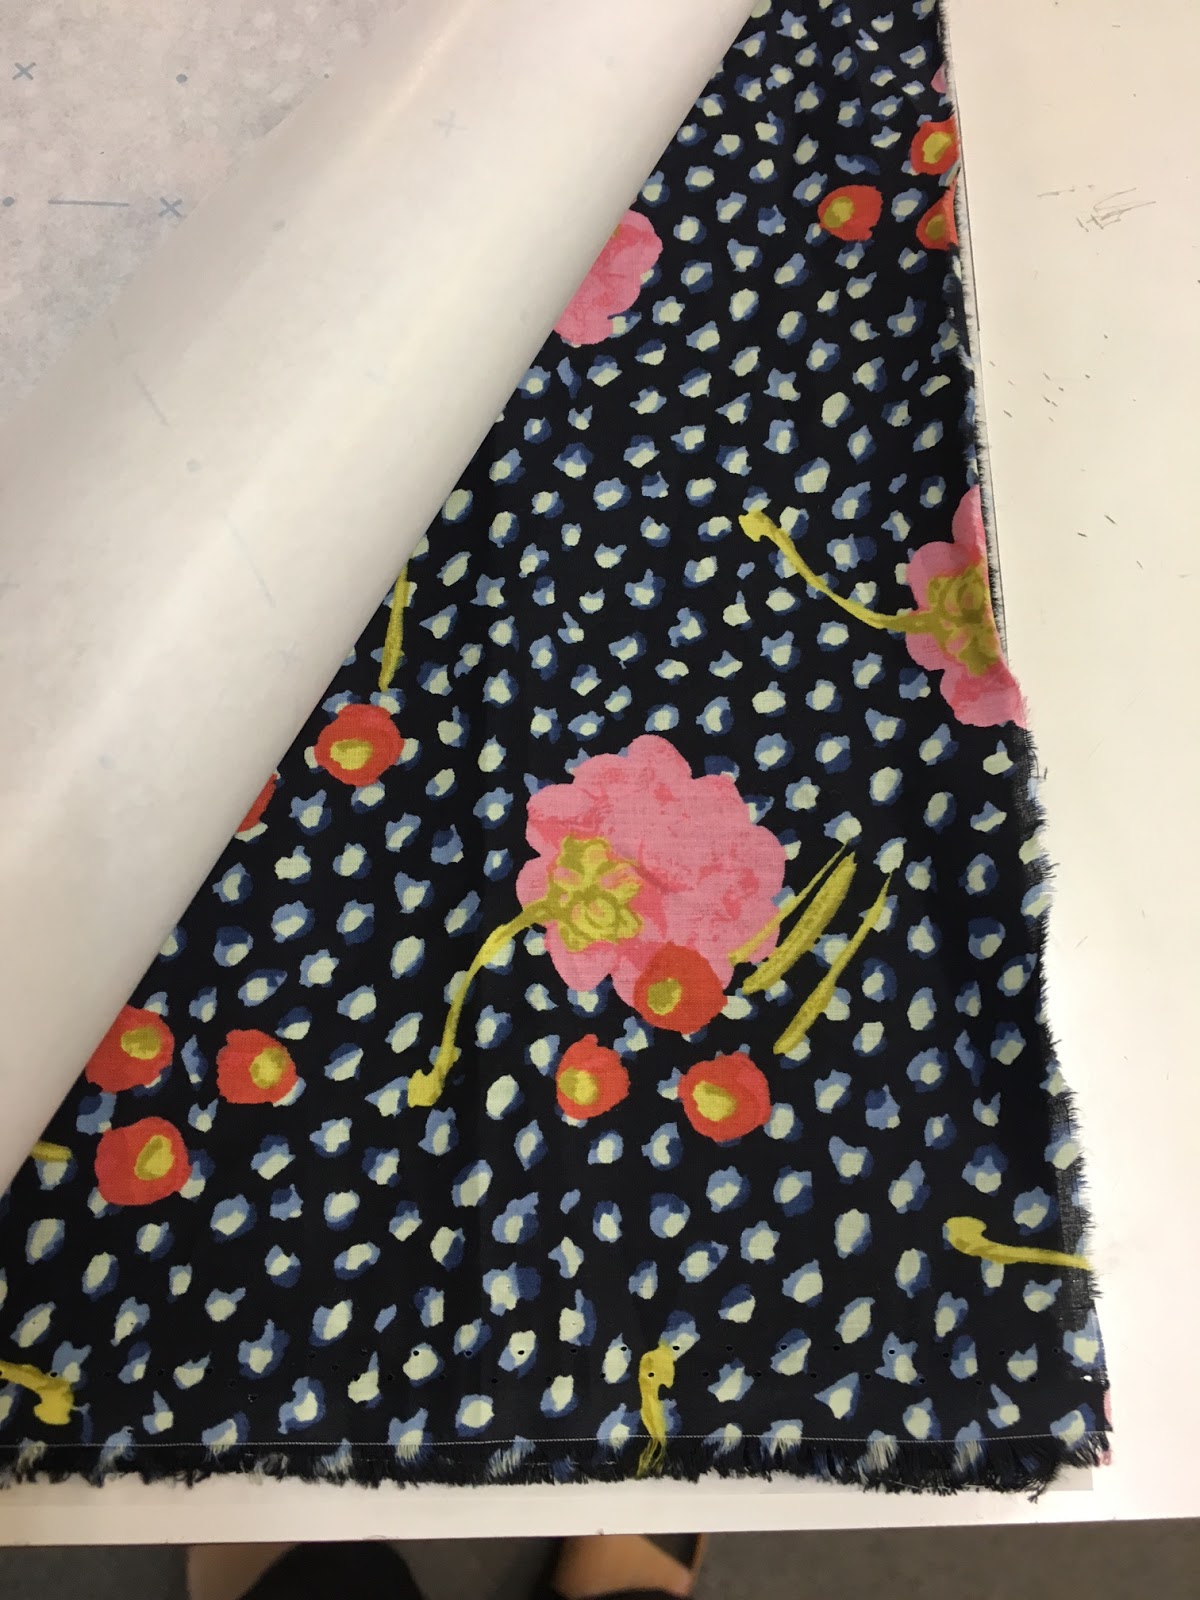
Did you know you can cut out two Sadie Slip dresses at once? Before laying the pattern layout marker sheet on top of your fabric, simply layout another length of fabric on top of the first layer.
Provided the second fabric is the same width as the first fabric (or falls within the width of the pattern layout paper) and taking care not to move the first fabric around as you lay out your second fabric on top, make sure to adjust carefully and use your weights for support. The blank sheet beneath will help to anchor the first fabric in place, but you will still need to ensure that the vertical and horizontal edges don’t move out of position.
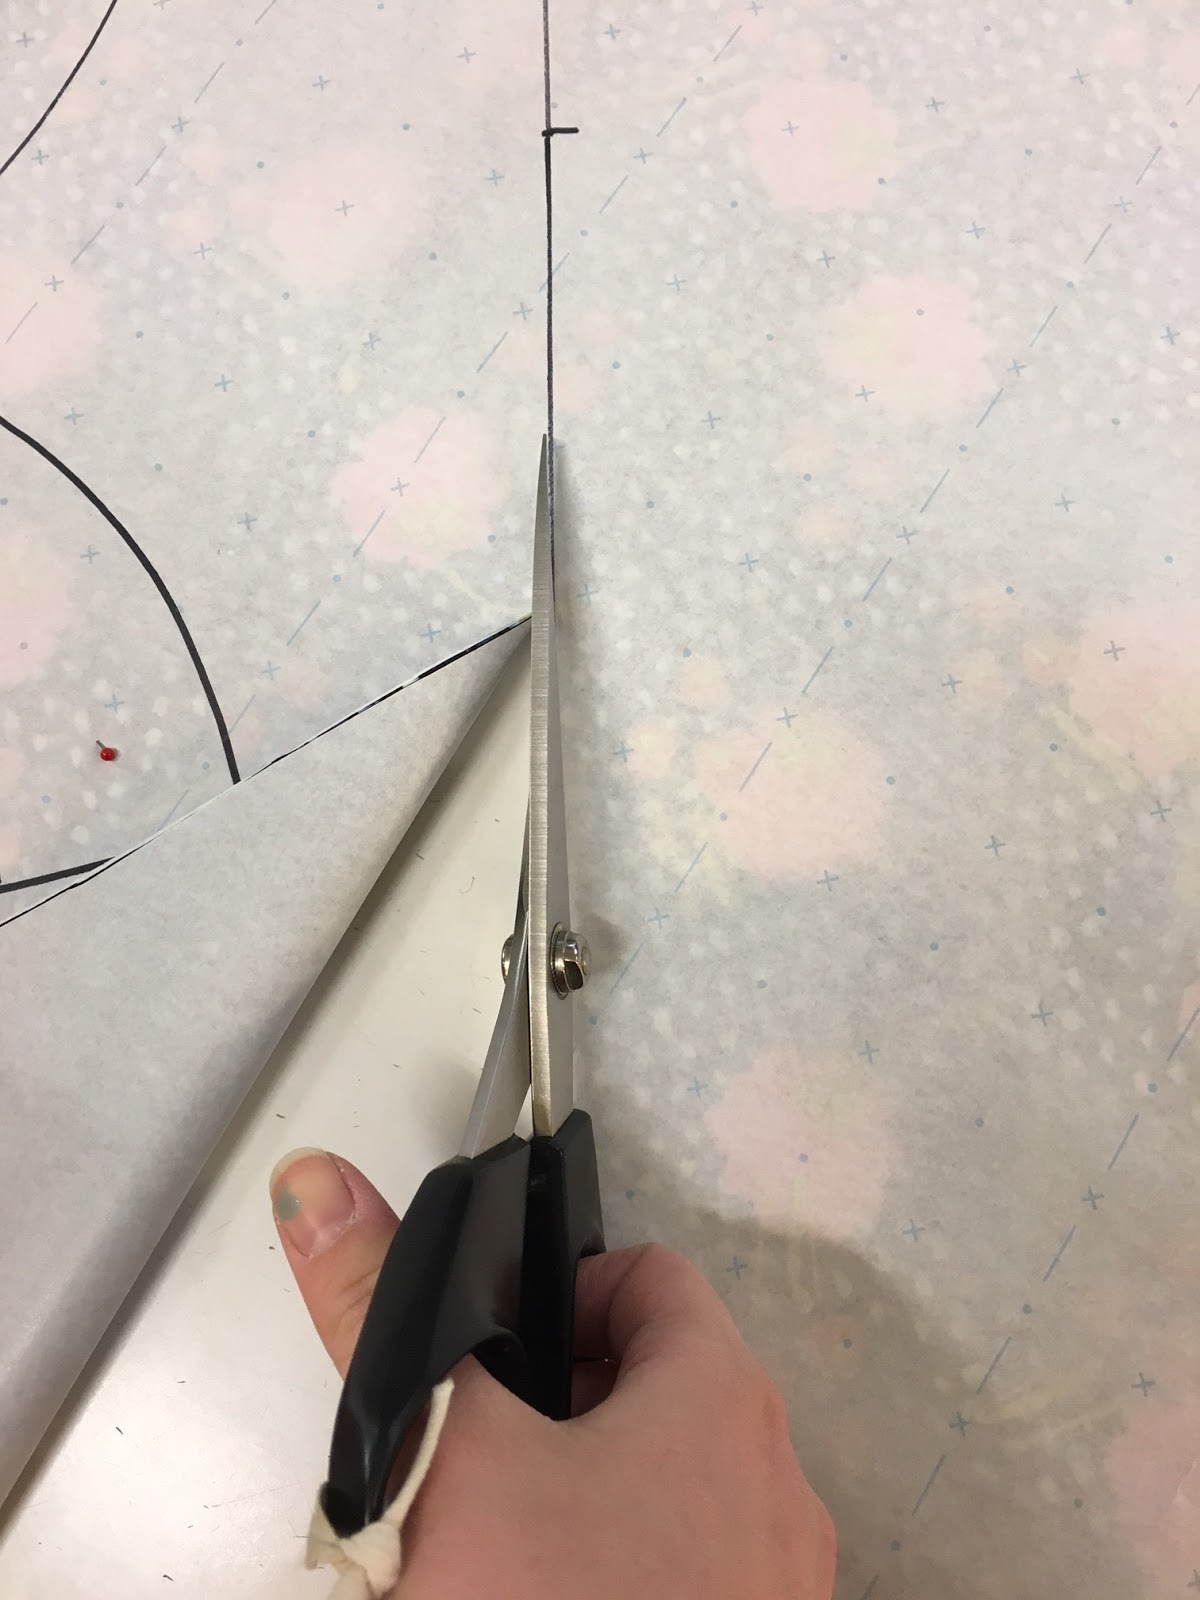
Then lay your pattern marker layout sheet on top of your fabric/s. Pin around your marked pattern pieces (through all layers) …
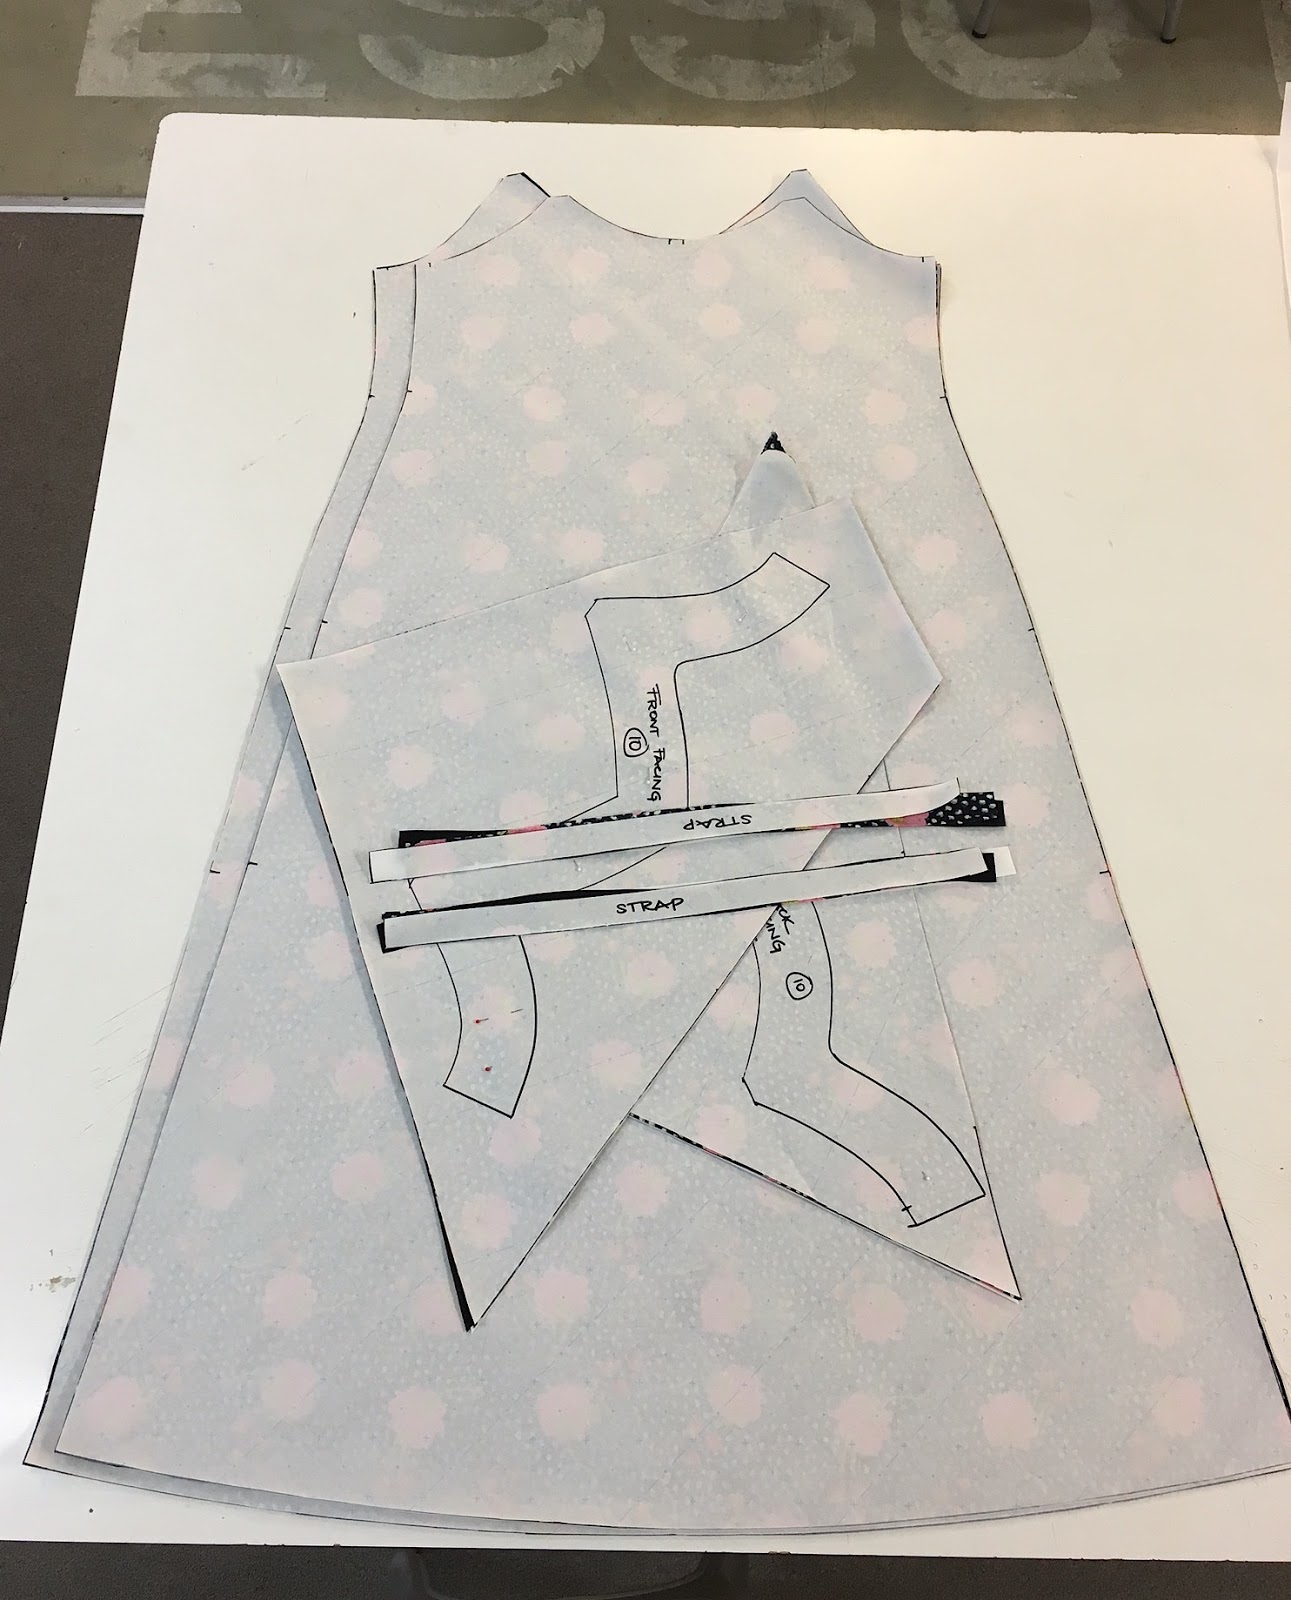
…and cut out your pattern pieces on the marked lines…
…making sure to nick into notch markings with the tips of your scissors.
Yes, by using this method you
are breaking the cardinal sewing sin that is ‘don’t cut paper with fabric scissors’! But rest assured, this will NOT ruin your fabric scissors. If you use this method a lot, you may need to sharpen your scissors after a while, but if you’re using a good quality scissors (and fabric!) it’s absolutely worth it. I use this paper sandwiching method ALL THE TIME with my
Soft Canary scissors and I’m not even going to tell you how long it’s been since I had my scissors sharpened (clue: it rhymes with ‘ever’). They’re fine and still cutting like a dream.
Hope you found this tutorial helpful. And if your cutting area isn’t wide enough you can use this method to cut out on the floor…if your back can take it!


 Colette and Lisa collaborate to bring you this here Tessuti blog. Follow us to keep your finger on the pulse of new pattern releases, reviews, tips, techniques and a healthy dose of love and appreciation for all things fabric and sewing!


This tutorial has come at precisely the right moment for me! I'm about to cut out a dress consisting of 8 bias panels. The fabric is a lightweight wool crepe and now I know how to stop it from slipping around. I will also cut each piece separately, as recommended, rather than doubling the fabric as I would otherwise have done. Only problem is that I don't have any of your special paper…I see a quick trip to Tessuti coming up tomorrow morning. Thankyou Colette!