My latest Bondi Dresses
We’ve been anxiously awaiting the arrival of our new Japanese fabrics bought on our fabric buying trip late last year. Cue massive relief that they arrived while we’re still in summer!
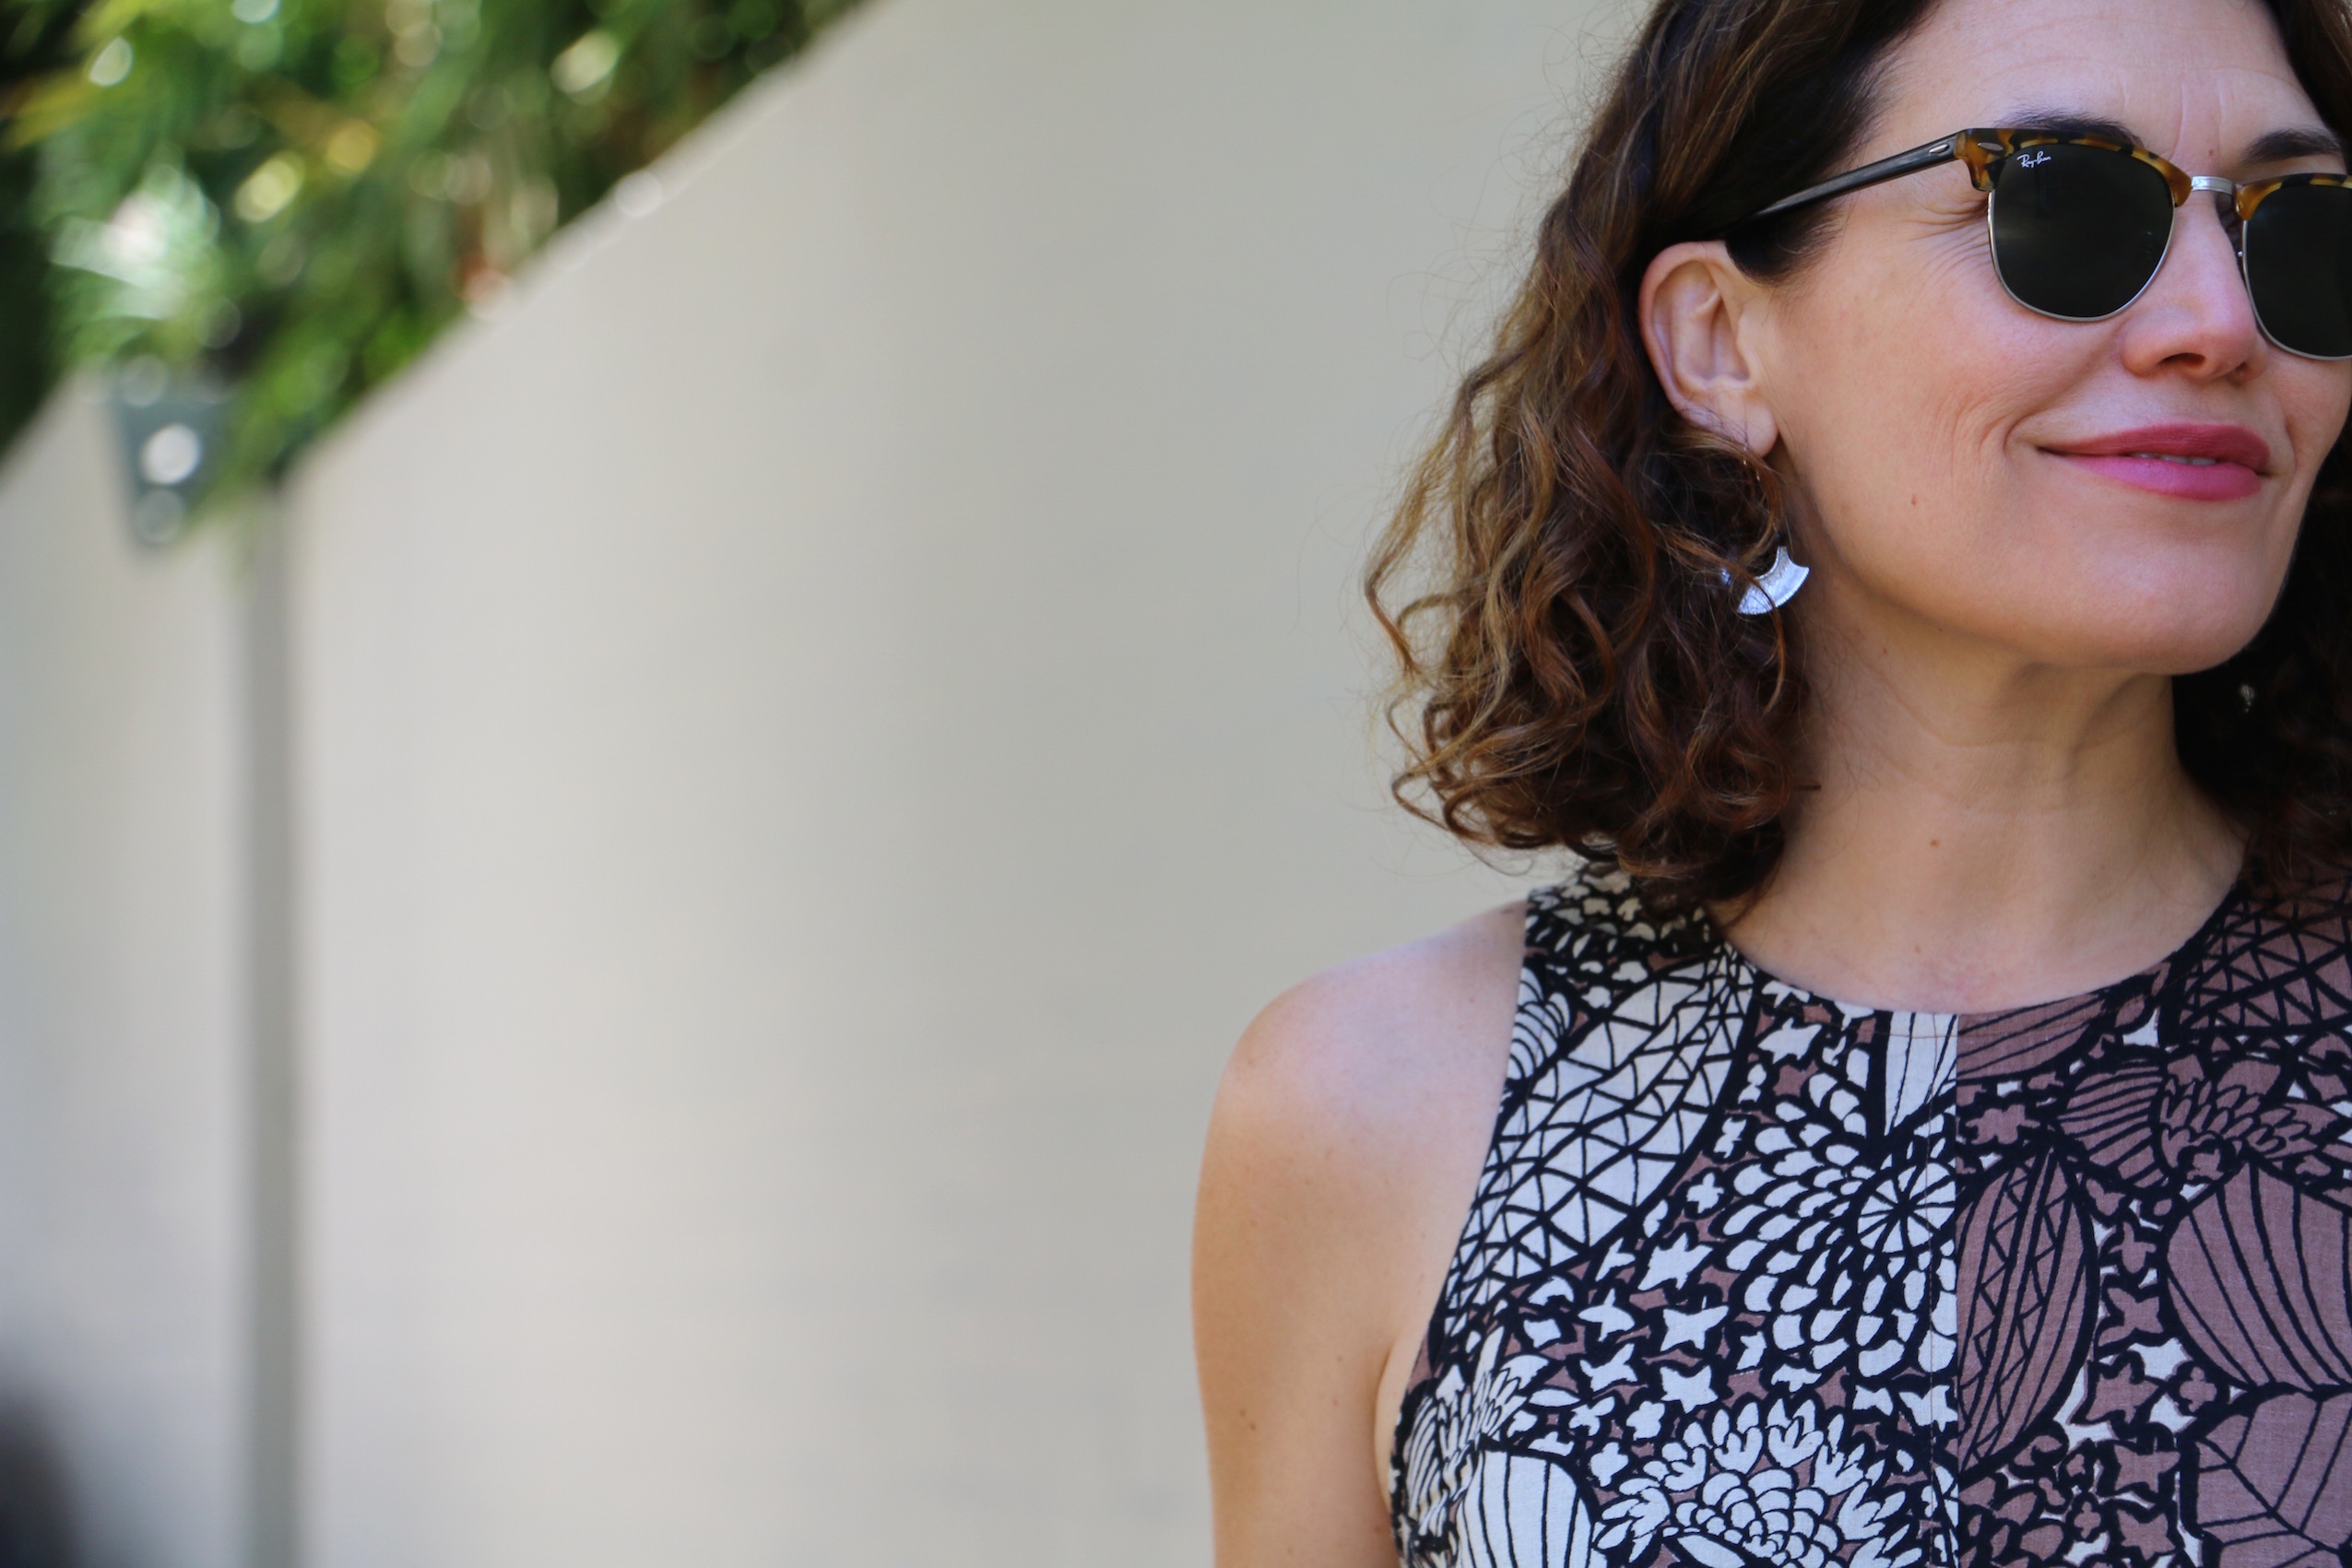
I’ve been very eager to start on this dress ever since Lisa and I spotted this wonderful printed linen/cotton and as soon as the stock arrived, I made it up straight away. For a long time I’ve been looking for just the right print that had a co-ordinating print but in reverse, wanting to use them together in the one dress. It’s very Marimekko – simple and striking. My dress is made up in Coco Foliage and Foliage in Coco. It’s also available in complimentary mustard and water colourways and I absolutely love this print as it’s got just the right scale and the colours are perfect. Bold print, subtle tones.
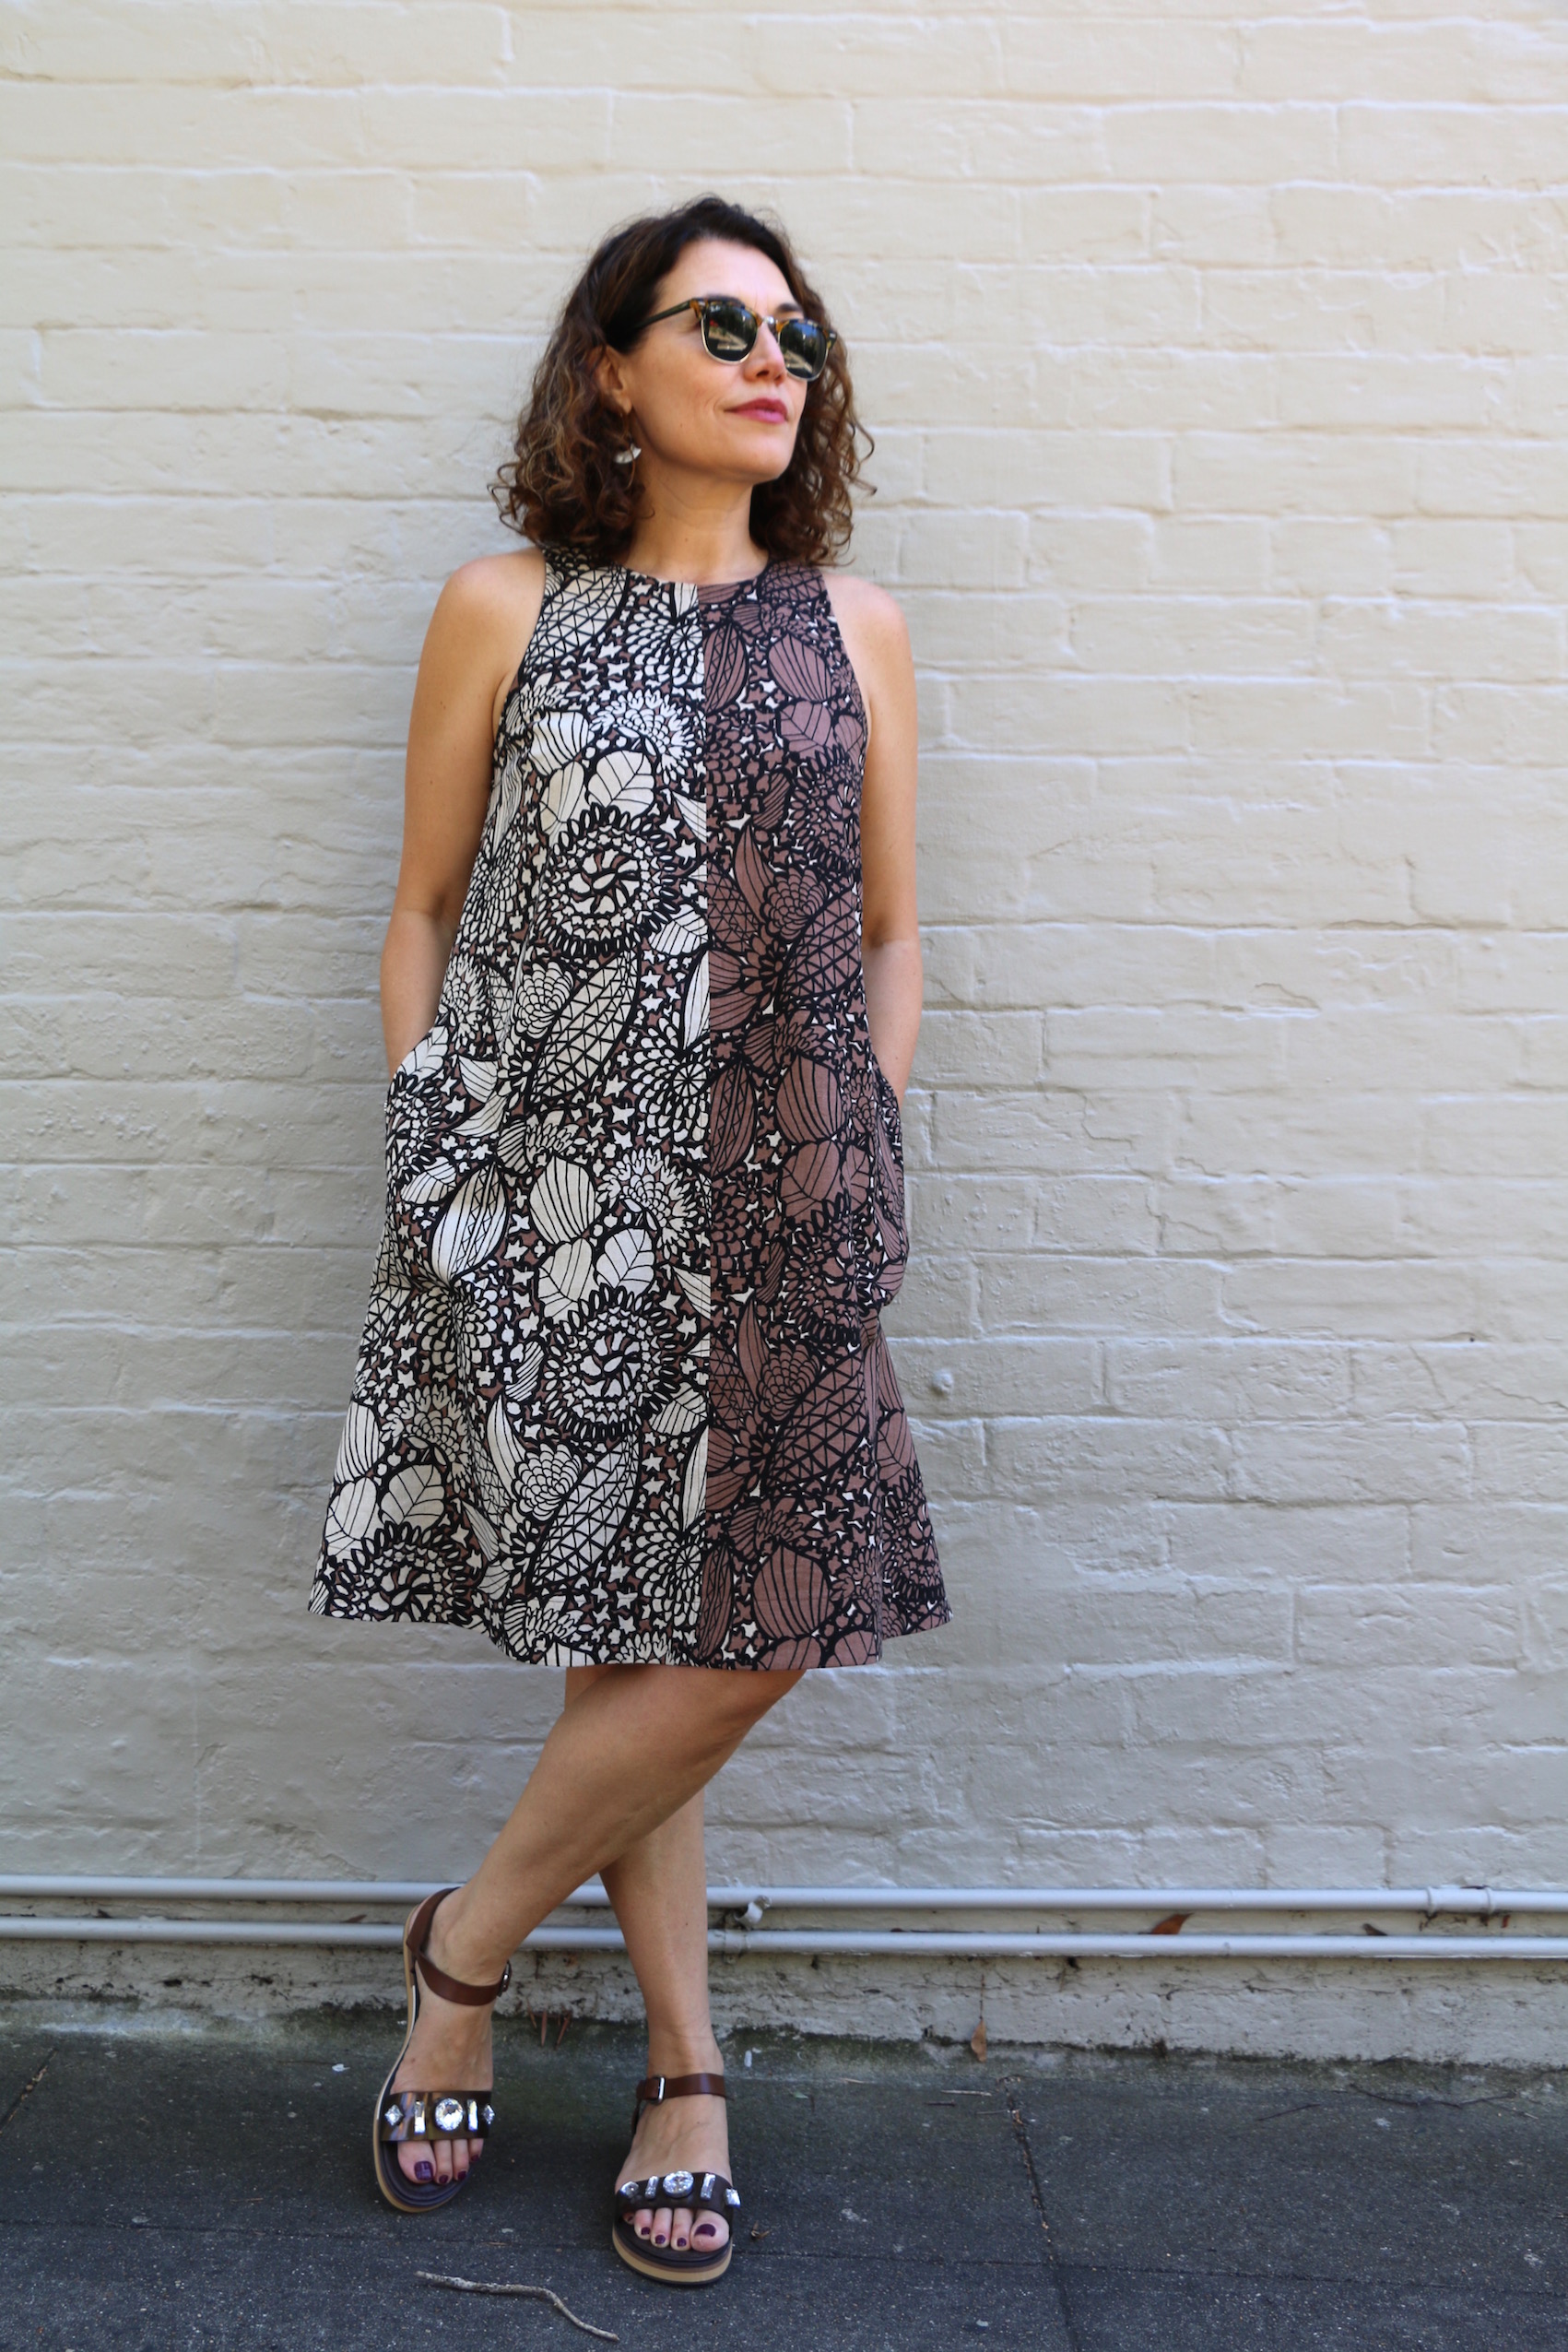
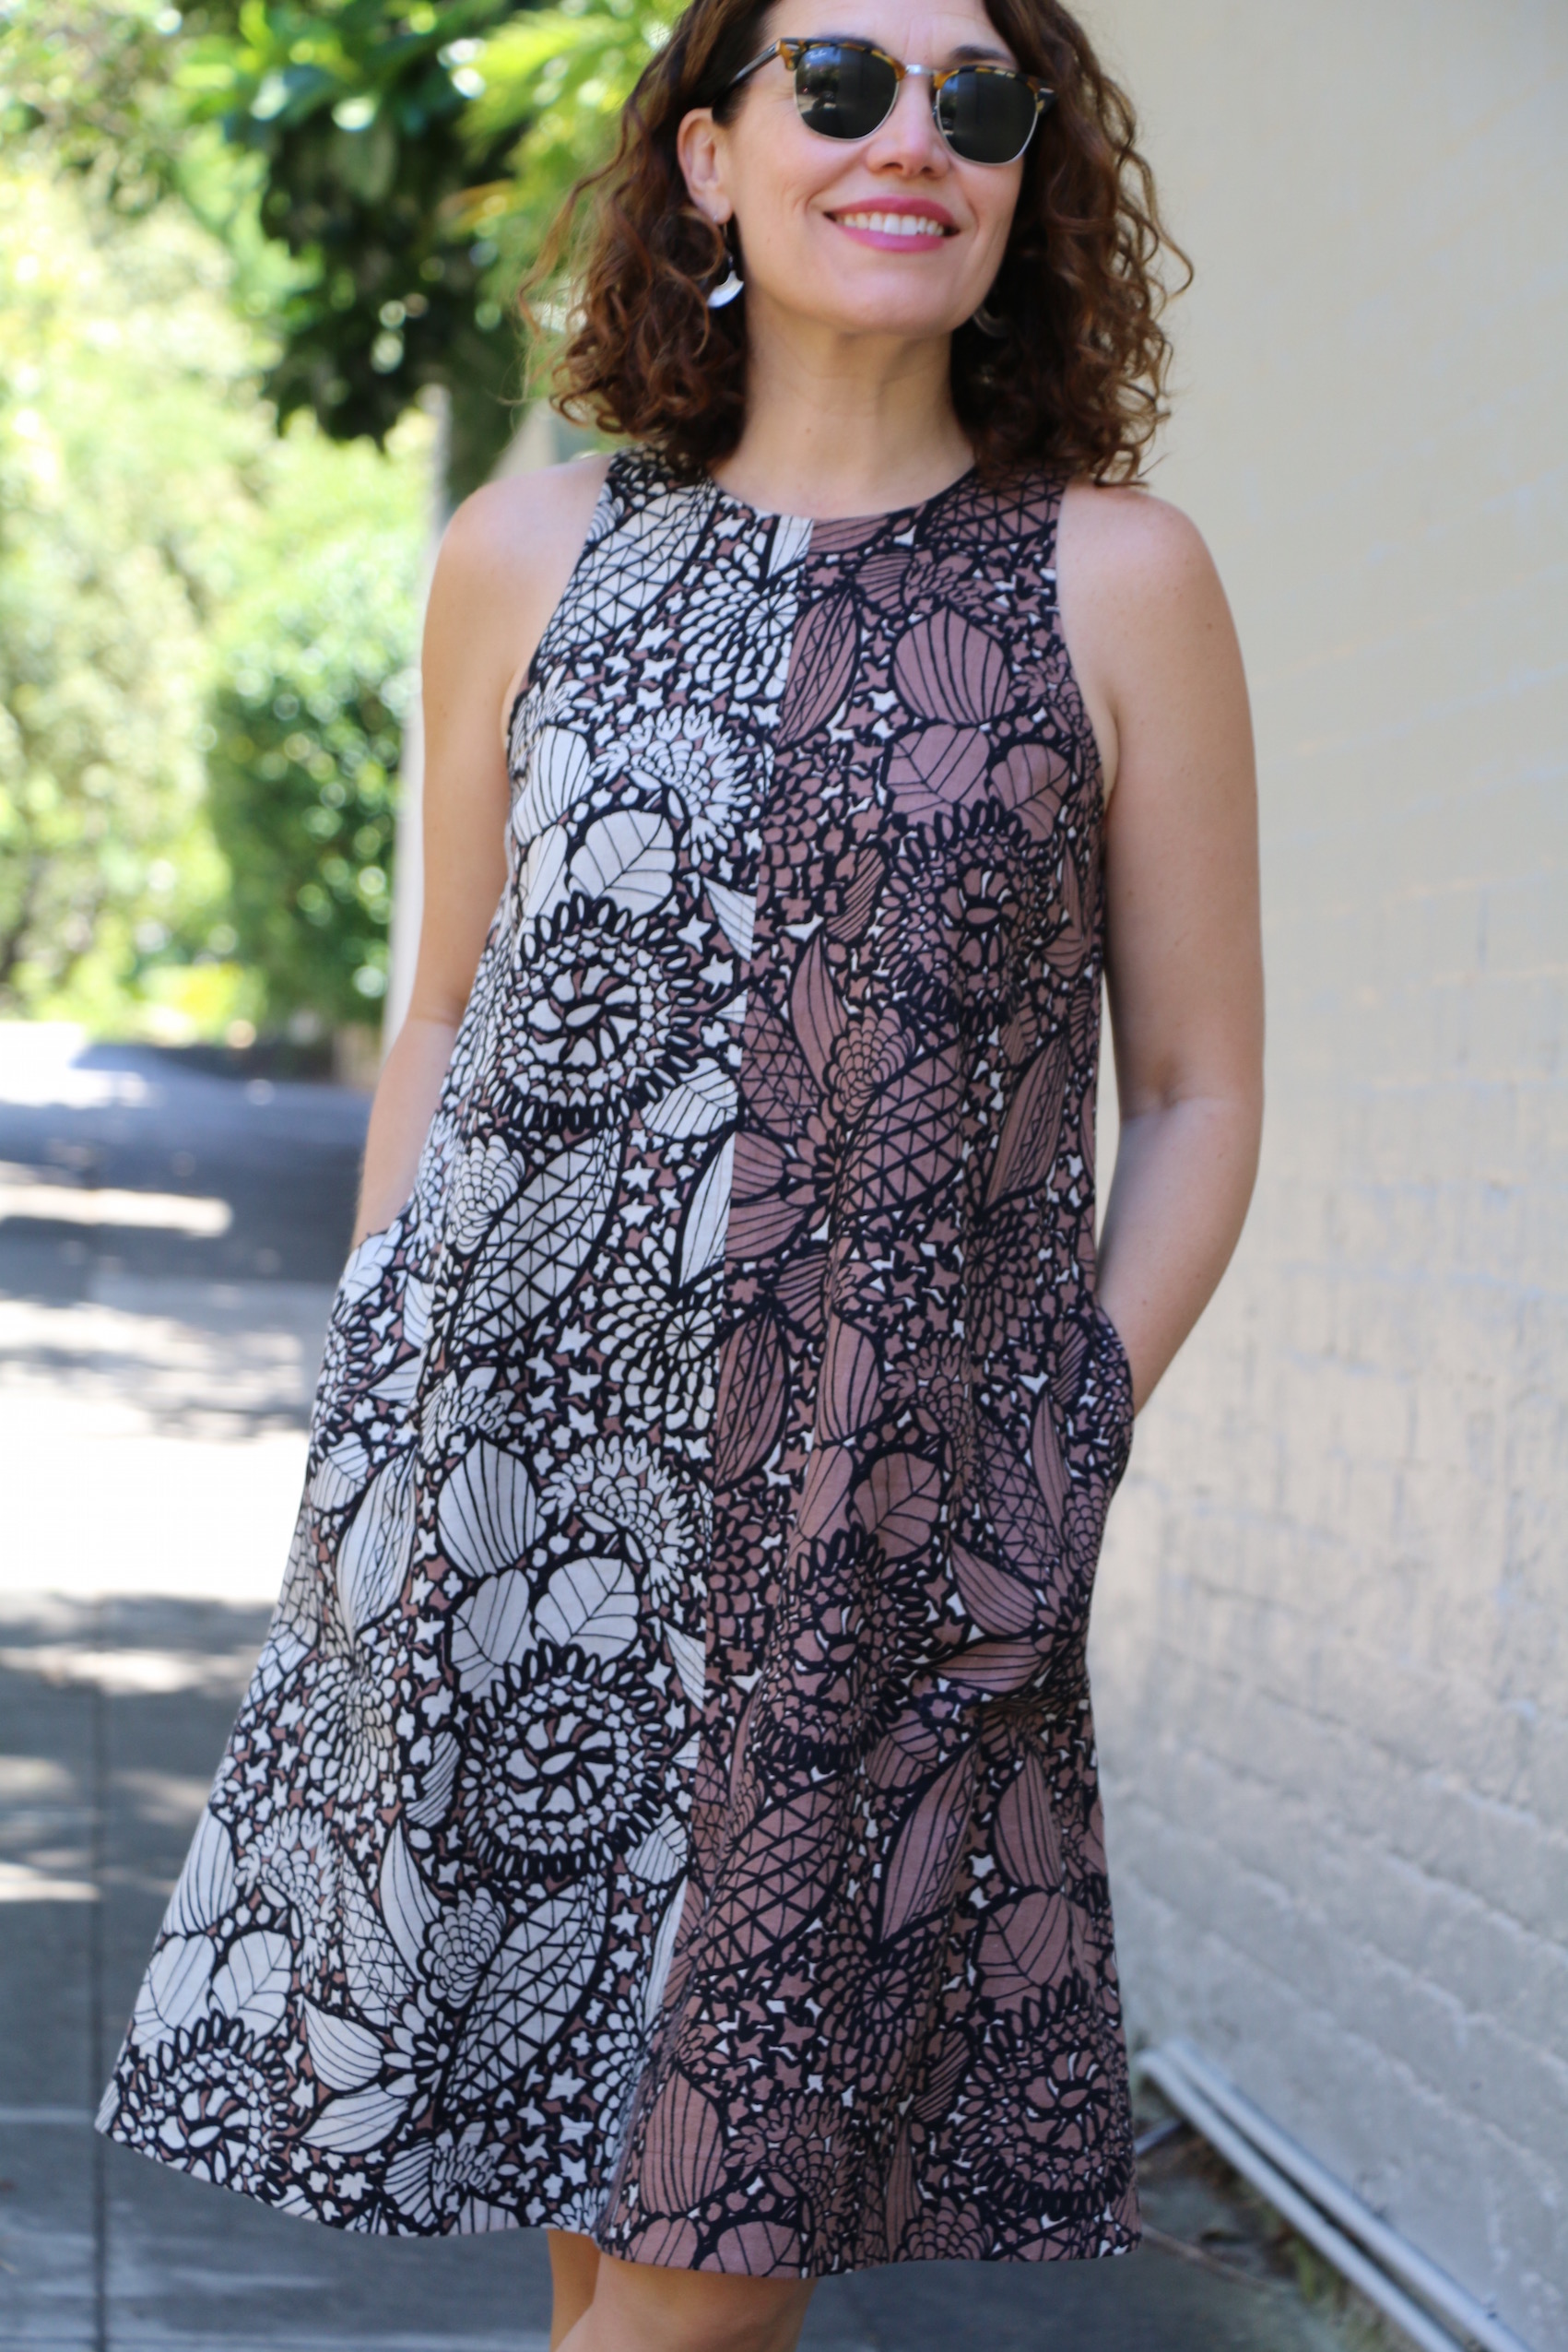
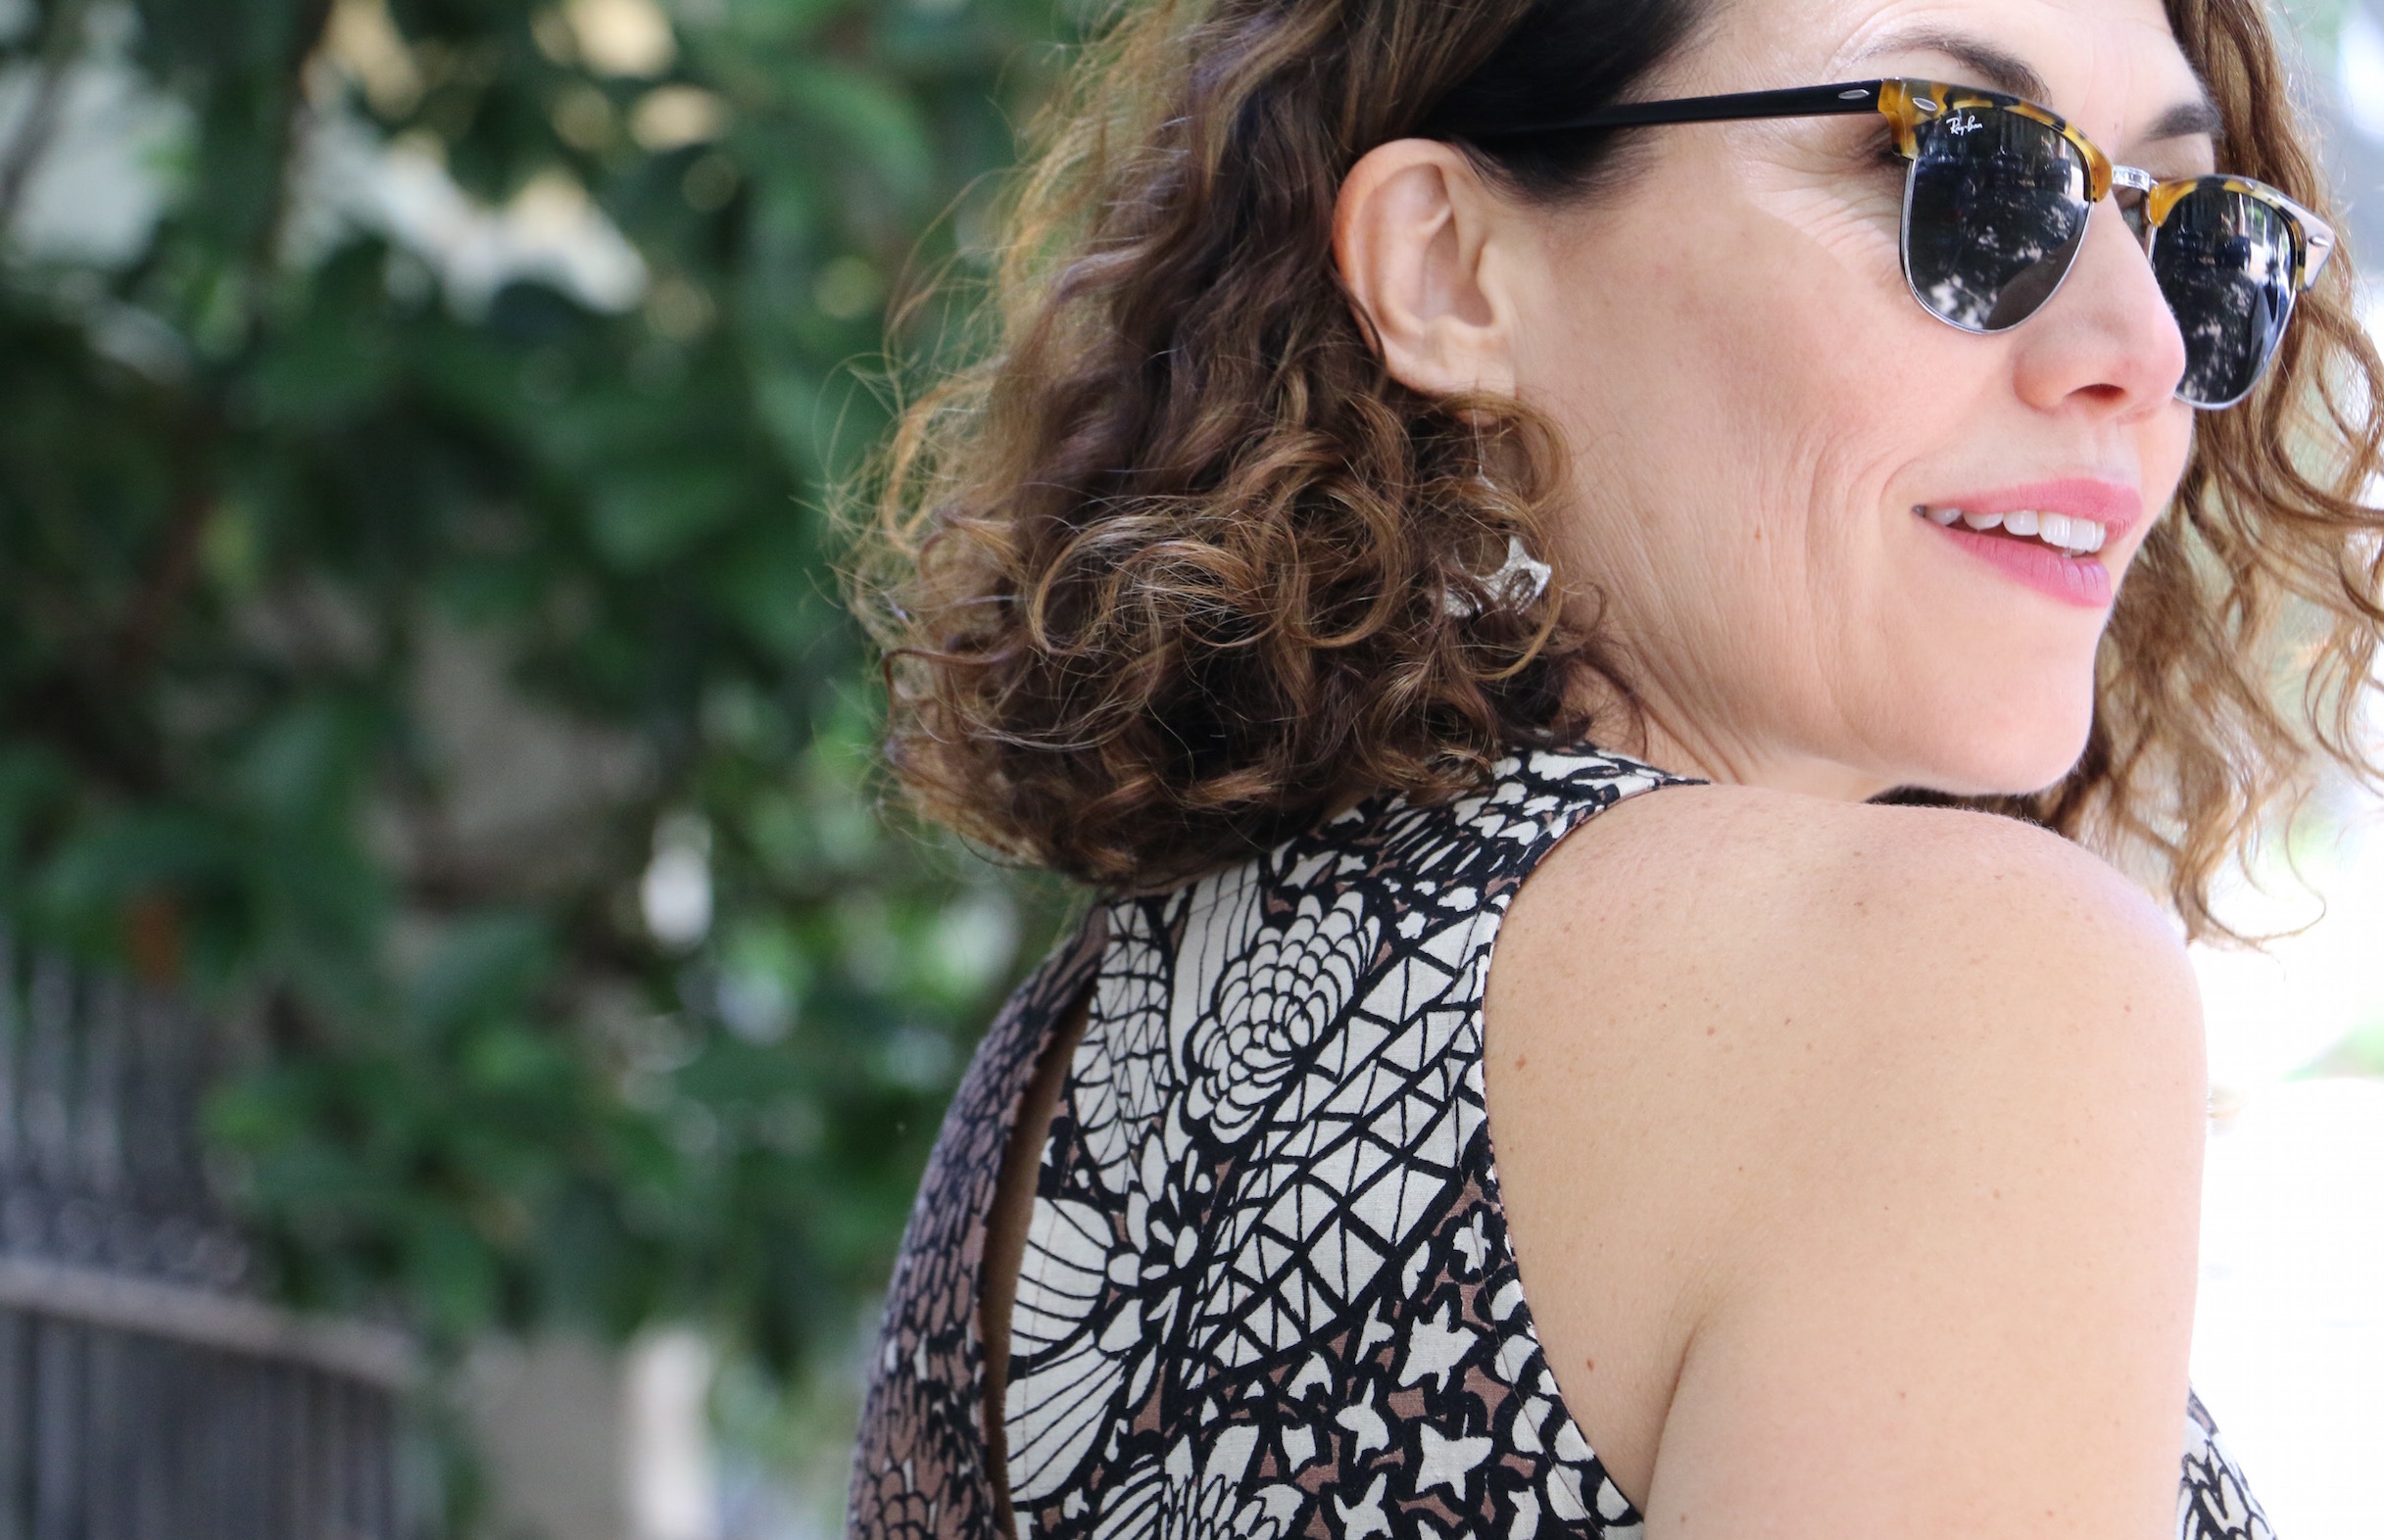
Obviously, our latest Bondi Dress was the perfect pattern choice and the centre seam detail on front and back made it easy to create my half/half dress. I used 1.10m of Coco Foliage and 1.35m of Foliage In Coco. This extra meterage was so I could cut out the hem facings in the same colourway. To avoid cutting confusion, I paired the two fabrics together (with right sides facing) and to ensure that I got the correct colourways on each matching side.
My other Bondi Dres (seen recently on Instagramand below) is made up in a lovely medium to heavy weight printed cotton tweed that I’ve had in my stash for a few years now. I opted to eliminate the centre front seam and, due to limited meterage, I left off the side pockets.
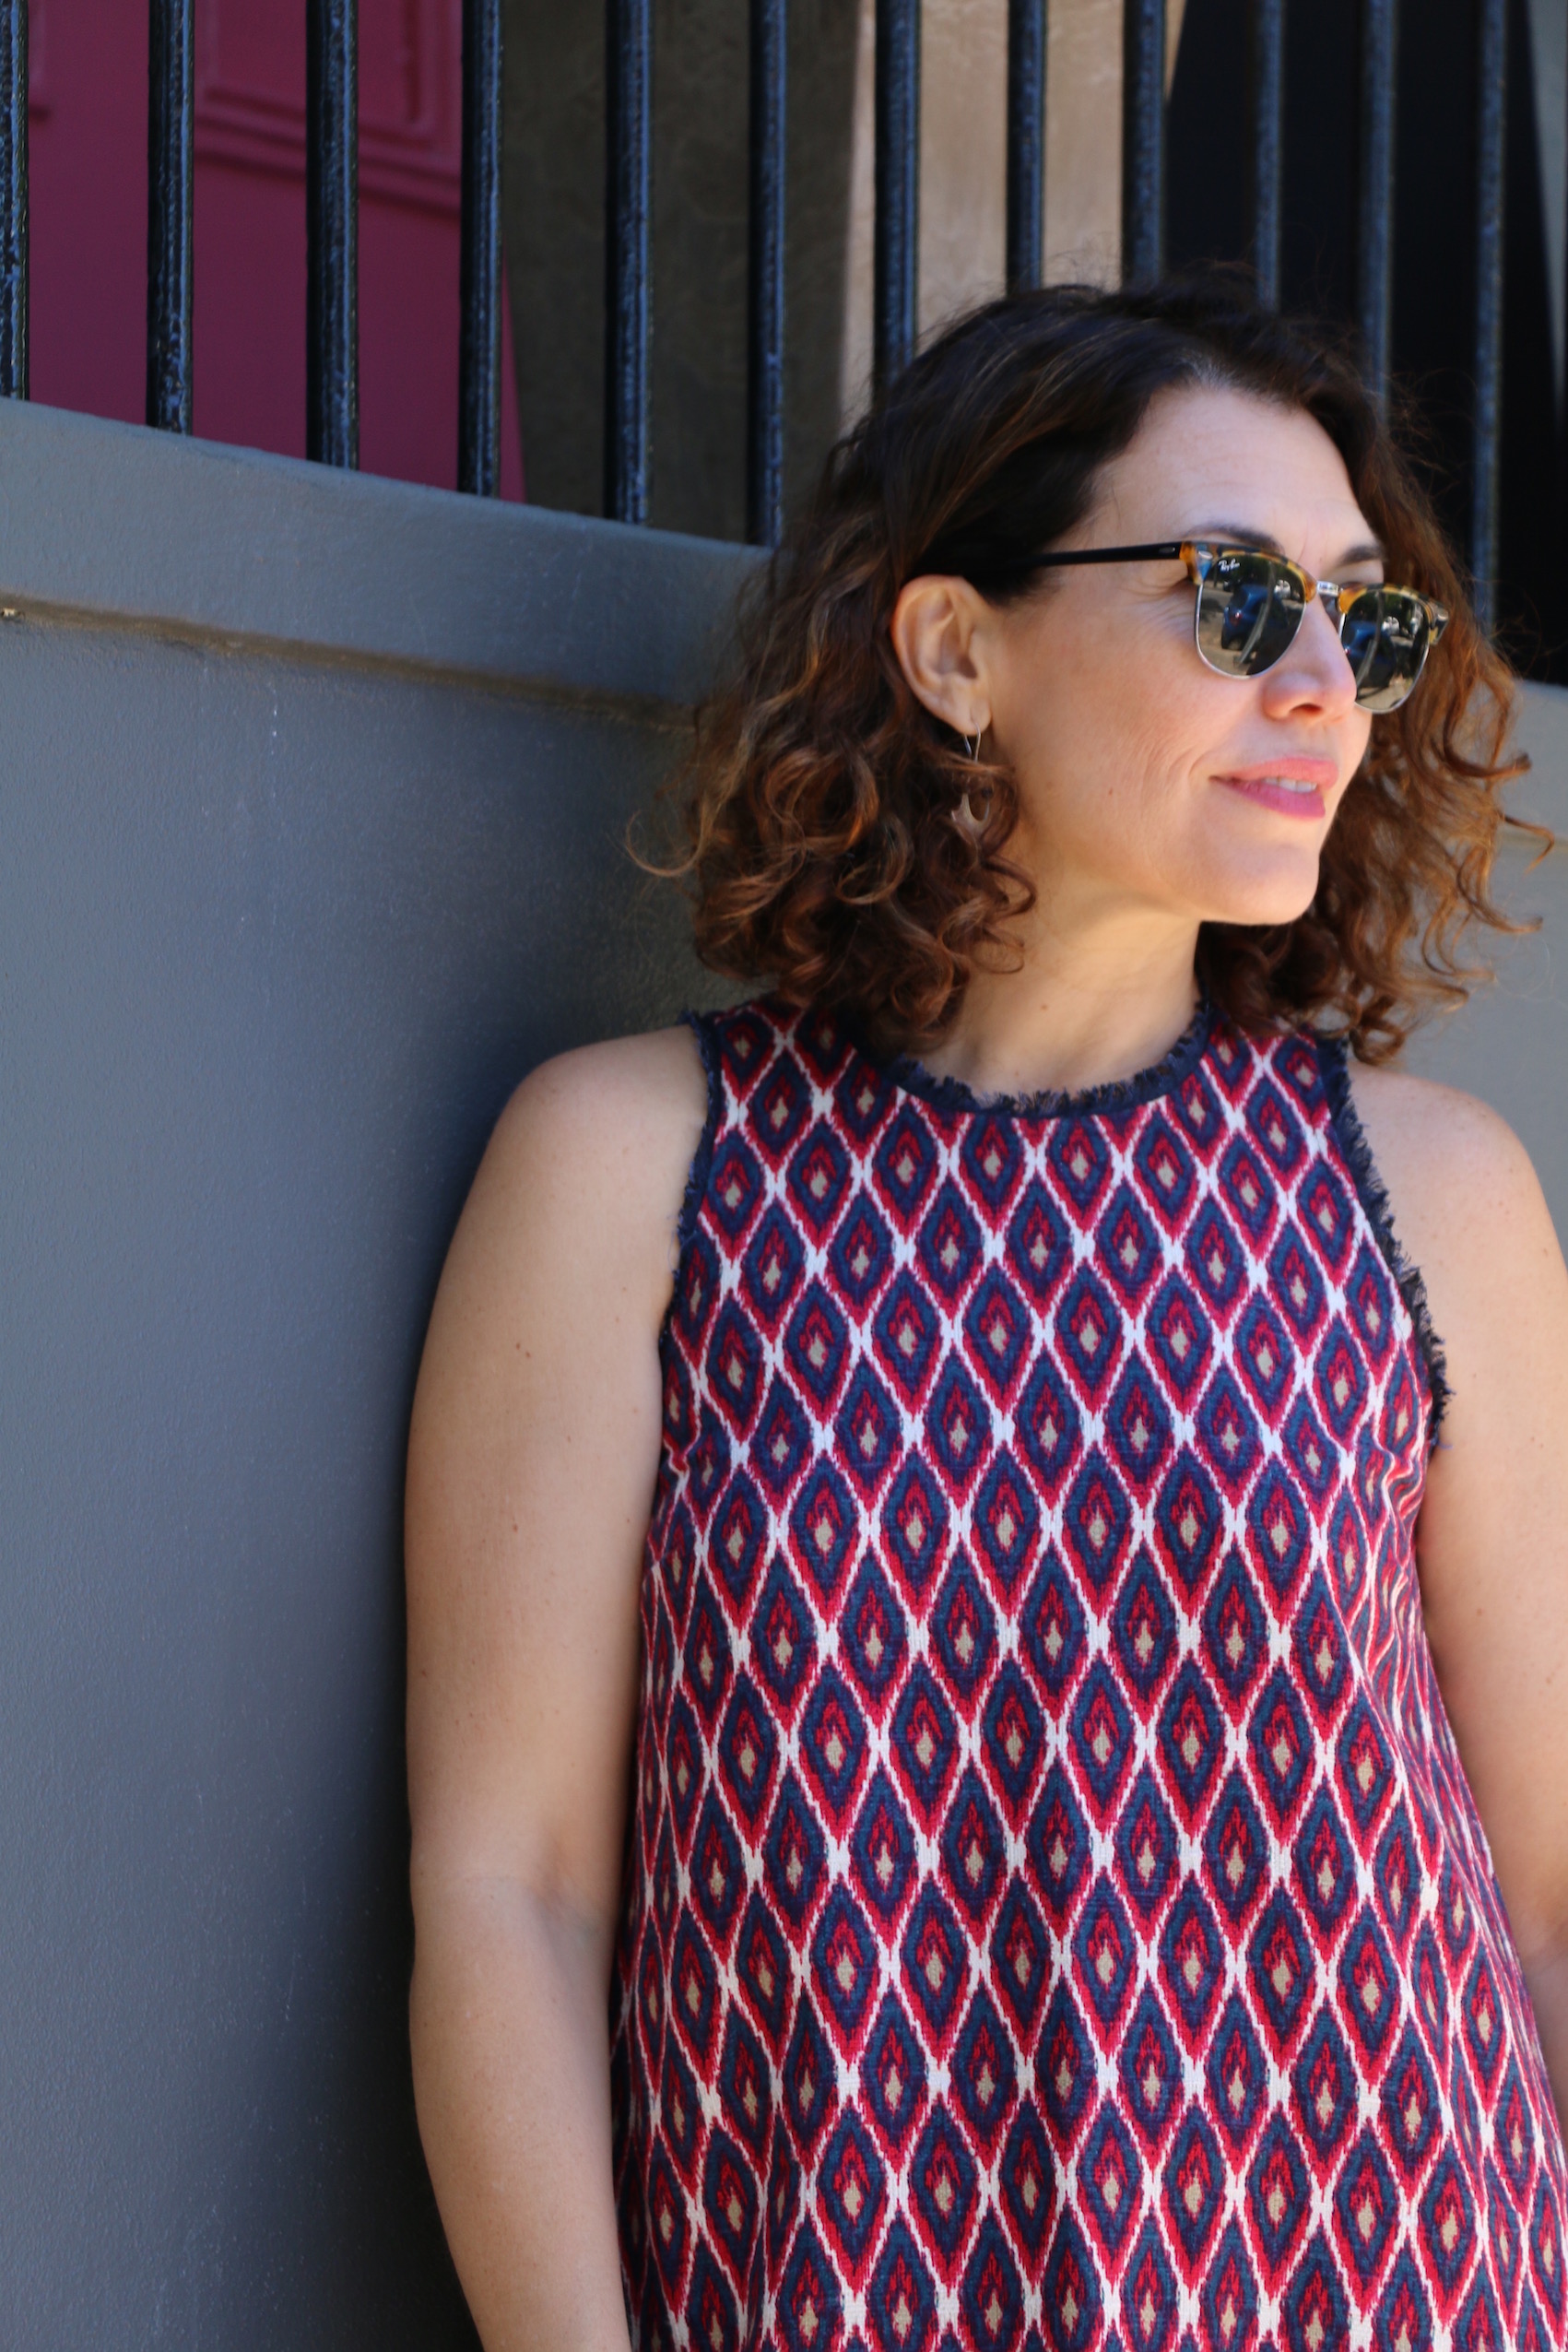
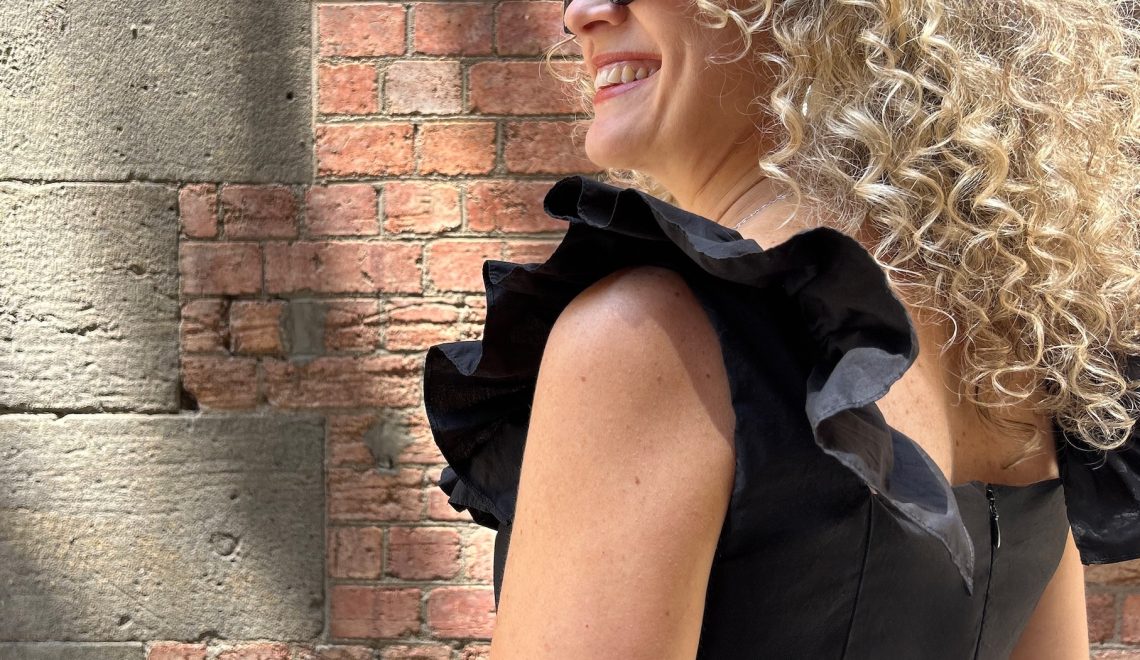
Due to the weight and thickness of the cotton, I cut the neck and armhole bias binding in contrast navy linen as well as cutting extra bias (3/4″ wide) for extra fringed effect around the neckline and armholes to match the fringed hem.
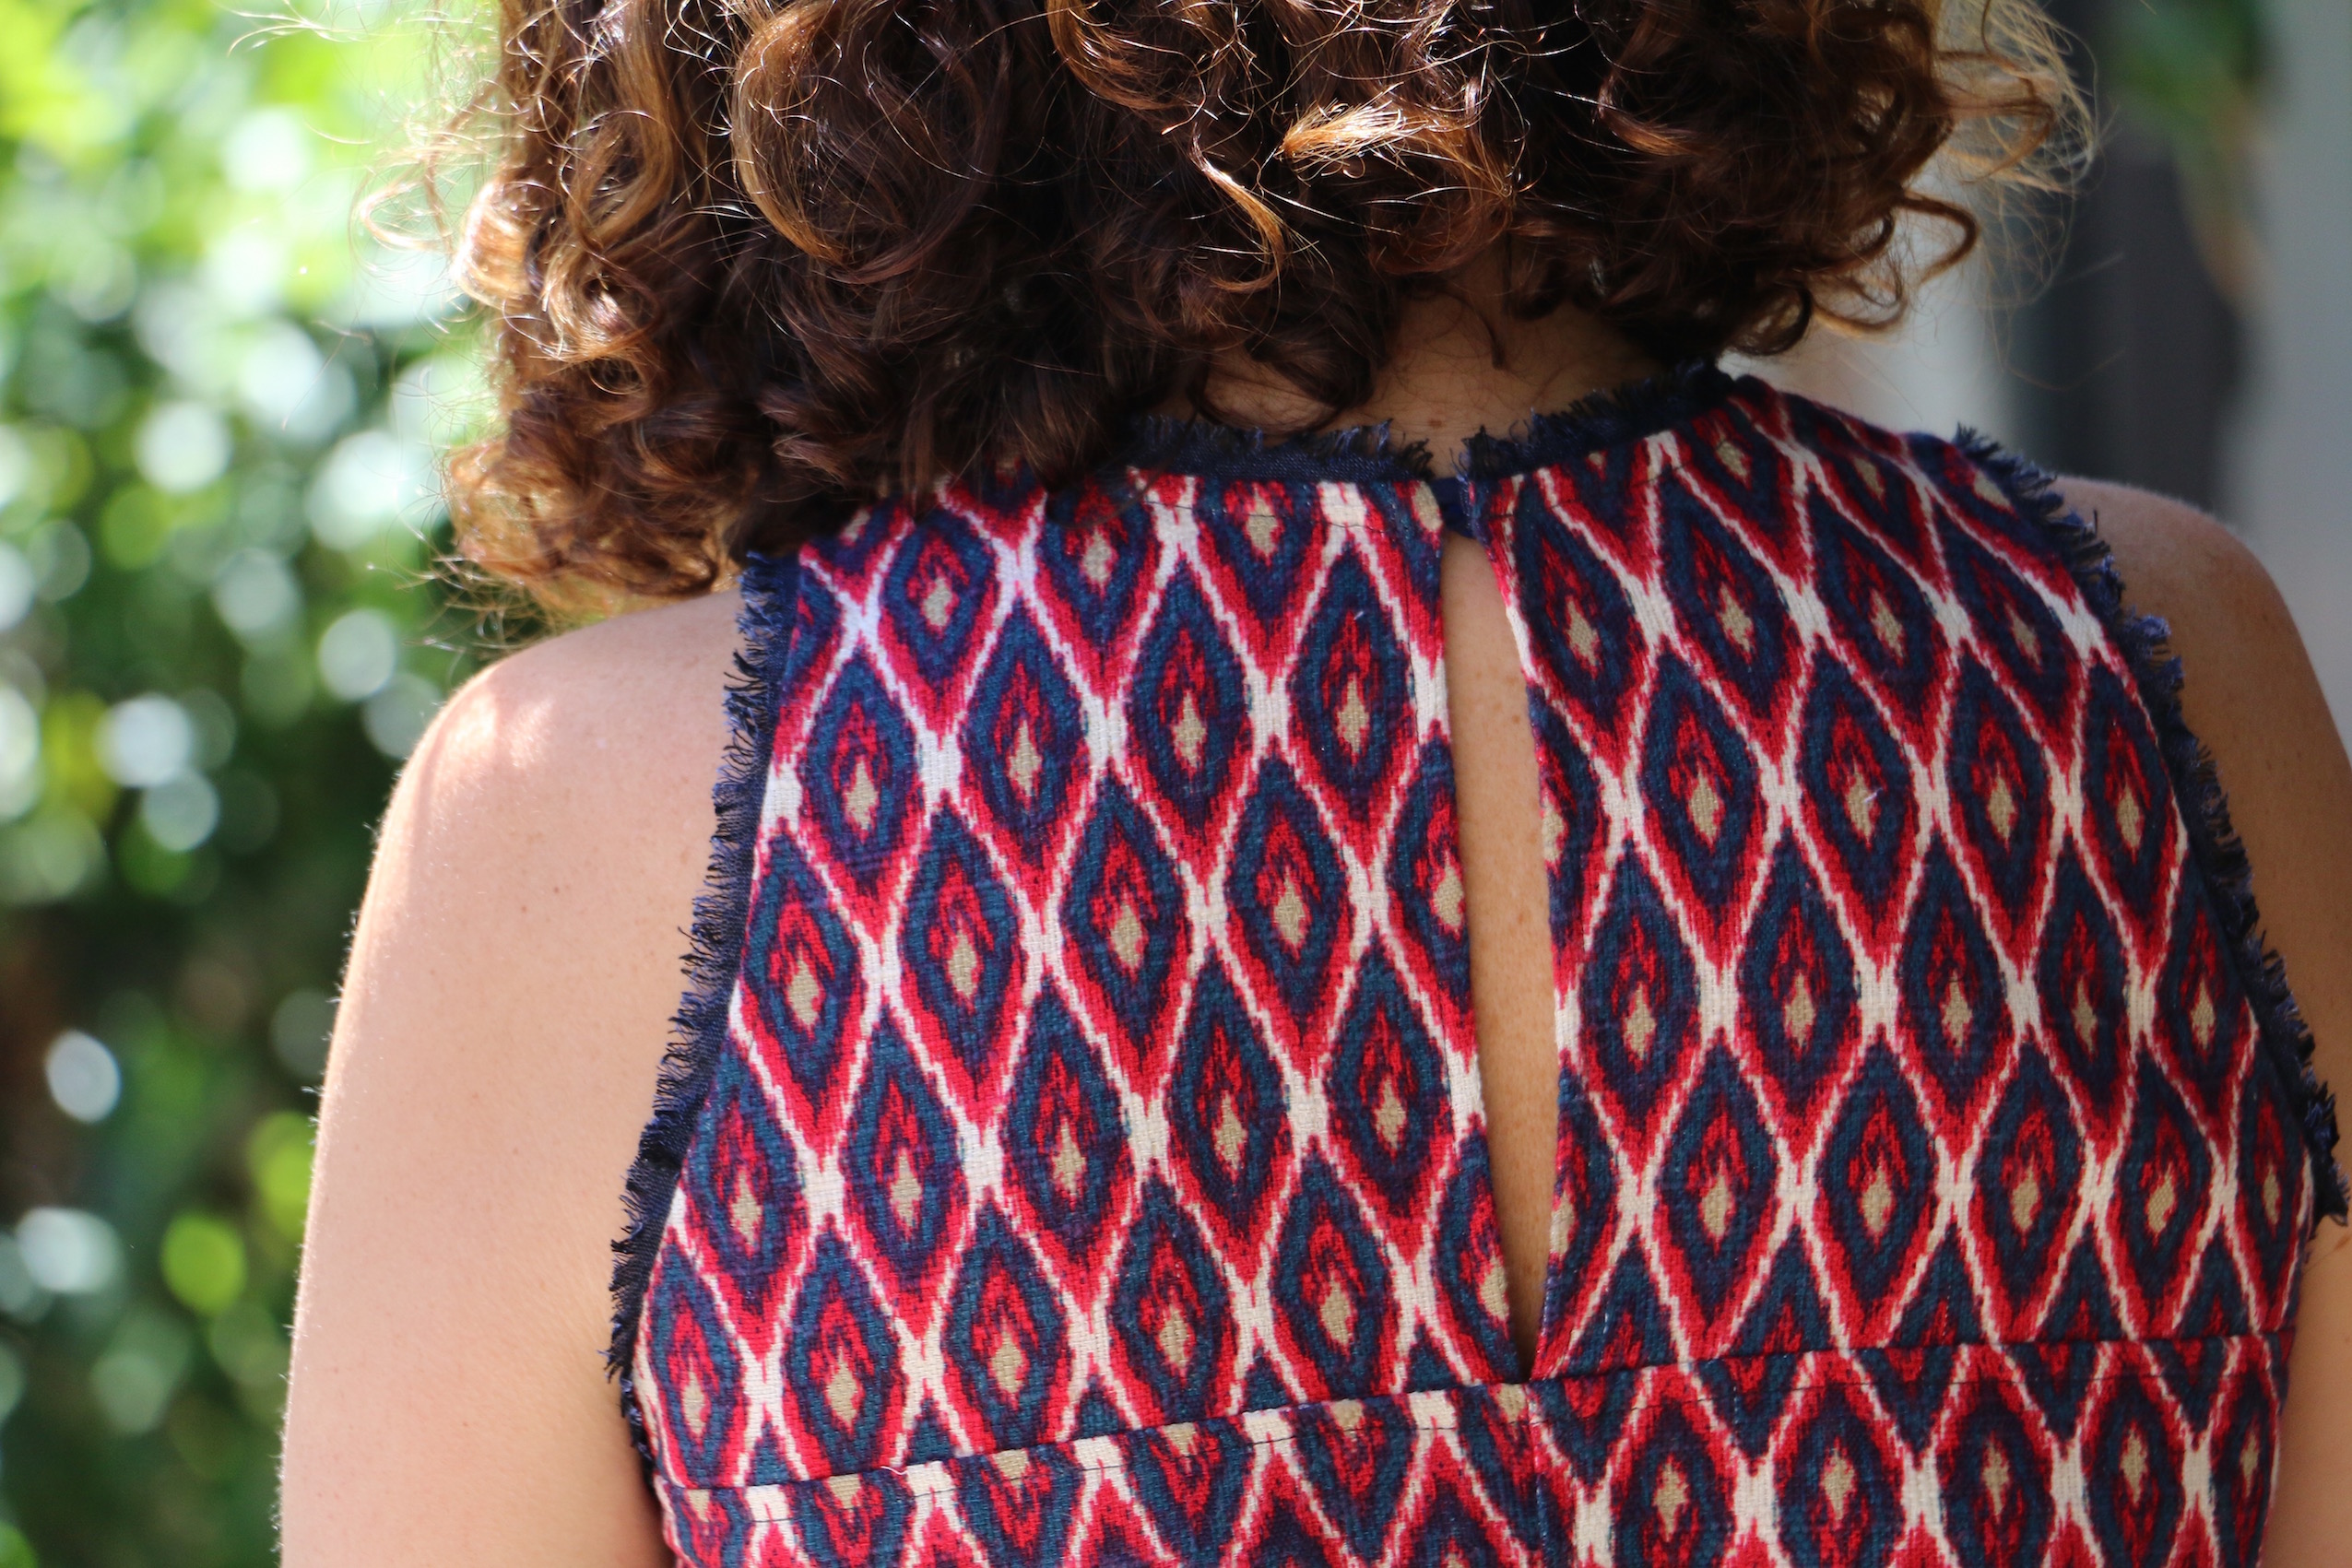
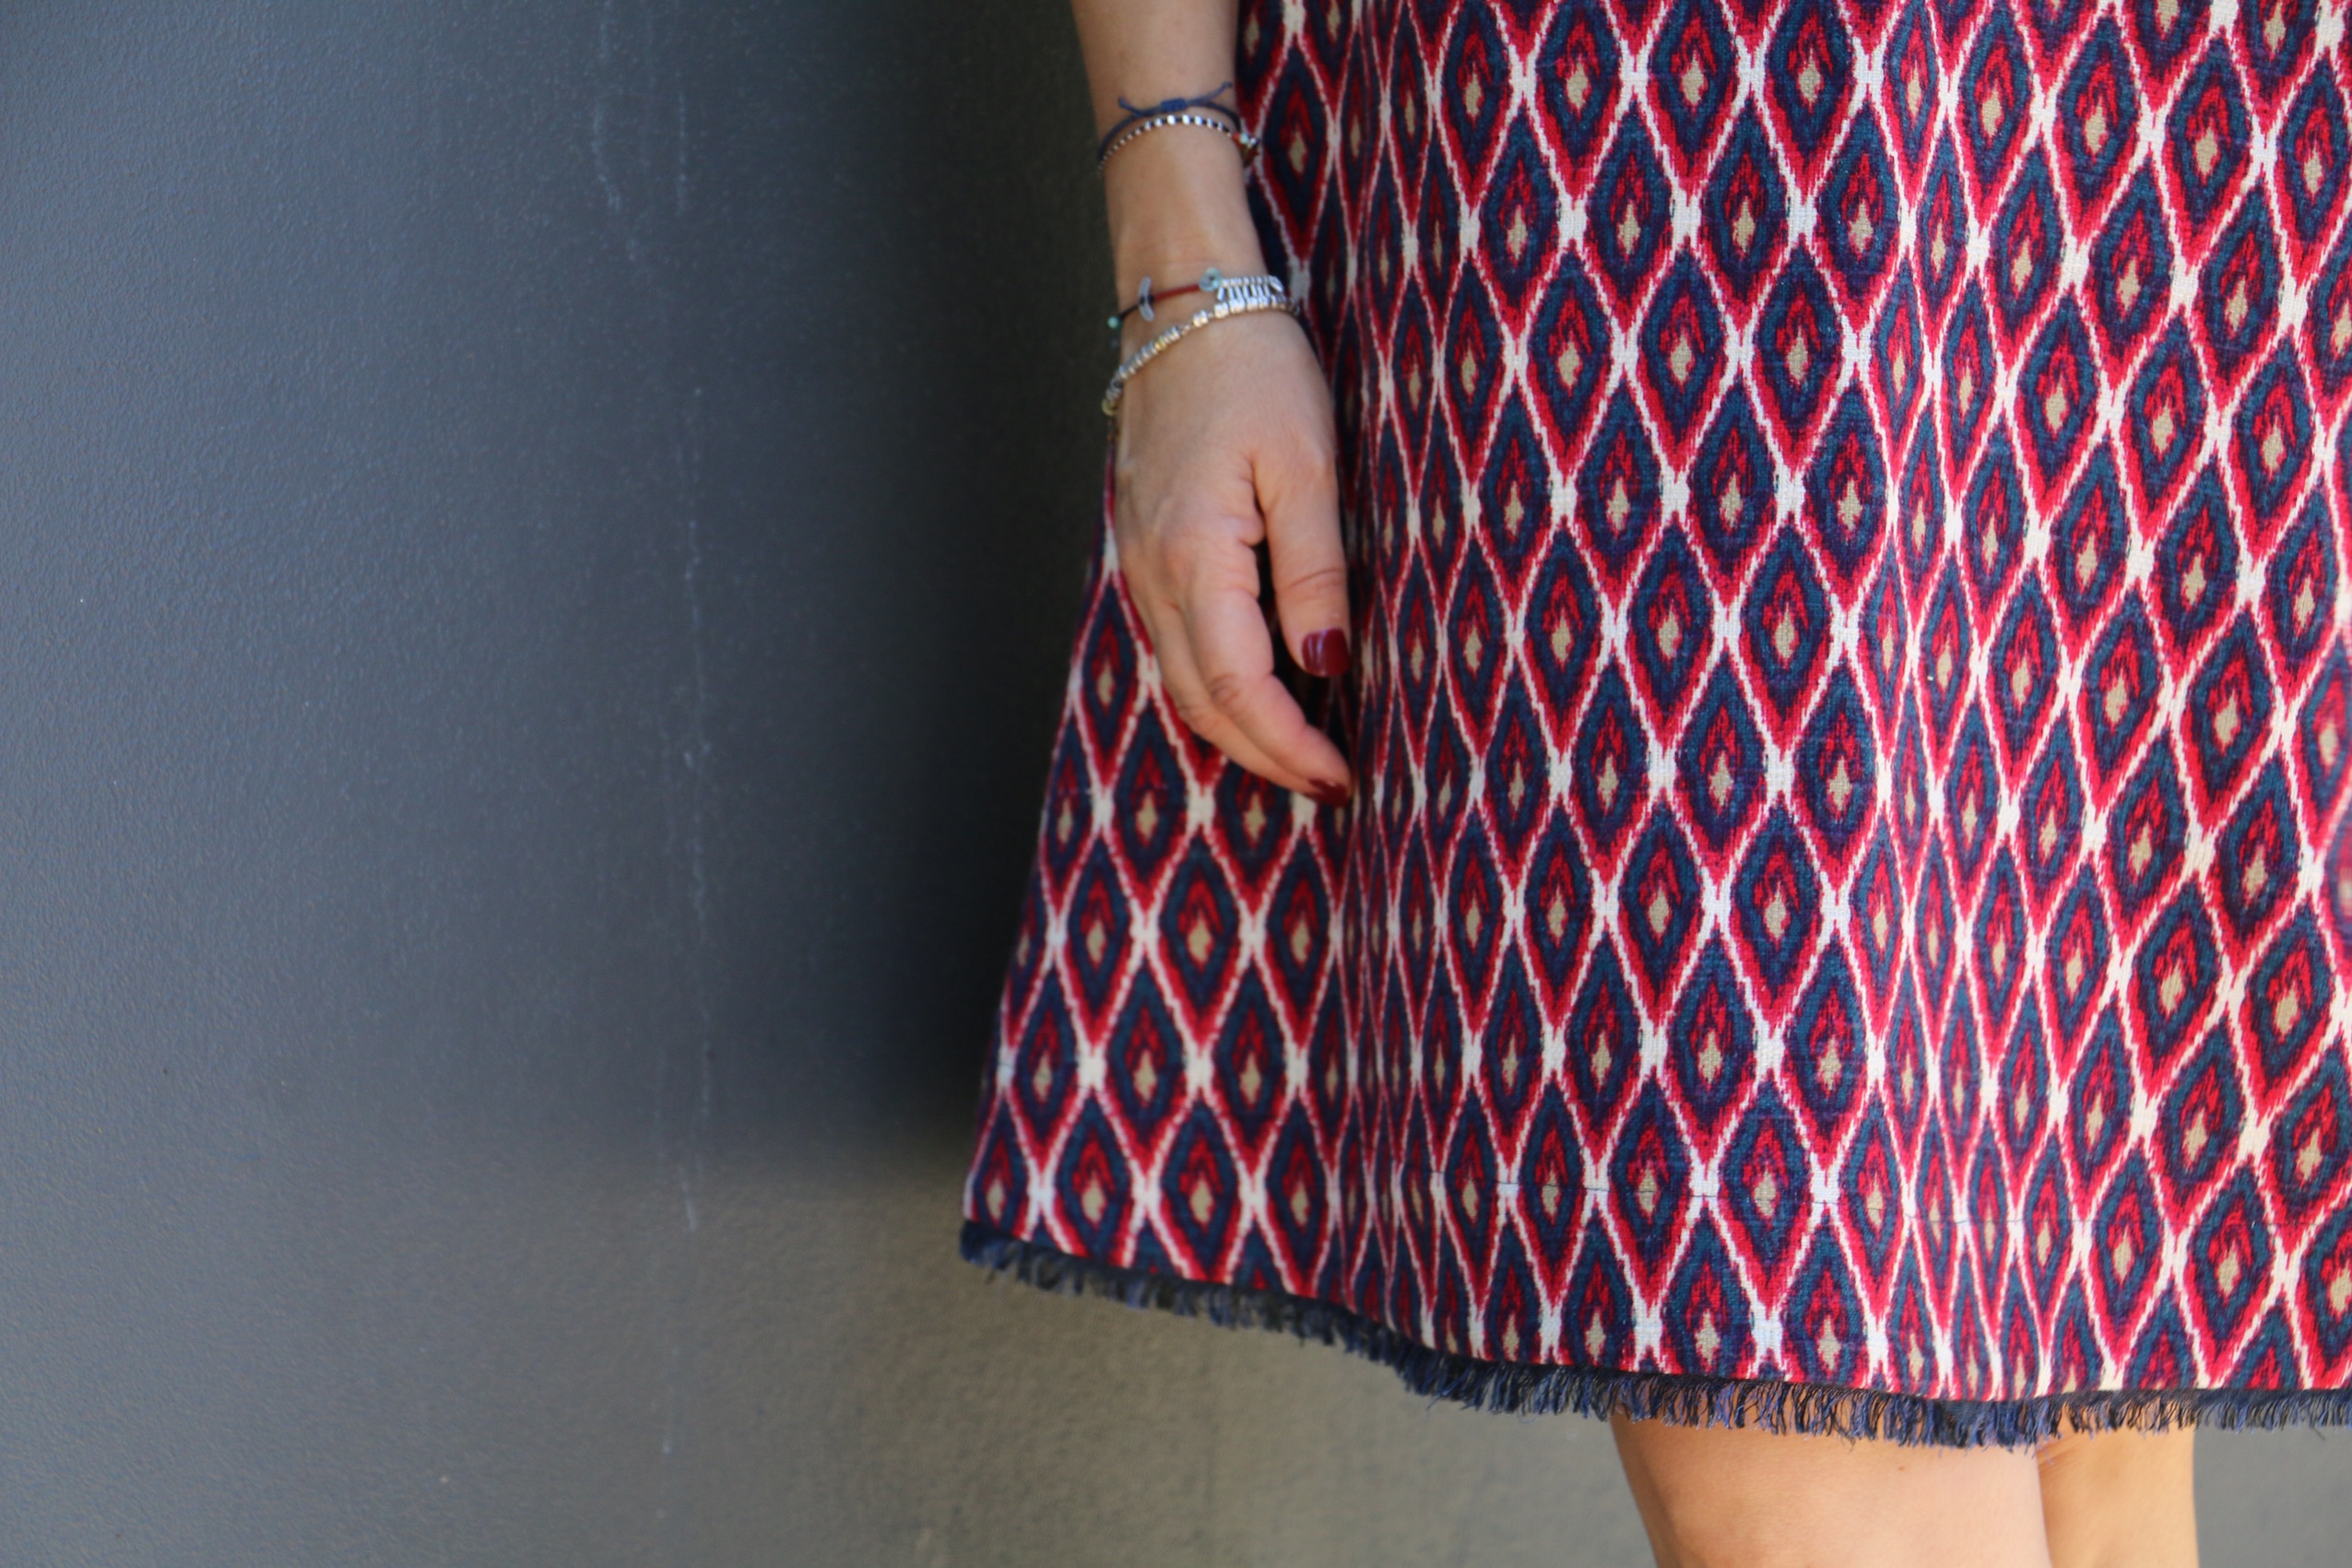
Similar to the method of sandwiching the hem fringing in between the dress and hem facing, the bias edging for the neckline and armhole is sandwiched in between the neckline/armhole edge and the bias binding. Then I just finished off the bias binding as per the sewing instructions.

If you’re considering doing the same and adding the fringed effect on your neckline and armholes, first work out whether you might want to cut away the armholes and neckline slightly to allow for the fringed width (approx 1/4″). This effect gives a lovely detail and would work perfectly on a plain version too!
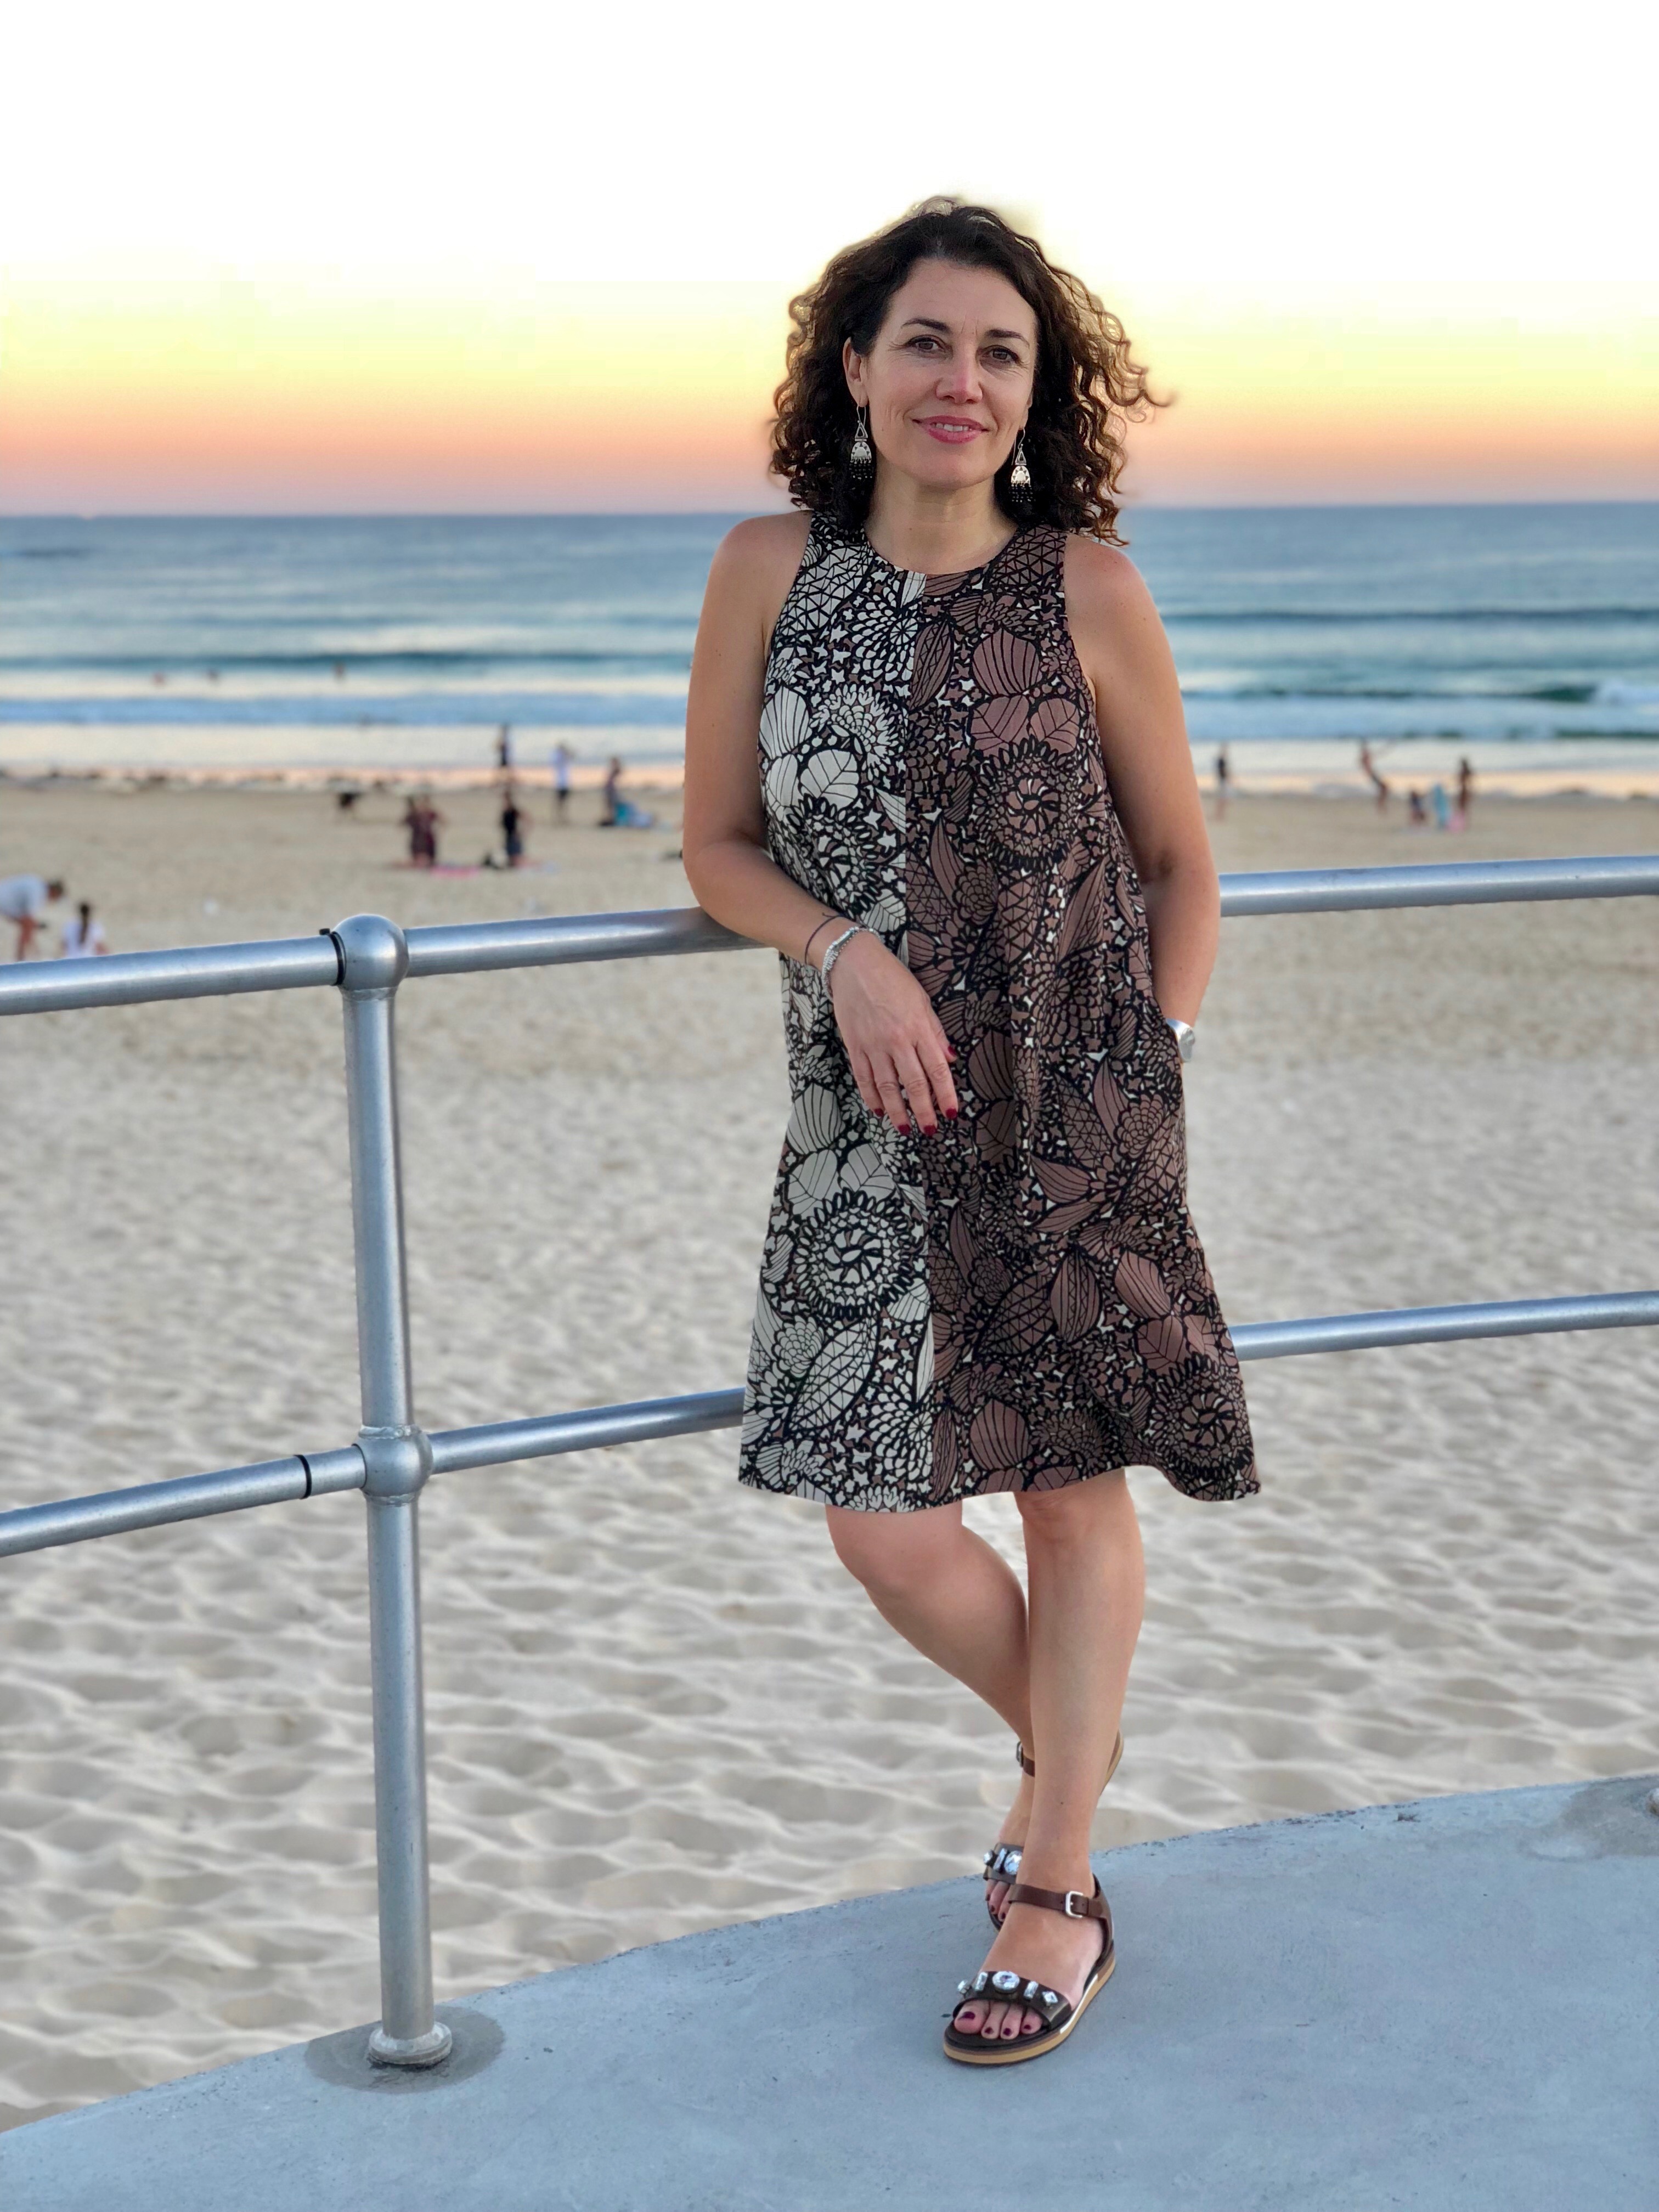
Since releasing the pattern a few weeks ago, I’ve already made up four versions of the Bondi Dress. It’s the perfect summer dress, super quick to make and ideal for both work and play on hot, humid days. So if you see me in store any time soon, there’s a good chance I’ll be wearing one!

 Colette and Lisa collaborate to bring you this here Tessuti blog. Follow us to keep your finger on the pulse of new pattern releases, reviews, tips, techniques and a healthy dose of love and appreciation for all things fabric and sewing!


Magnificent!
That fabric (brown, black & white) in contrast down the front is just beautiful! You’re absolutely right that this pattern lends itself to just going creative crazy 🙂 Love both your versions and I agree this is the perfect pattern for summer. Nothing to stick anywhere 🙂
Both these dresses are absolutely stunning! I love the fringing.
That looks fabulous. Gotta get me one of those. Is that Bondi beach in the background? And your shoes!! Actually I’m still lusting over the shoes you wore in the Lily Linen Dress photo shoot. Been busy with your Demi pants lately. Did you know they sew up fabulously in a knit? Fancy sweat pants:) my answer to all the Hudson pants going around which definitely would not fit my shape.
Thanks Rebecca. Would love to see a photo of your knit Demi Pants! They sound great.