Grainline Studio: The Archer Shirt
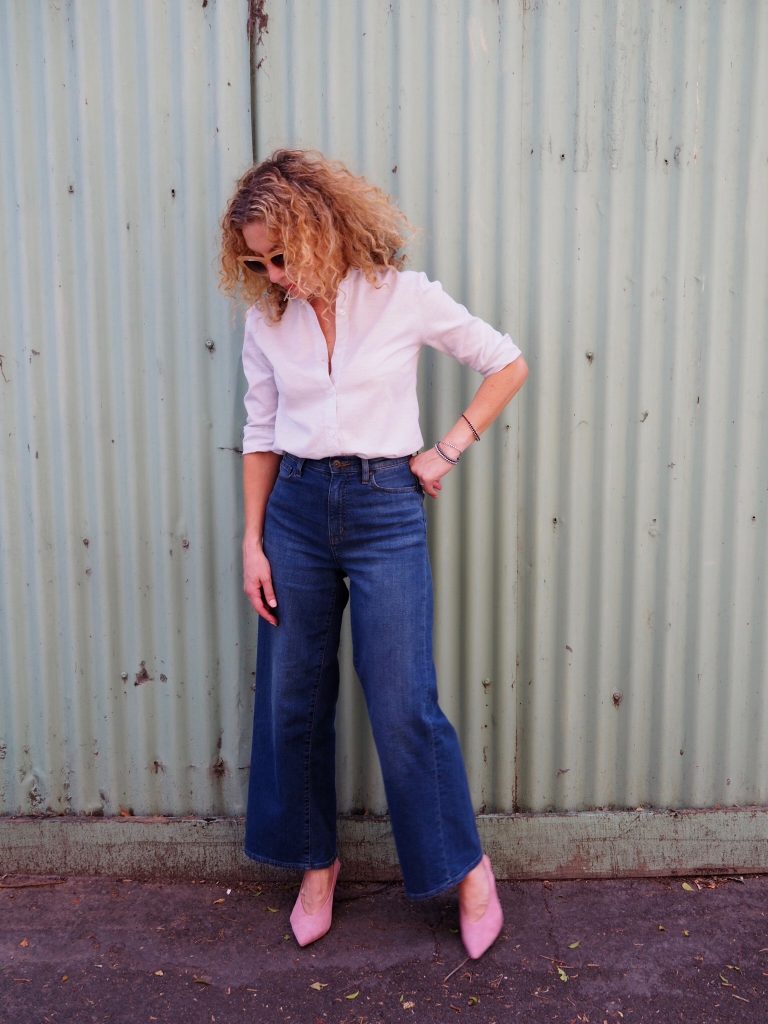
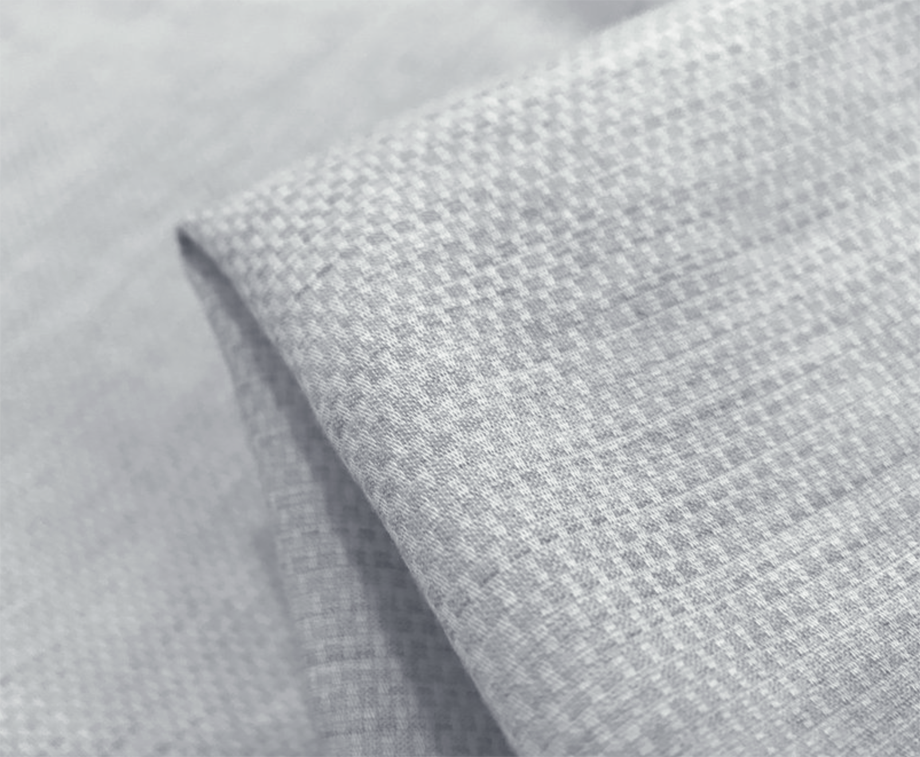
I have always loved shirts. Loved shirts and worn shirts. Loved shirts and worn shirts and bought shirts. So I never really needed another one and, truth be told, there was a little fear factor involved too. All those buttonholes. And a true collar and stand too. But, you know how it is, a fabric came along that I really loved – A Silver Moment – and I really couldn’t imagine it in anything other than a shirt and there you go…Archer’s finally at the top of my sewing list.
So here’s my new favourite shirt – Grainline Studio’s Archer. I searched my email in-box to work out when I first bought this pattern and it kind of blew my mind to discover that it was nearly four years ago. Bonus pattern points for being timeless.
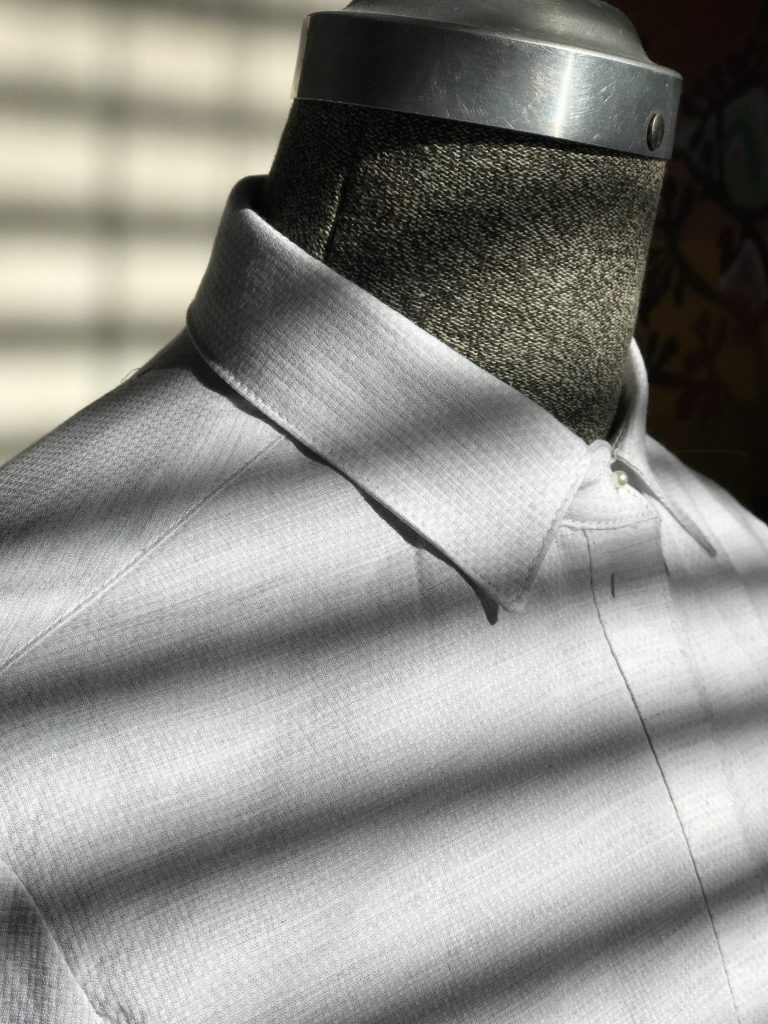
I’ve made a few shirts in my time but this was my first real, proper shirt. Basically, I’m talking about a traditional collar, stand, placket and cuffs. I ditched the written pattern instructions for the comforting reassurance of Jen’s Archer sew-along. It really is the ultimate in hand-holding and encouragement and, broken up into those sew-along steps just makes everything seem so achievable and straight forward and really, truly not hard. At all.
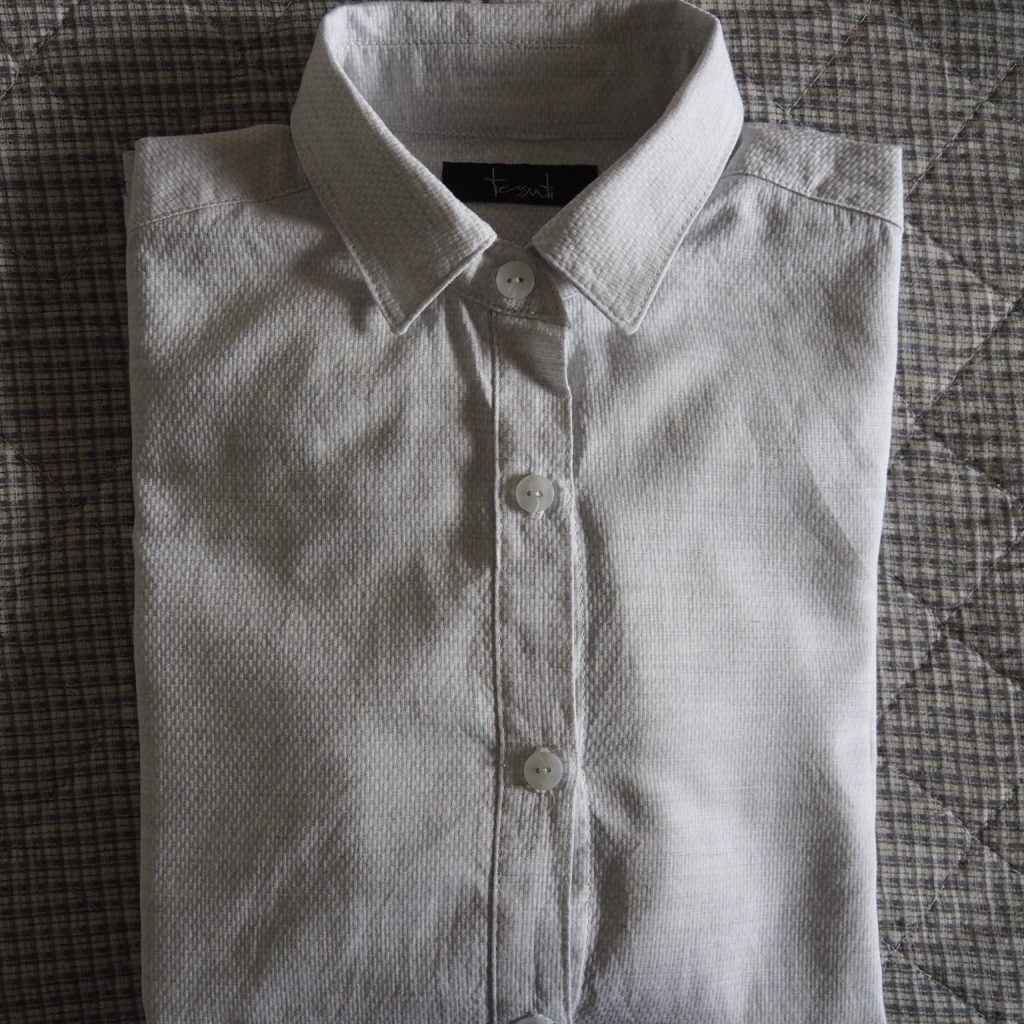
At right about the time that I was to start sewing my collar, Heather’s alternative sewing method for sewing a shirt collar popped up in my Facebook feed so I took it as a sign and gave it a go. It worked perfectly but because I didn’t try the Archer sew-along method, I couldn’t advise my preference either way. So I ask you shirt-making friends – have you tried both methods and do you have a preference?
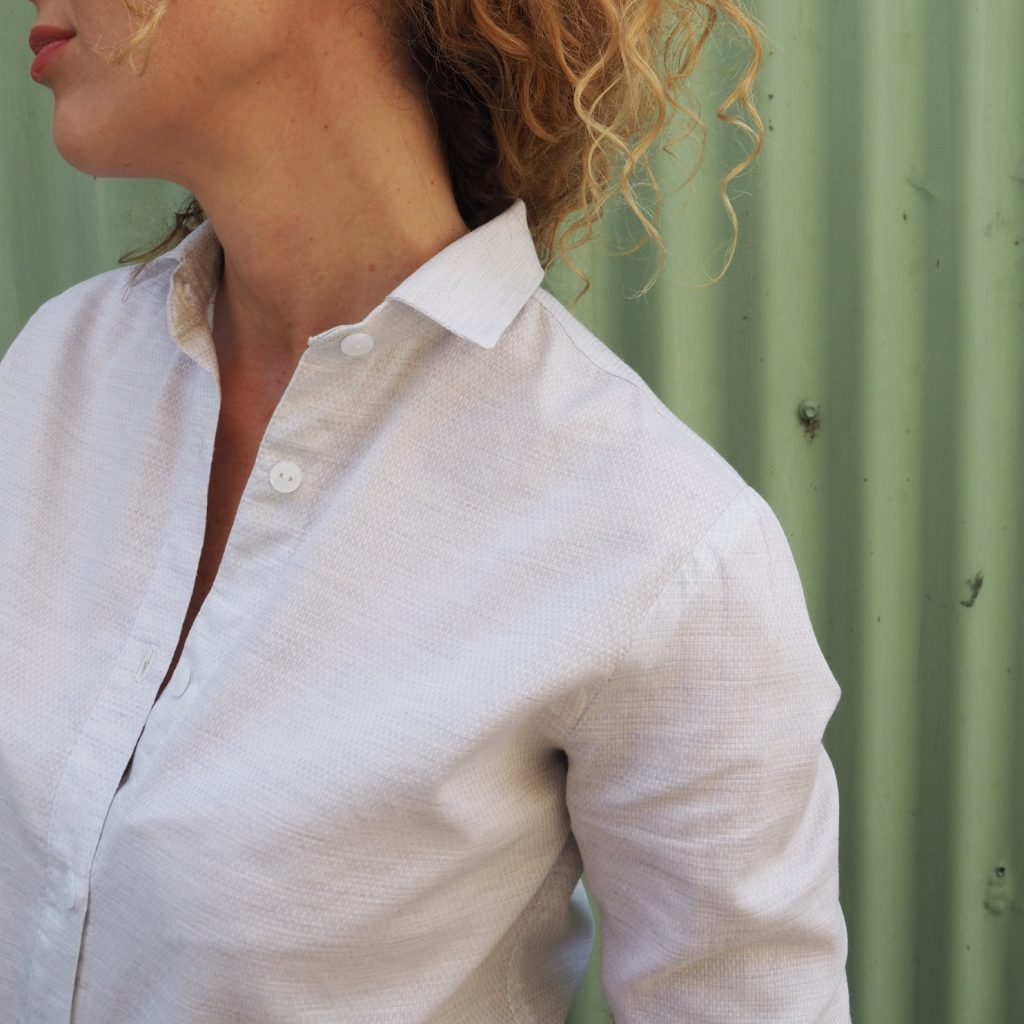
I’m not going to lie. It’s not perfect but I still love it. This shirt gives me those ‘I-can’t-believe-I-made-it’ feels and the top-stitching makes me all warm and fuzzy. I learnt a lot with this project, not least that sewing shirts is deeply satisfying. And the more I sew, the more I realise that some of my biggest sewing kicks come from making the basic wardrobe staples. Even with the little things didn’t work out, I’ve still got myself a classic piece of clothing made up in a beautiful Italian cotton. That *I* made.
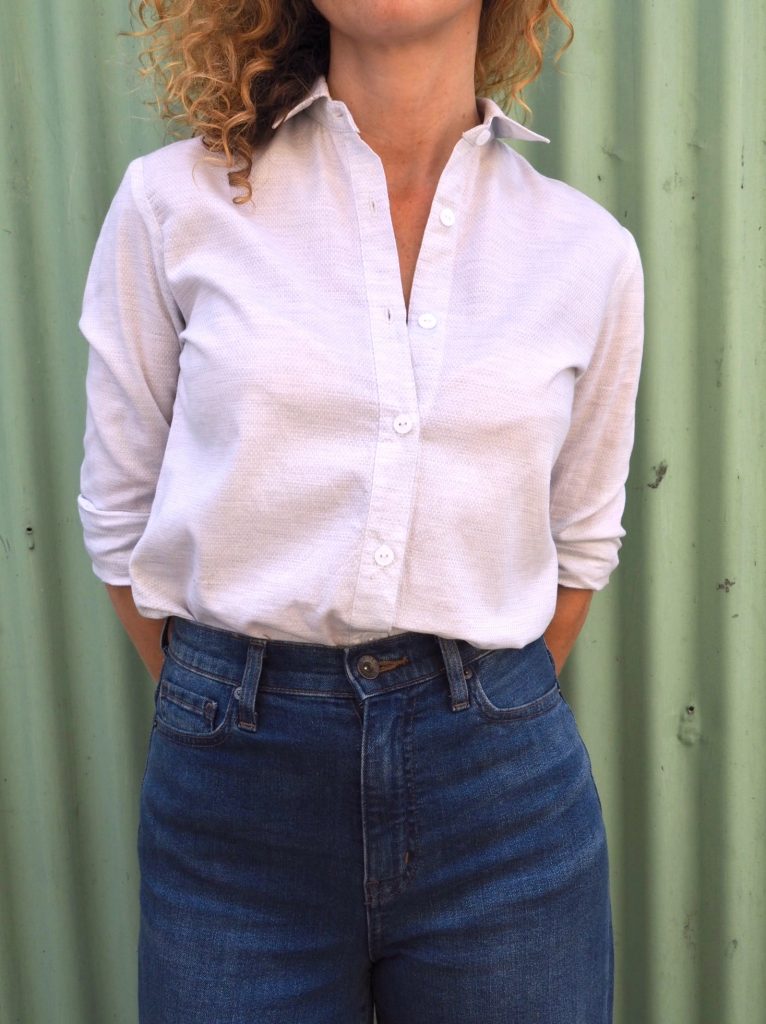
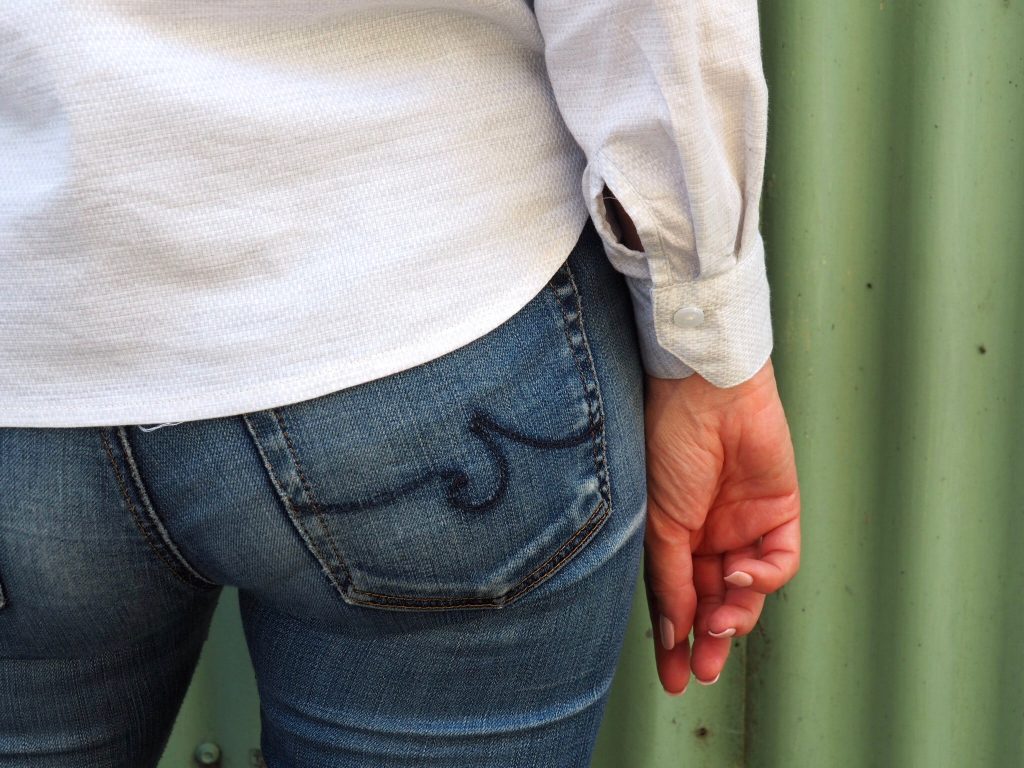
So what will I do differently next time? For starters, I’ll size up to a 4 (this one’s a 2). As the pattern description states, Archer is meant to be “loosely fitted” and, buttoned up, it’s a just a little tight across the bust. Also, there’s some pulling on the upper back, just under the yoke. And if I was to do up that collar button, well hello mild chokehold. The sleeves are also just a couple centimetres too short for my preference, but that’s barely noticeable and is nothing a rolled-up sleeve – my favourite way to wear this shirt – can’t overcome.
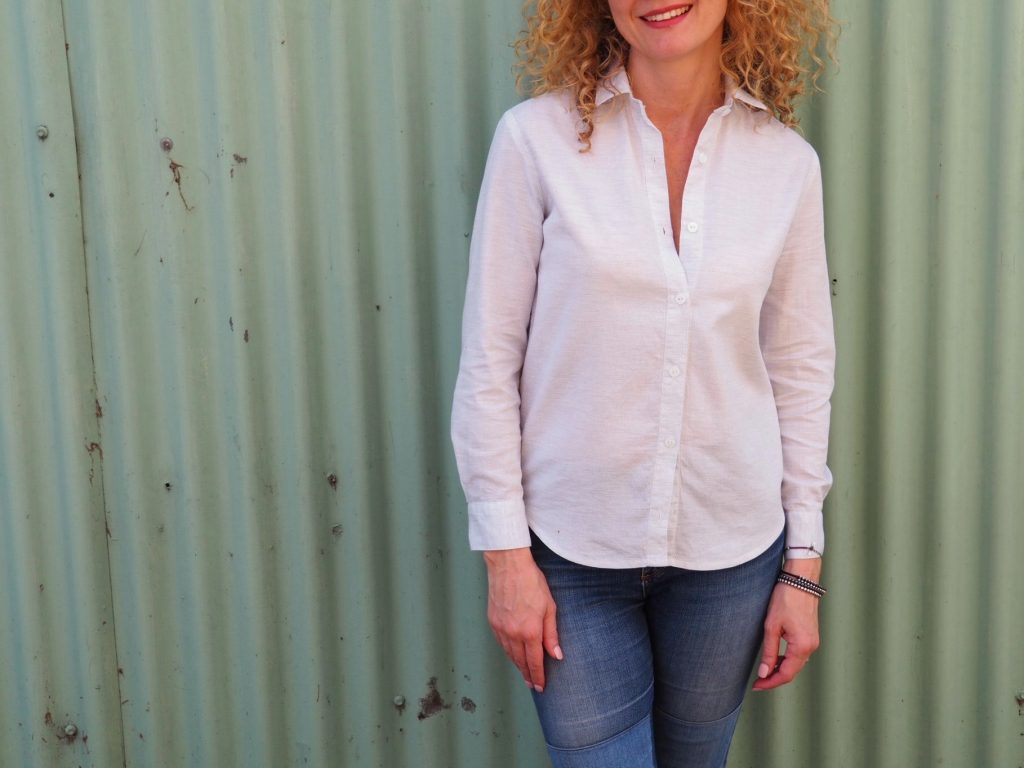
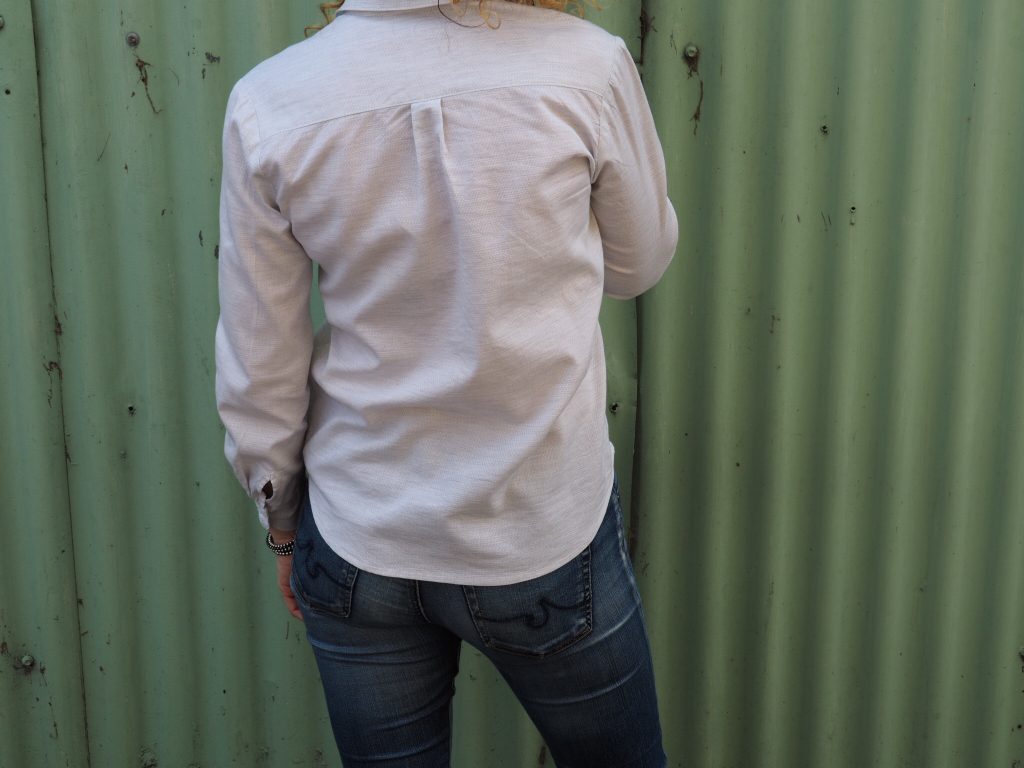
So yes, little things that are easy to improve upon next time ’round, and which take absolutely nothing away from this most excellent pattern. Plus, I’m still going to get PLENTY of wear out this shirt and fully intend to make it again. And again. If a pattern’s so widely reviewed and instagrammed , you know it’s going to be a good one. And that the Archer is.

 Colette and Lisa collaborate to bring you this here Tessuti blog. Follow us to keep your finger on the pulse of new pattern releases, reviews, tips, techniques and a healthy dose of love and appreciation for all things fabric and sewing!


So good to hear your take on this pattern, Lisa. I made one last year and initially I really didn’t like it (I think I’ve made mine just a teeny bit too big). Now I love it! It’s so comfy, and like you, I get the ‘I can’t believe I’ve made it’ feels too. I made a Colette Negroni shirt just prior to making the Archer and to be honest, their instructions were so much easier to follow. I’ll give the Archer sewalong a go next time. Happy sewing!
Beautiful shirt – looks great with the jeans.
Such a timeless pattern and a gorgeous classic shirt!
Really lovely! Collar stands always take so much practice… I’m not sure which method I like the best but I always hand baste the stand down before top stitching now, it gives a much nicer finish than just pinning.
Great tip Sarah. Thank you!