
Tutorial – The Sadie Slip Dress with a bound neckline and straps

We released our Sadie Slip Dress pattern in 2016 (she’s nearly 5! *sniff*) and recently tested out this alternate method which replaces the facings and rouleau straps with a bound neckline and bound straps. We loved the result so much that we decided to share the method as a tutorial for anyone else that may want to give it a go.


With right side of neckline edge facing you, push seam allowance towards wrong side of binding. Meet raw binding edge to raw seam allowance edge. Turn binding towards right side of front/back, and pin in place at folded edge, just covering stitching line.


Starting at armhole edge, sew binding in place along folded edge of binding around neckline. Backstitch at beginning and end.


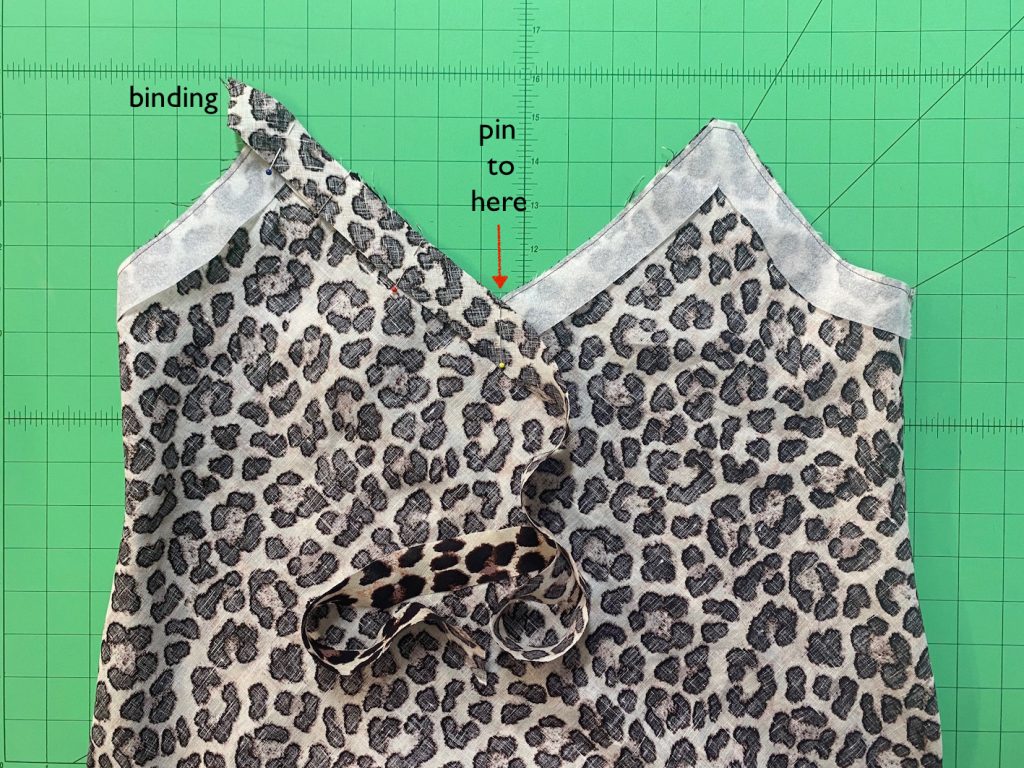
Attach binding to armhole and create straps: With right side of binding facing wrong side of front/back (on the open and not pressed in half), pin binding to armhole edge, make sure to stretch binding slightly. Note: Place end of binding just past underarm seam towards back and pin to neckline edge

Next, at neckline edge, measure for strap length. This can vary for each individual and depends on your measurements as well as your personal preference as to where you’d like the neckline/armhole to sit on the body. So check to see what works for you to gauge finished measurement.
Check/measure strap length by lining up neckline edge and measuring half of strap length. Double measurement to work out finished strap length. Due to the bias stretch of the binding, the shoulder strap will stretch slightly more when on the body (by approximately another 1/2″- 3/4″), so you must measure the full stretch of bias strap.


Pin rest of binding, stretching slightly as you pin around opposite armhole edge, and join ends together with a diagonal seam. Press seam open.

Starting at neckline edge, sew 1/4″ seam allowance around armhole and finish at opposite neckline edge. Back stitch at beginning and end.


Tear away Vilene shield along armhole edge. With right side of armhole edge facing you, push seam allowance towards wrong side of binding. Trim away at seam allowance protruding past binding.

Meet raw binding edge to raw seam allowance edge.

Turn binding towards right side of front/back and pin in place at folded edge, just covering stitching line.

At shoulder strap, meet raw edges towards the middle, then fold in half. The straps should finish at the same width as exposed binding edge on armhole.


Starting at underarm/side seam, sew binding in place along folded edge of binding around armhole. At neckline edge, continue to sew shoulder strap binding together along folded edge, to finish sewing binding at underarm seam where you started. Backstitch at beginning and end.


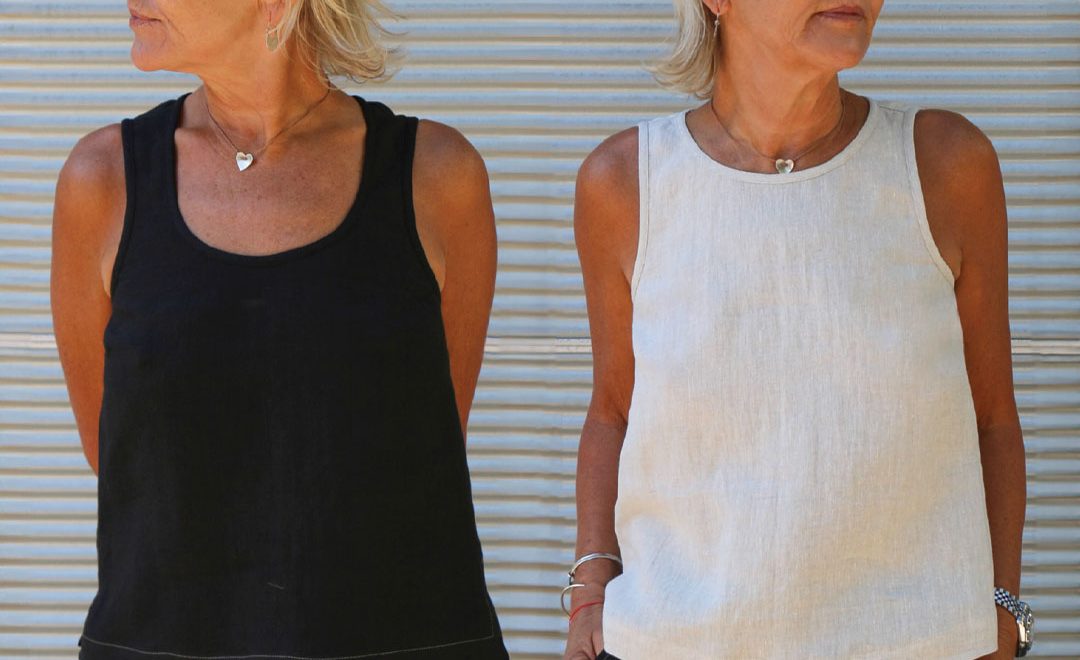
And you’re done! The fabric we’ve used below is our Dark Spotted Leopard linen.

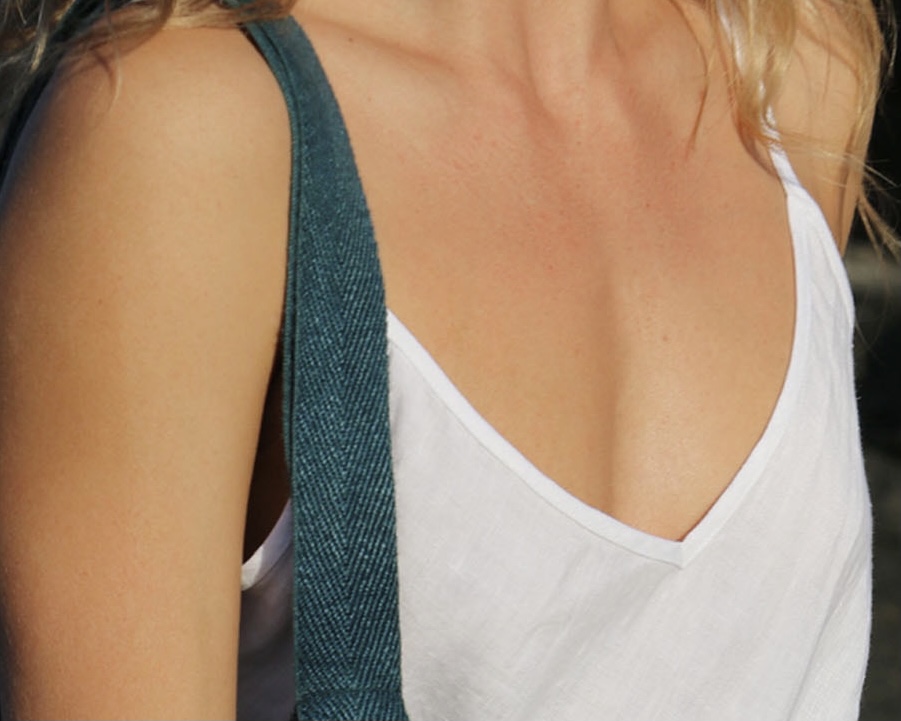
We also made a sweet shorts and top set in our Bedford White Washed Linen which features Sadie cropped to a camisole top. For this version, we created a V at the back by transferring the front piece neckline onto the back pattern piece.

This simple binding method can also be used for our Annie Dress, as Colette blogged here.


 Colette and Lisa collaborate to bring you this here Tessuti blog. Follow us to keep your finger on the pulse of new pattern releases, reviews, tips, techniques and a healthy dose of love and appreciation for all things fabric and sewing!


Thank you for these great tutorials. Very clear & comprehensive. Has resolved my angst re stating the Ogden Cami. Kind regards Wendy.
When you say ‘bias strips’ do you mean making bias tape? Or just one continuous strip cut on the bias? Newbie sewist here wondering if there’s a difference, thanks!
Hi Genevieve. We mean the latter – one continuous strip cut on the bias.
Hi there,
I have been stalling cutting my expensive silk material to make the Sadie Slip as a nightie.
So…this summer!!
I thought I remembered a blog? on how to cut it as the material is slippery. Any ideas?
Also as it will be worn as a nightie will it be better to go down a size as there is no uplift from a bra?!
And would you do French seams?
Thanks,
Leni
Hi Leni. For comfort sake, we’d suggest sticking with your true size. Here’s the blog post you’re after – Cutting out silk on the bias in between paper. We wouldn’t recommend french seams unless your fabric is sheer or you don’t have an overlocker. Hope that helps. Happy sewing!
I have read the article but am a little confused about the front and back…
I have cut each as one piece (no seam), so should I now retrace that onto a fresh sheet of that special paper and then use that as the top sheet?
Thanks again!
Leni
Hi Leni. Best to email all pattern questions to fabrics@tessuti.com.au